Cold Pull
Clear partial clogs and old filament with a cold pull: load nylon, run the Cold Pull macro, then read the debris on the tip you pull out of the hotend.
The Cold Pull is a specialized maintenance procedure used to effectively remove filament and contaminants from the Vision Miner 22 IDEX hotend and nozzle. It involves heating and then partially cooling filament within the hotend, then pulling it out in a semi-solid state to extract debris.
A Cold Pull is the recommended method when:
- Changing Filament Types: Especially when switching between materials with different temperature requirements or colors, a Cold Pull minimizes cross-contamination.
- Cleaning the Nozzle: Excellent for removing small particles, debris, or partially burnt filament residue that might cause partial clogs or affect print quality.
This procedure utilizes the filament itself as a cleaning tool, pulling out residue as it is removed.
Before you begin - safety and risk
Read the Safety - Before You Begin article to understand the hazards involved in working on the Vision Miner 22IDEX V4 - including electrical, thermal, mechanical, and chemical risks. All procedures in this wiki are provided as recommendations only. By choosing to follow any procedure, you do so at your own risk.
Hot nozzle and heater block
The hotend will reach high temperatures during this procedure. Avoid touching the nozzle or heater block. Allow adequate cooling time before handling.
Tools and Materials
- Filament:
- Recommended for Cleaning: Nylon (
PA6orPA12, without Carbon Fiber if possible) offers the best cleaning properties. - For Simple Removal: The filament currently loaded or the new filament type can also be used, but may be less effective at removing contaminants than Nylon.
- Recommended for Cleaning: Nylon (
- Wire Cutters: To create a clean tip on the filament for loading.
1. Purpose and Material Selection
- When to Use: Use the Cold Pull procedure when switching between significantly different filament types (e.g., PLA to PEEK, PETG to Nylon) or as a first step in troubleshooting partial clogs or extrusion inconsistencies.
- Material Choice: For the most effective cleaning, using a spool of clean Nylon (like
PA6orPA12, preferably without carbon fiber additives) is highly recommended. Its properties allow it to grab onto contaminants effectively. If simply removing the current filament is the goal, you can often use the same filament or the next type you plan to load. You will need to know the approximate correct heating temperature for the filament you choose.
2. Prepare and Load Filament
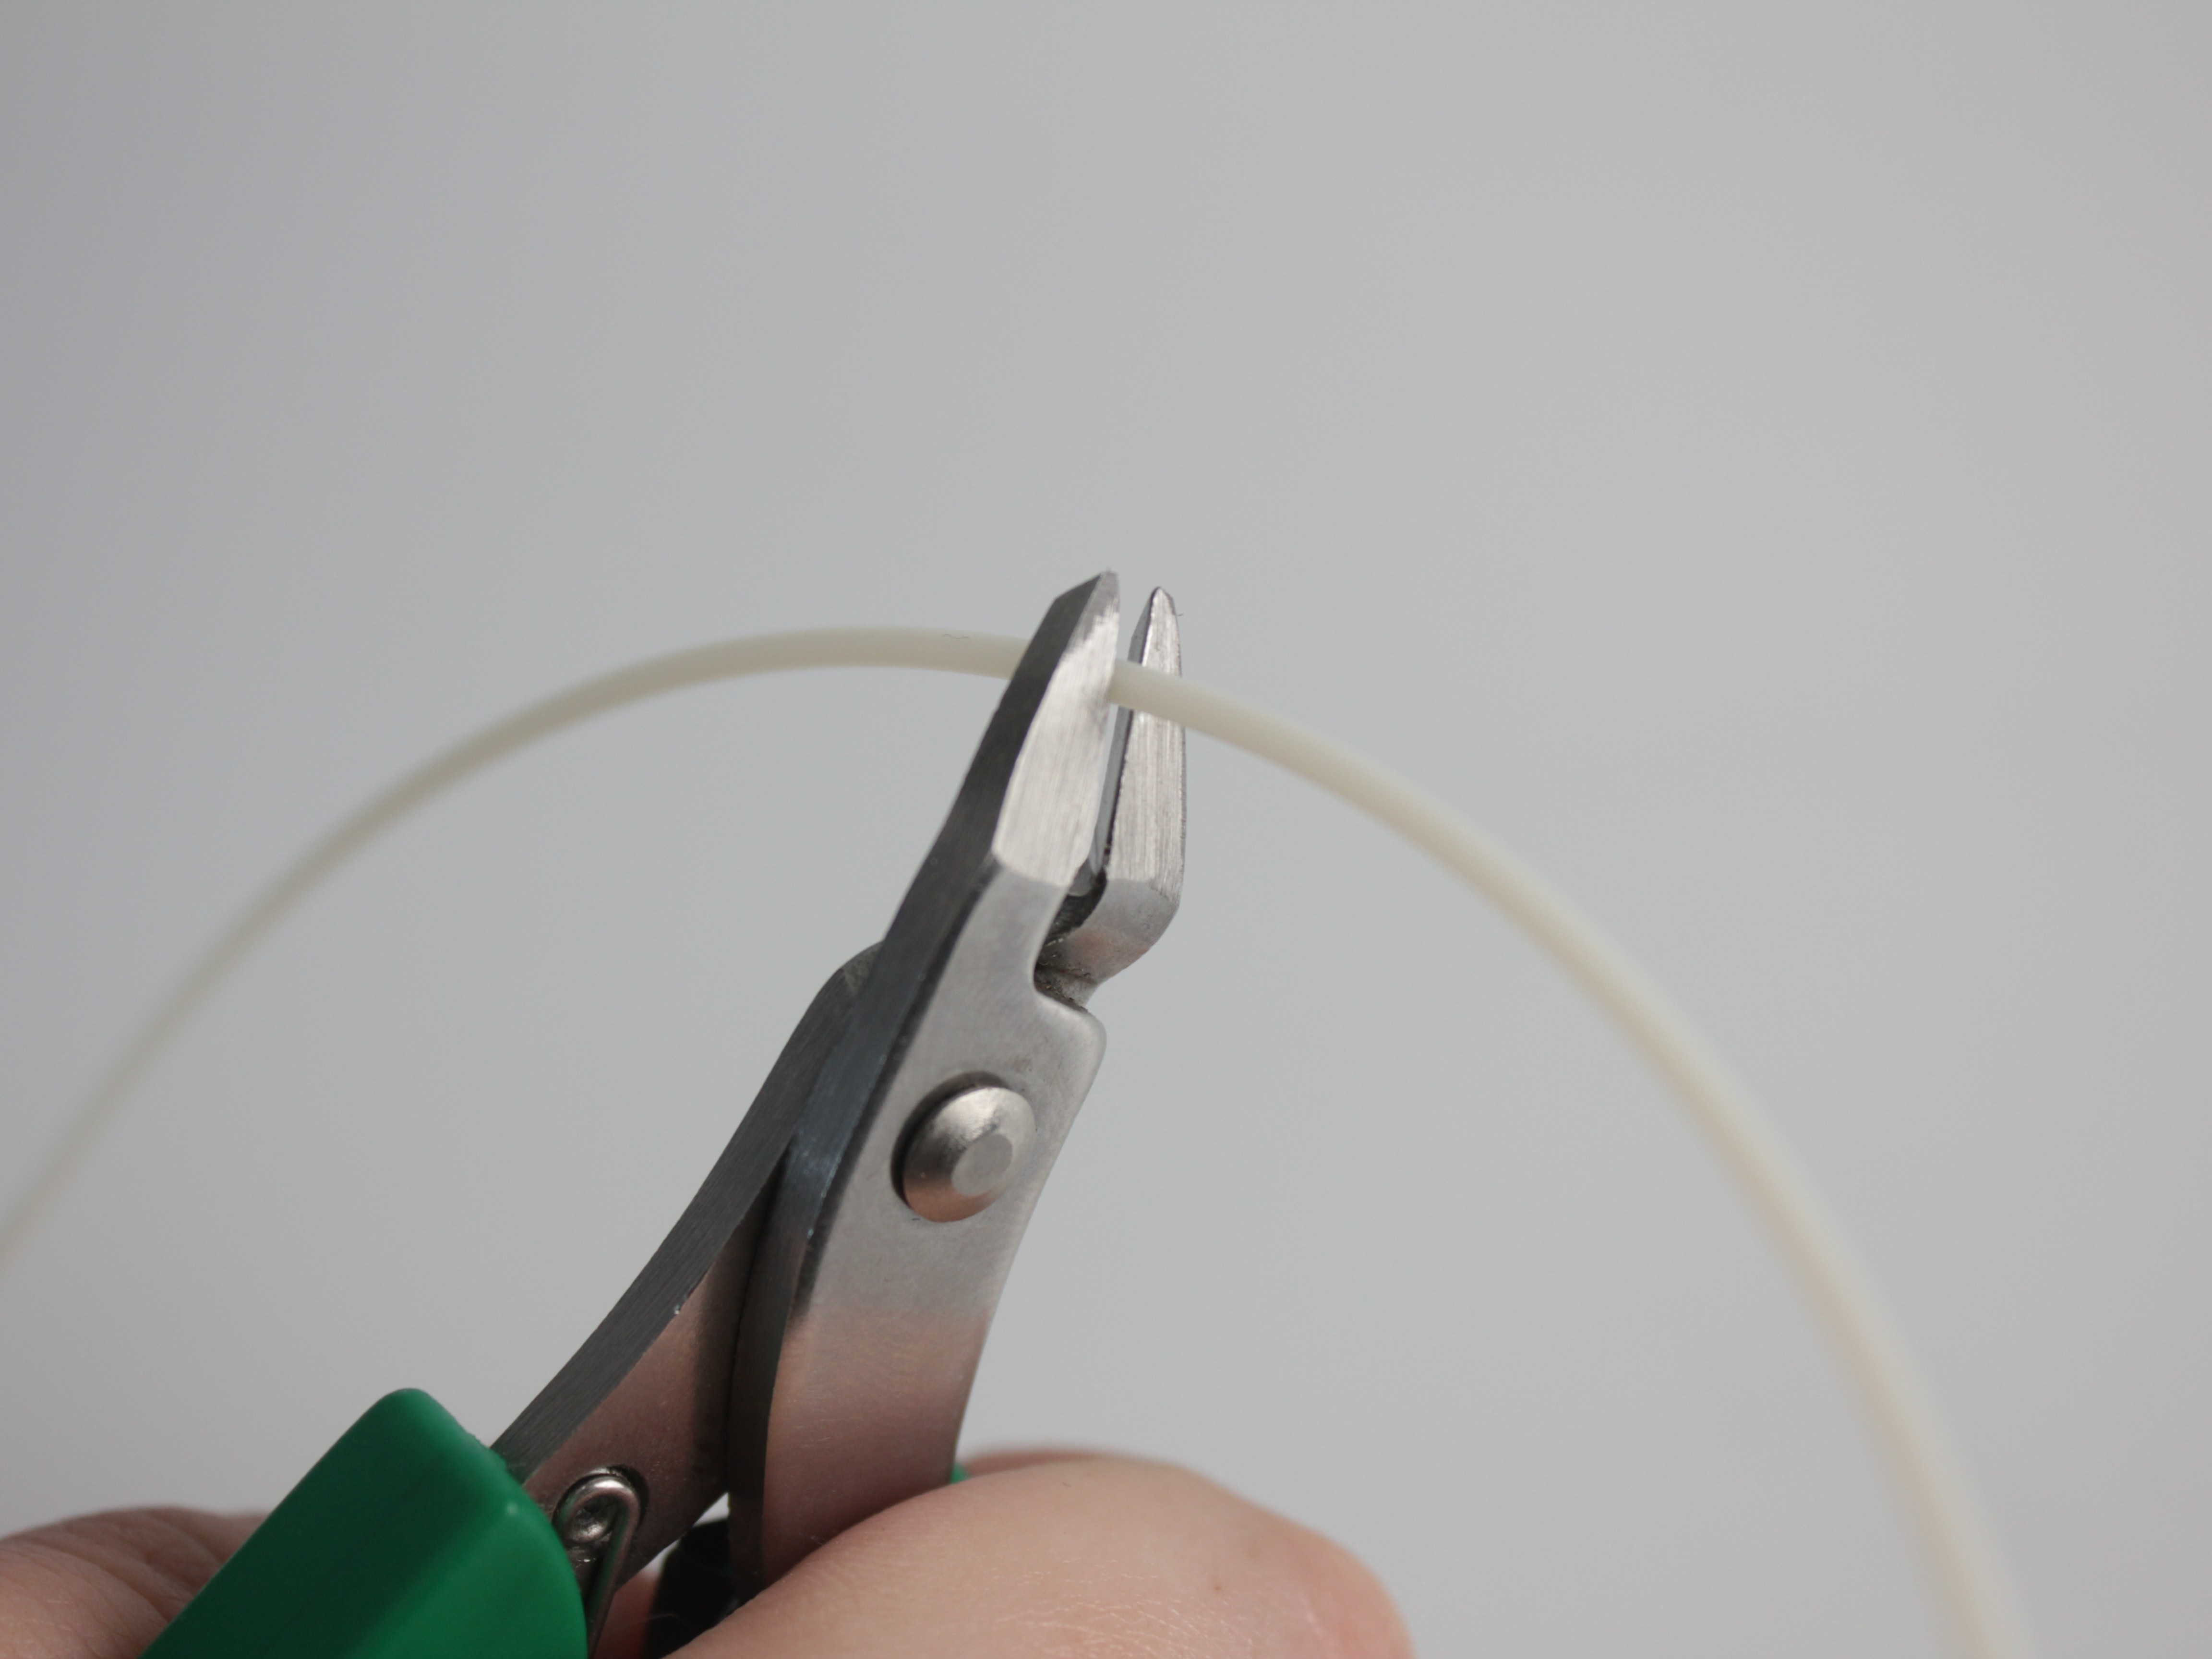
- Prepare Tip: Cut the end of the filament you will use for the Cold Pull at a clean angle using wire cutters.
- Load Filament: Manually load this filament into the specific toolhead (T0 or T1) you wish to clean. Feed it through the extruder until you feel it reach the gears.
Detailed loading instructions
The filament loading process is described in more detail in the Load Filament guide.
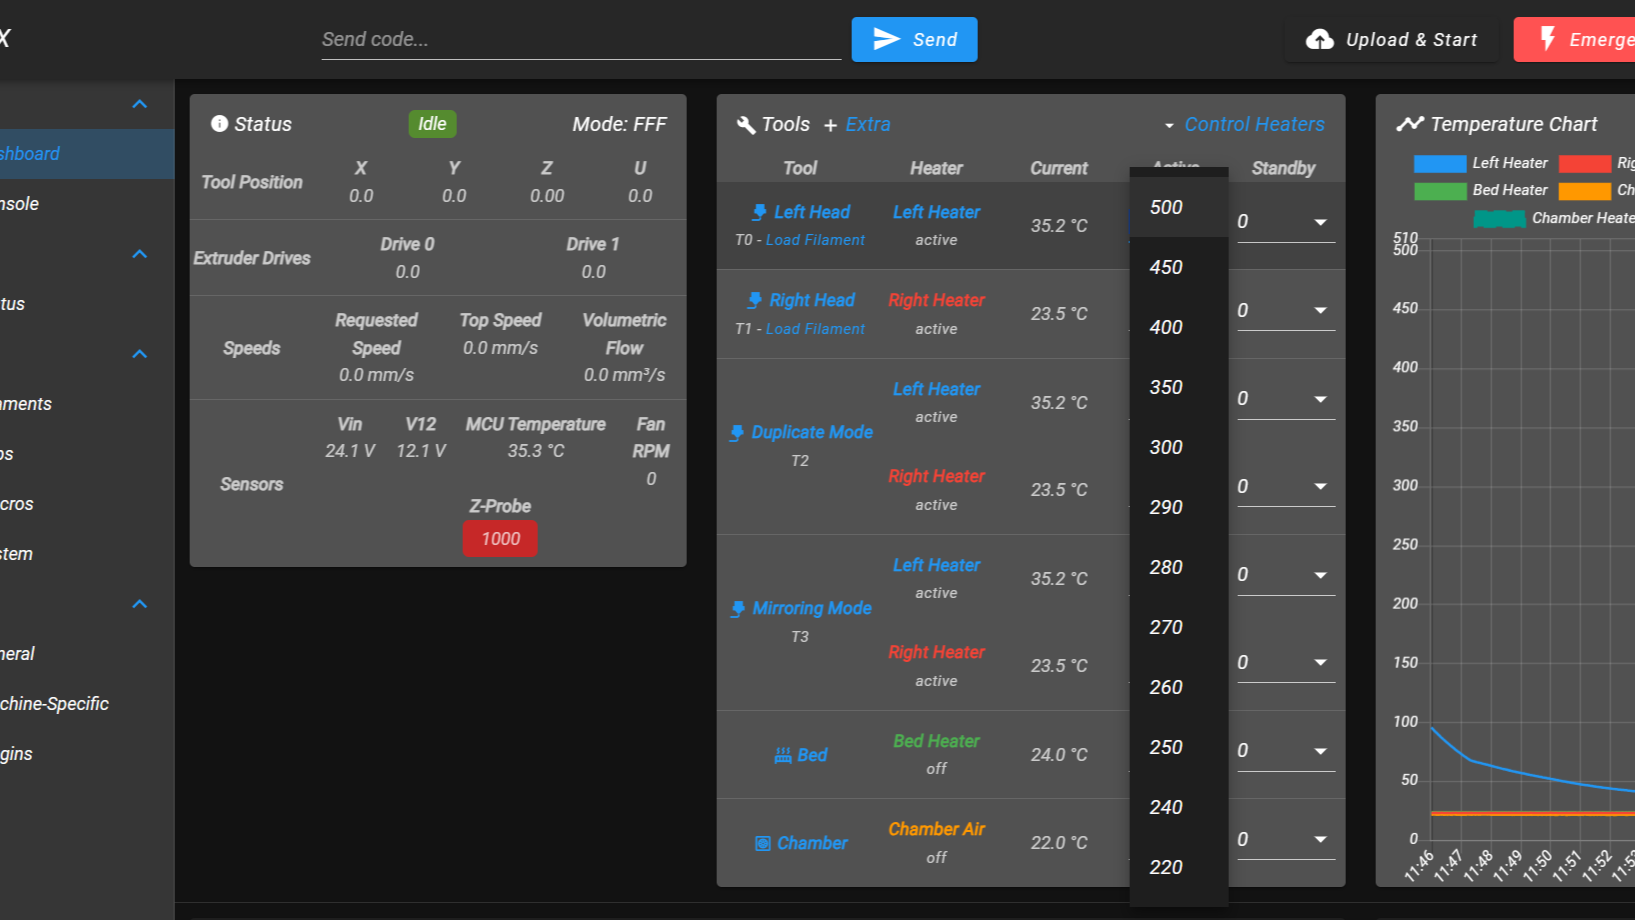
- Heat up Toolhead: In the tool's status area, enter the appropriate printing temperature for your filament (refer to manufacturer recommendations) and click Set, or select a pre-defined material. Wait for the nozzle to reach the target temperature.
- Extrude Filament: Go to
Dashboardtab and scroll down to theExtrusion Control- Set Amount (mm) to
50. - Set Feedrate (mm/min) equivalent to
7 mm/s(which is420 mm/min). - Gently push the filament while simultaneously clicking the
Extrudebutton. - Continue clicking
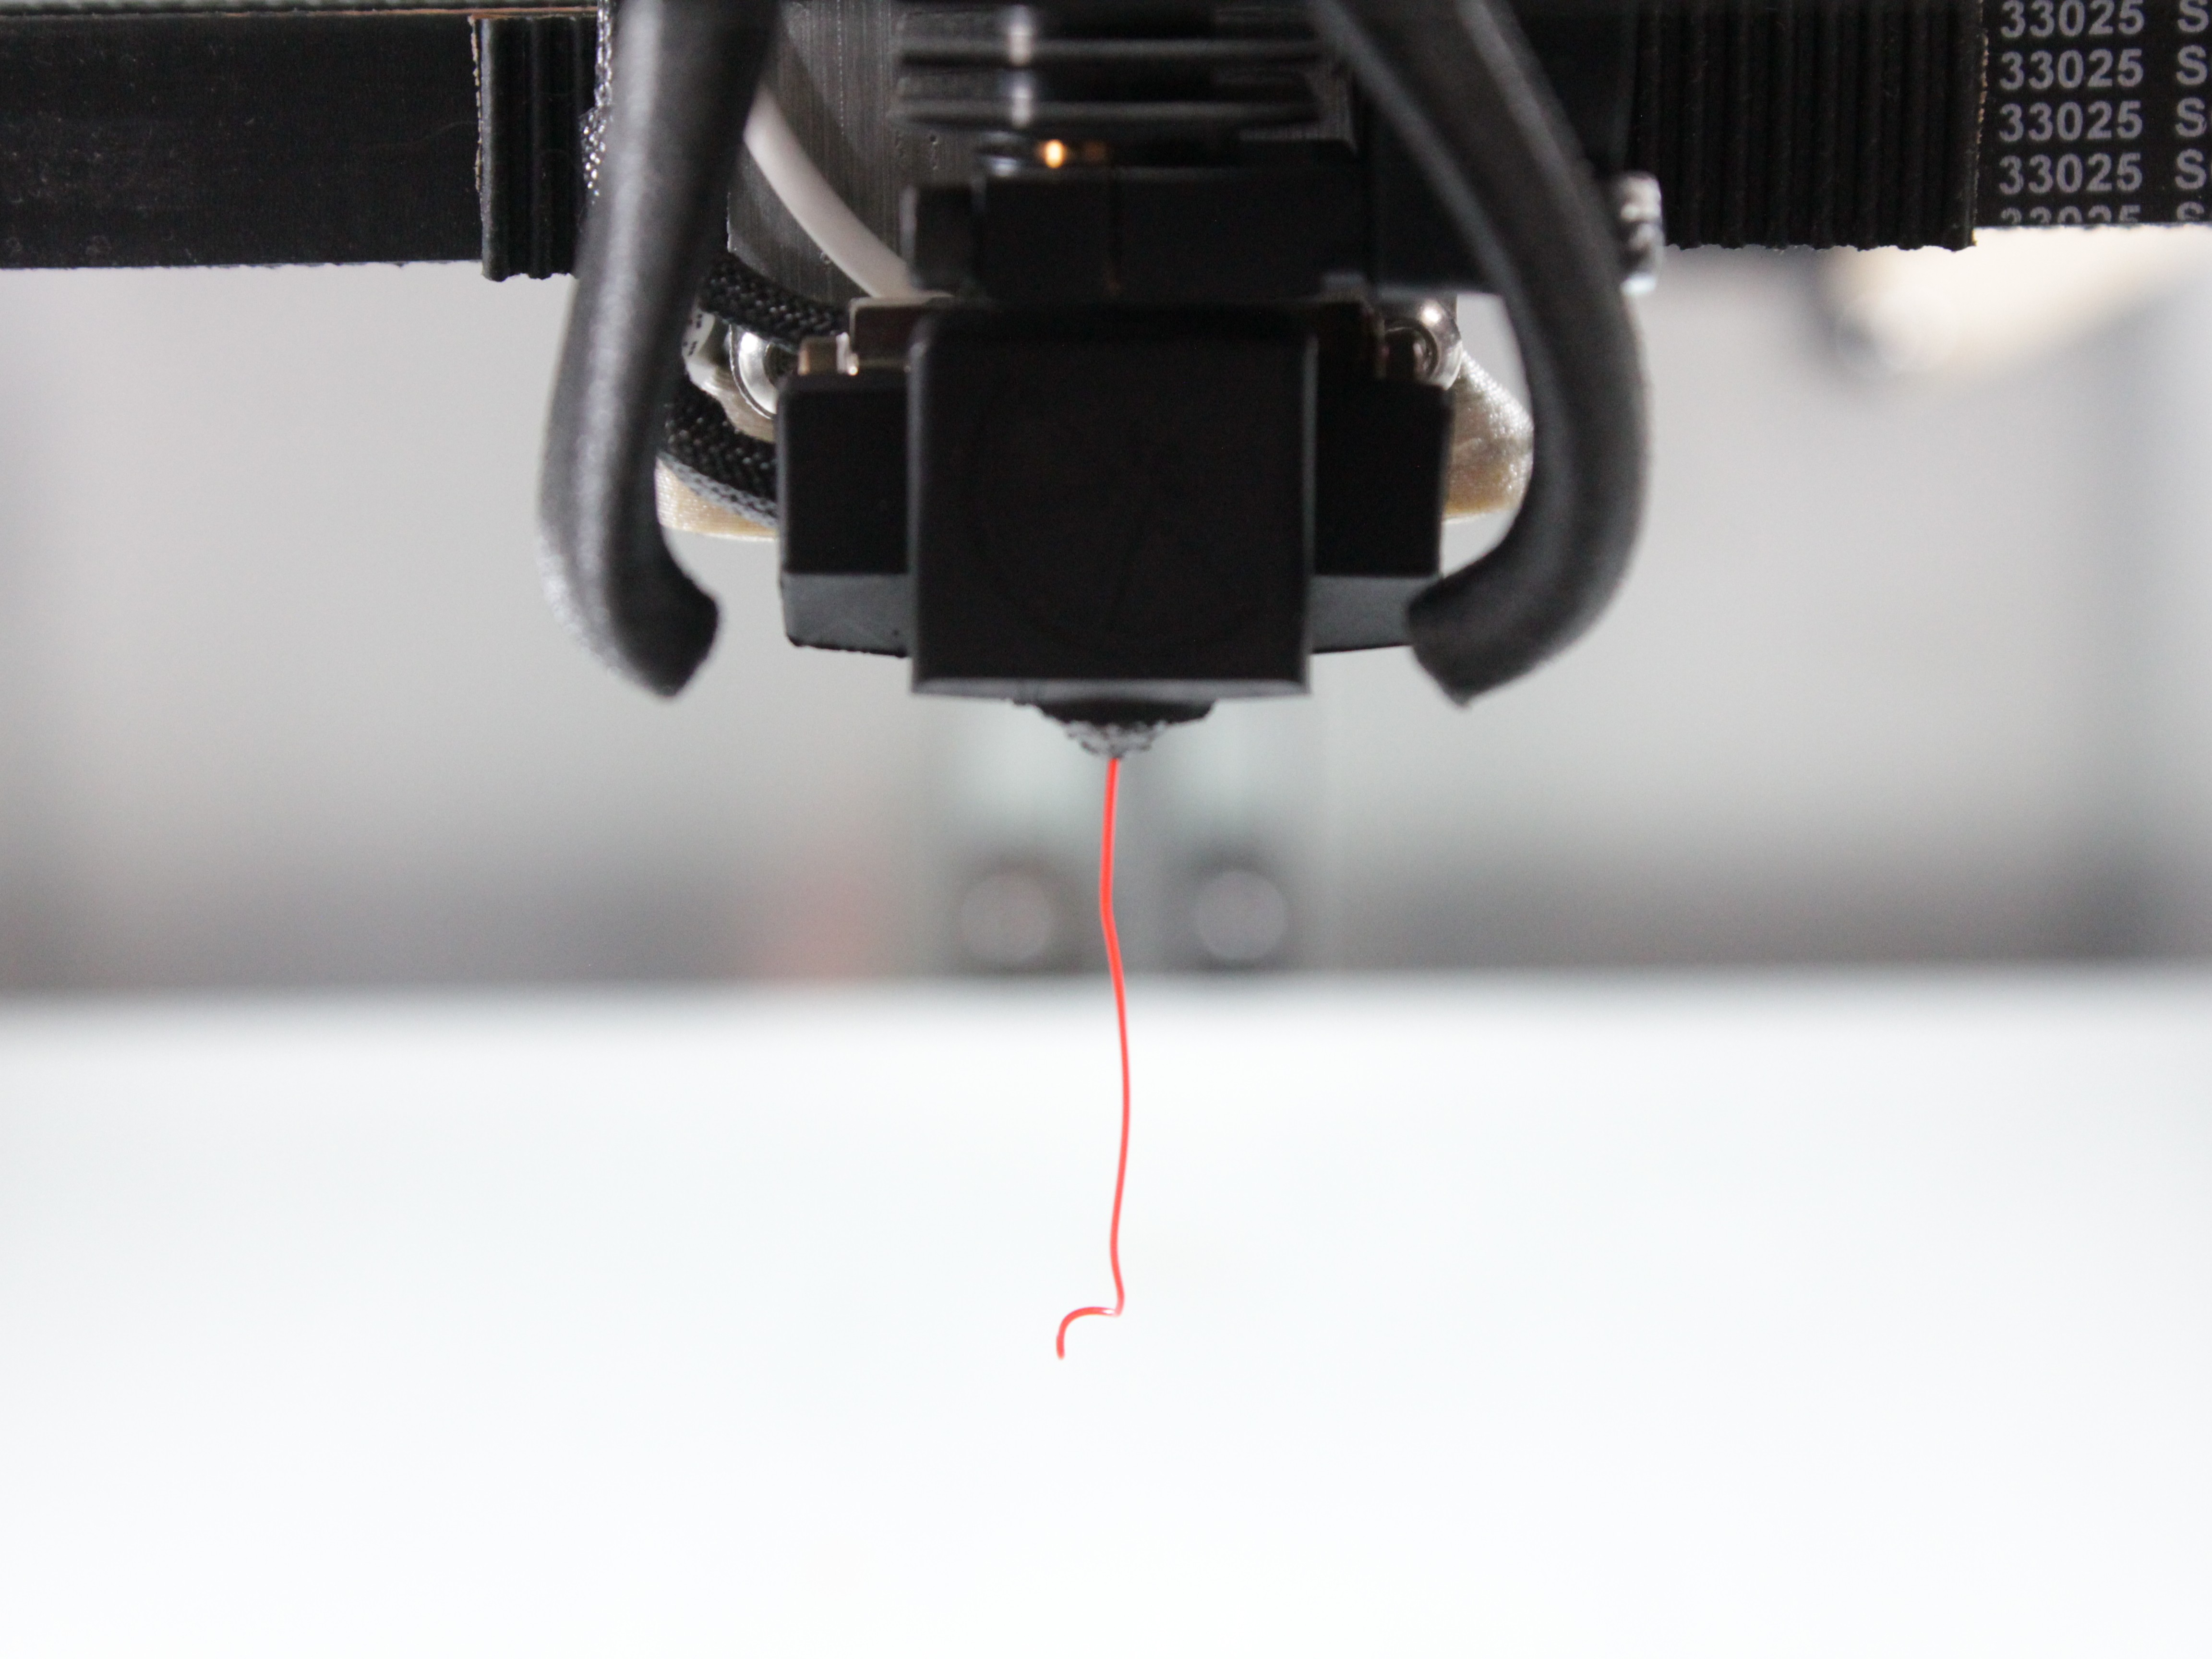
Extrudeuntil you see filament consistently extruding from the nozzle. Ensure the extruder gears are gripping and pulling the filament smoothly.
- Set Amount (mm) to
3. Execute the Cold Pull Macro
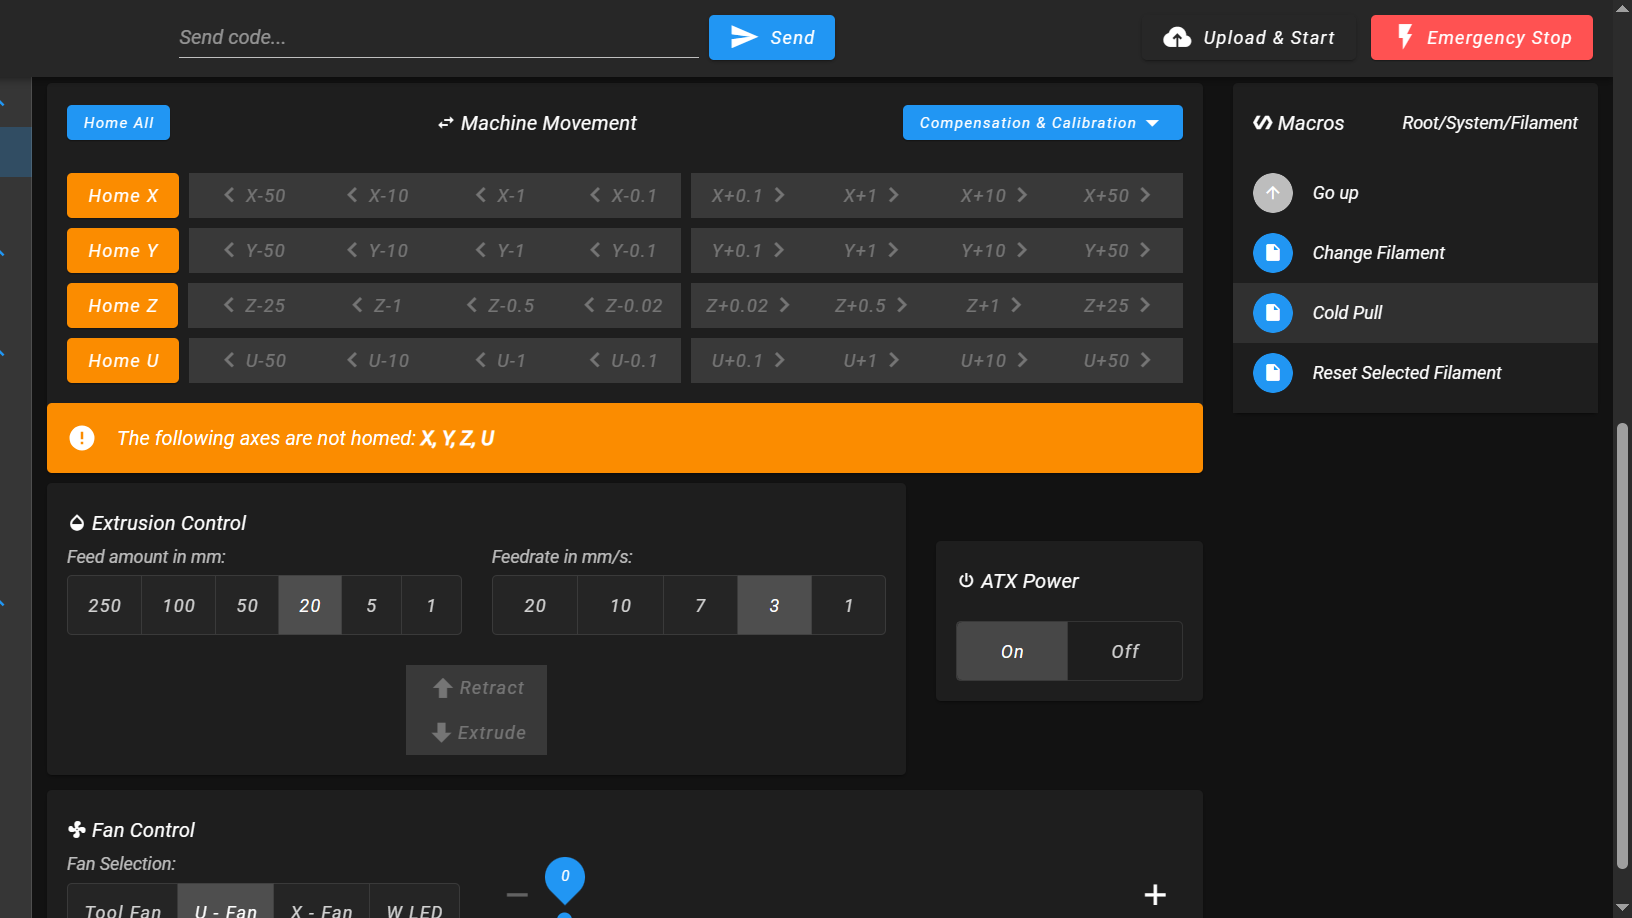
- Run Cold Pull Macro: On the printer's web interface, navigate to
Macros > System > Filament > Cold Pull.
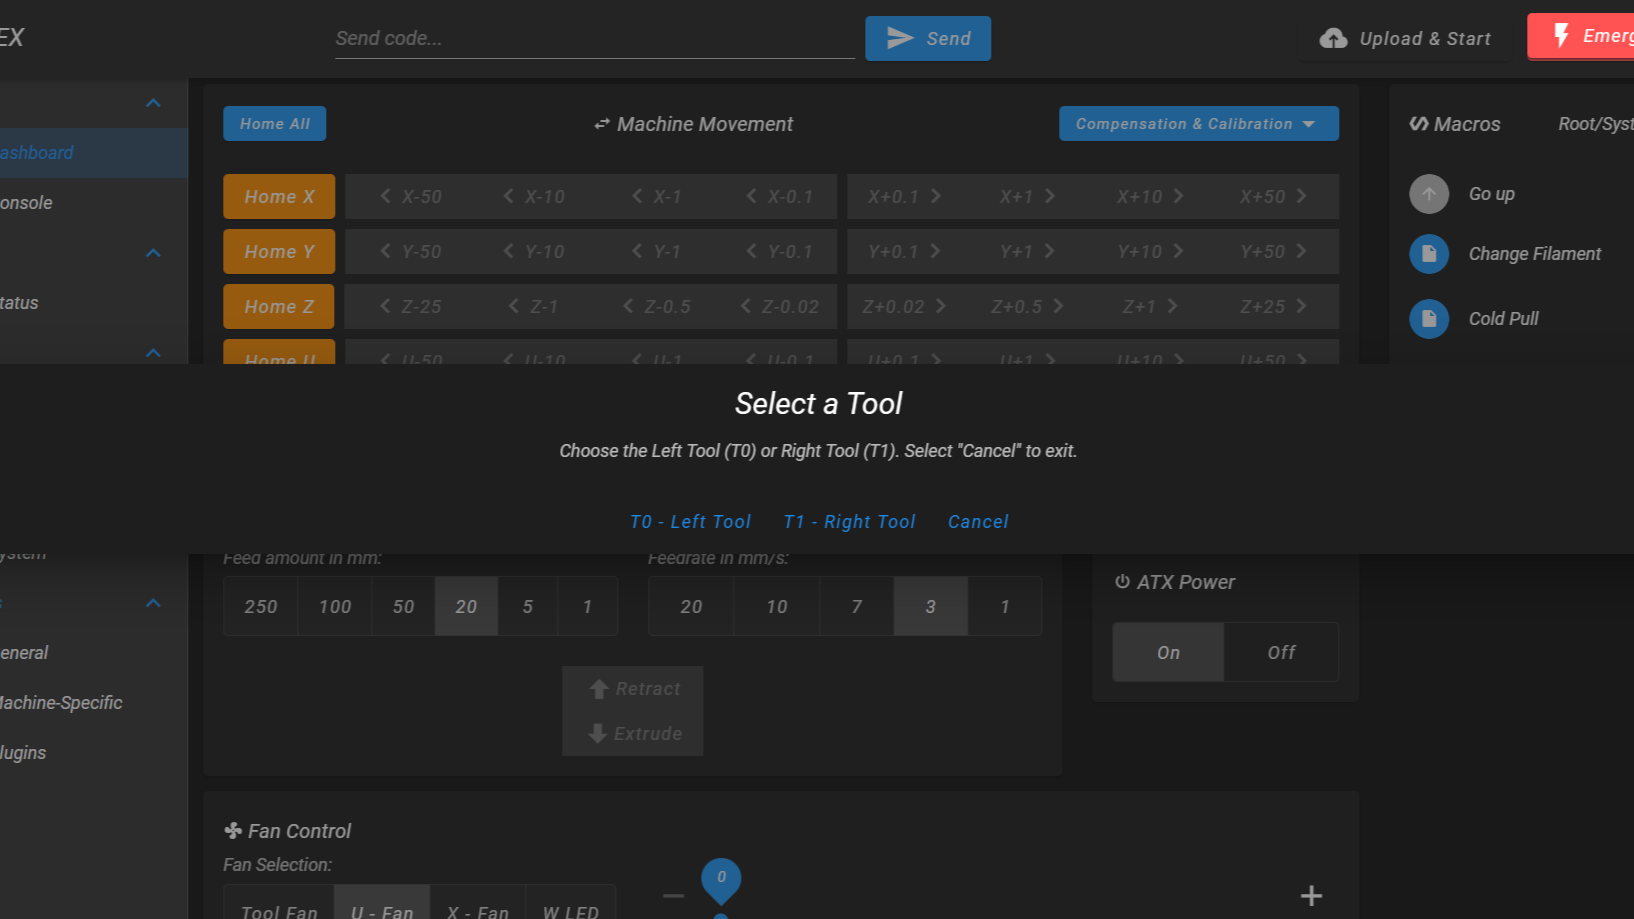
- Configure via Pop-up: A configuration window will appear on the screen. You must manually set the parameters for the Cold Pull:
- Select Toolhead: Choose either T0 or T1, corresponding to the toolhead you loaded the filament into in Step 2.
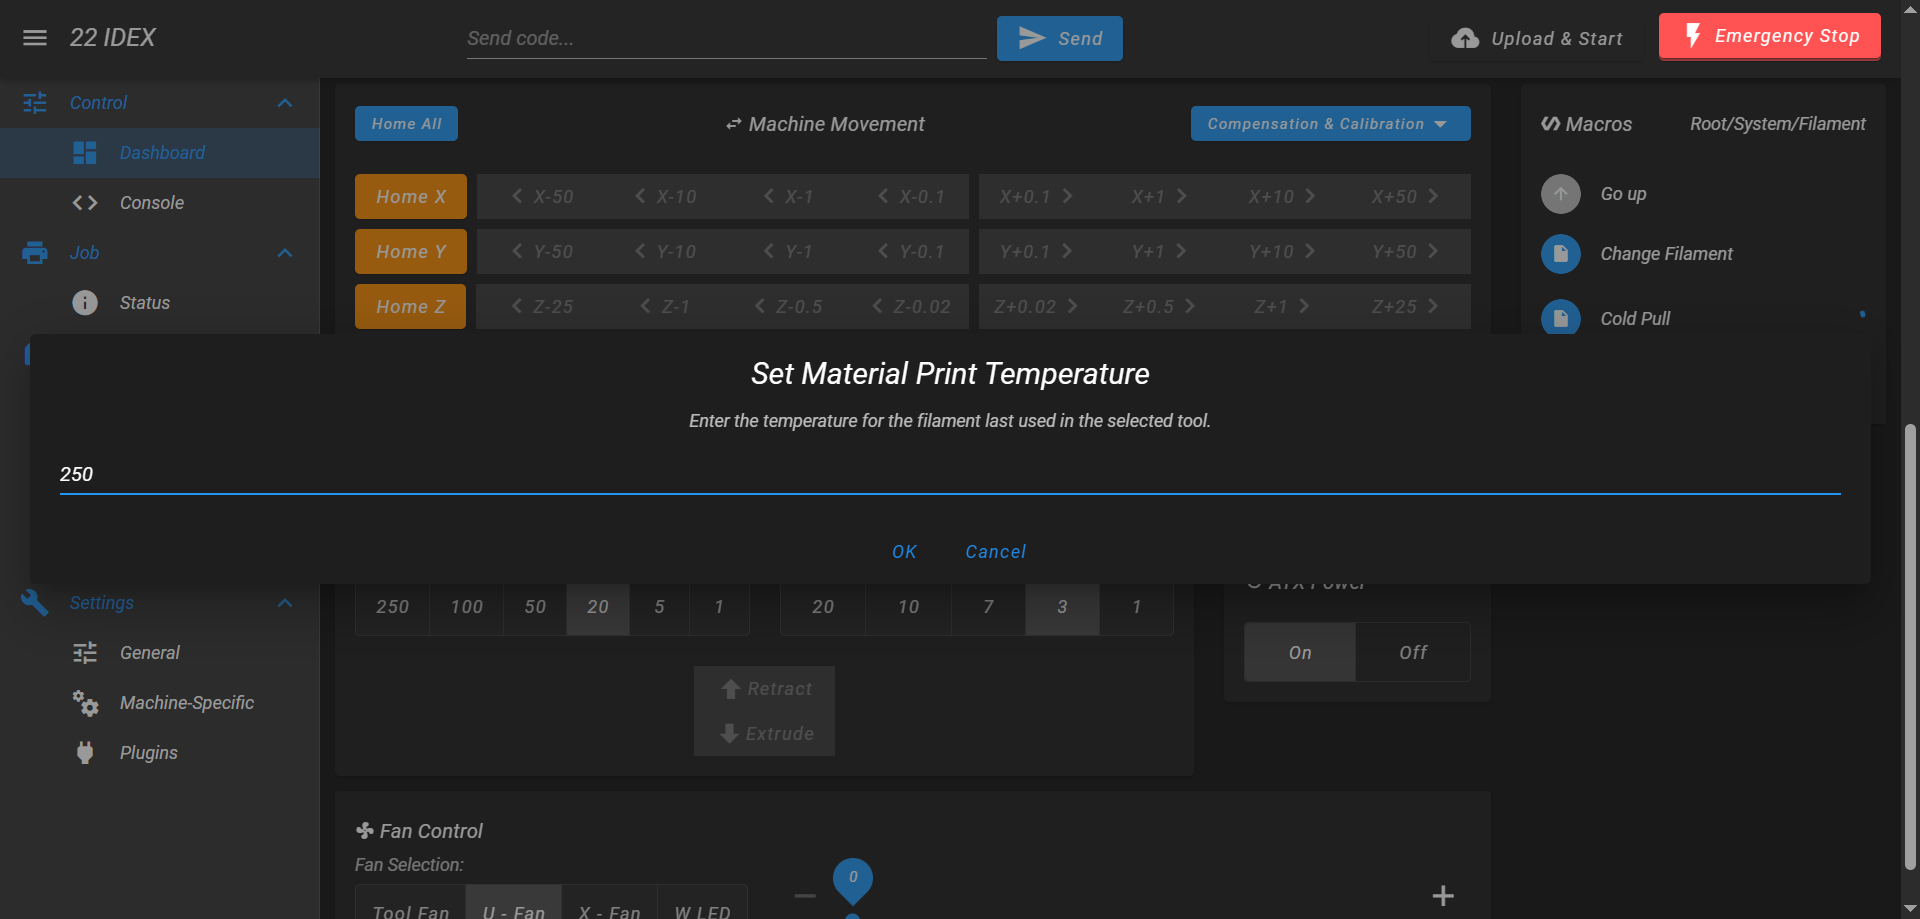
- Enter Temperature: Input the desired initial heating temperature for the selected toolhead.
- Guidance: Enter the typical printing temperature for the filament you loaded, or slightly higher (e.g.,
+10°Cto+20°C). This ensures the filament fully melts initially.- Example for PLA:
210-230°C - Example for PETG:
240-260°C - Example for Nylon (for cleaning):
250-270°C - Example for higher temp materials (ABS, PC, etc.): Use their respective print temps or slightly above.
- Example for PLA:
- Guidance: Enter the typical printing temperature for the filament you loaded, or slightly higher (e.g.,
- Automatic Process Begins: The printer will now automatically:
- Heat the selected toolhead to the temperature you specified.
- Hold that temperature briefly to ensure the filament is fully molten.
- Begin a controlled cooling sequence to bring the filament down to the optimal semi-solid state for removal.
4. Perform the Pull
- Wait for Prompt/Temperature: The printer's interface should indicate when it's ready for the filament to be pulled as it reaches the correct temperature during the controlled cooling phase. The optimal pull temperature varies by material but is often in the
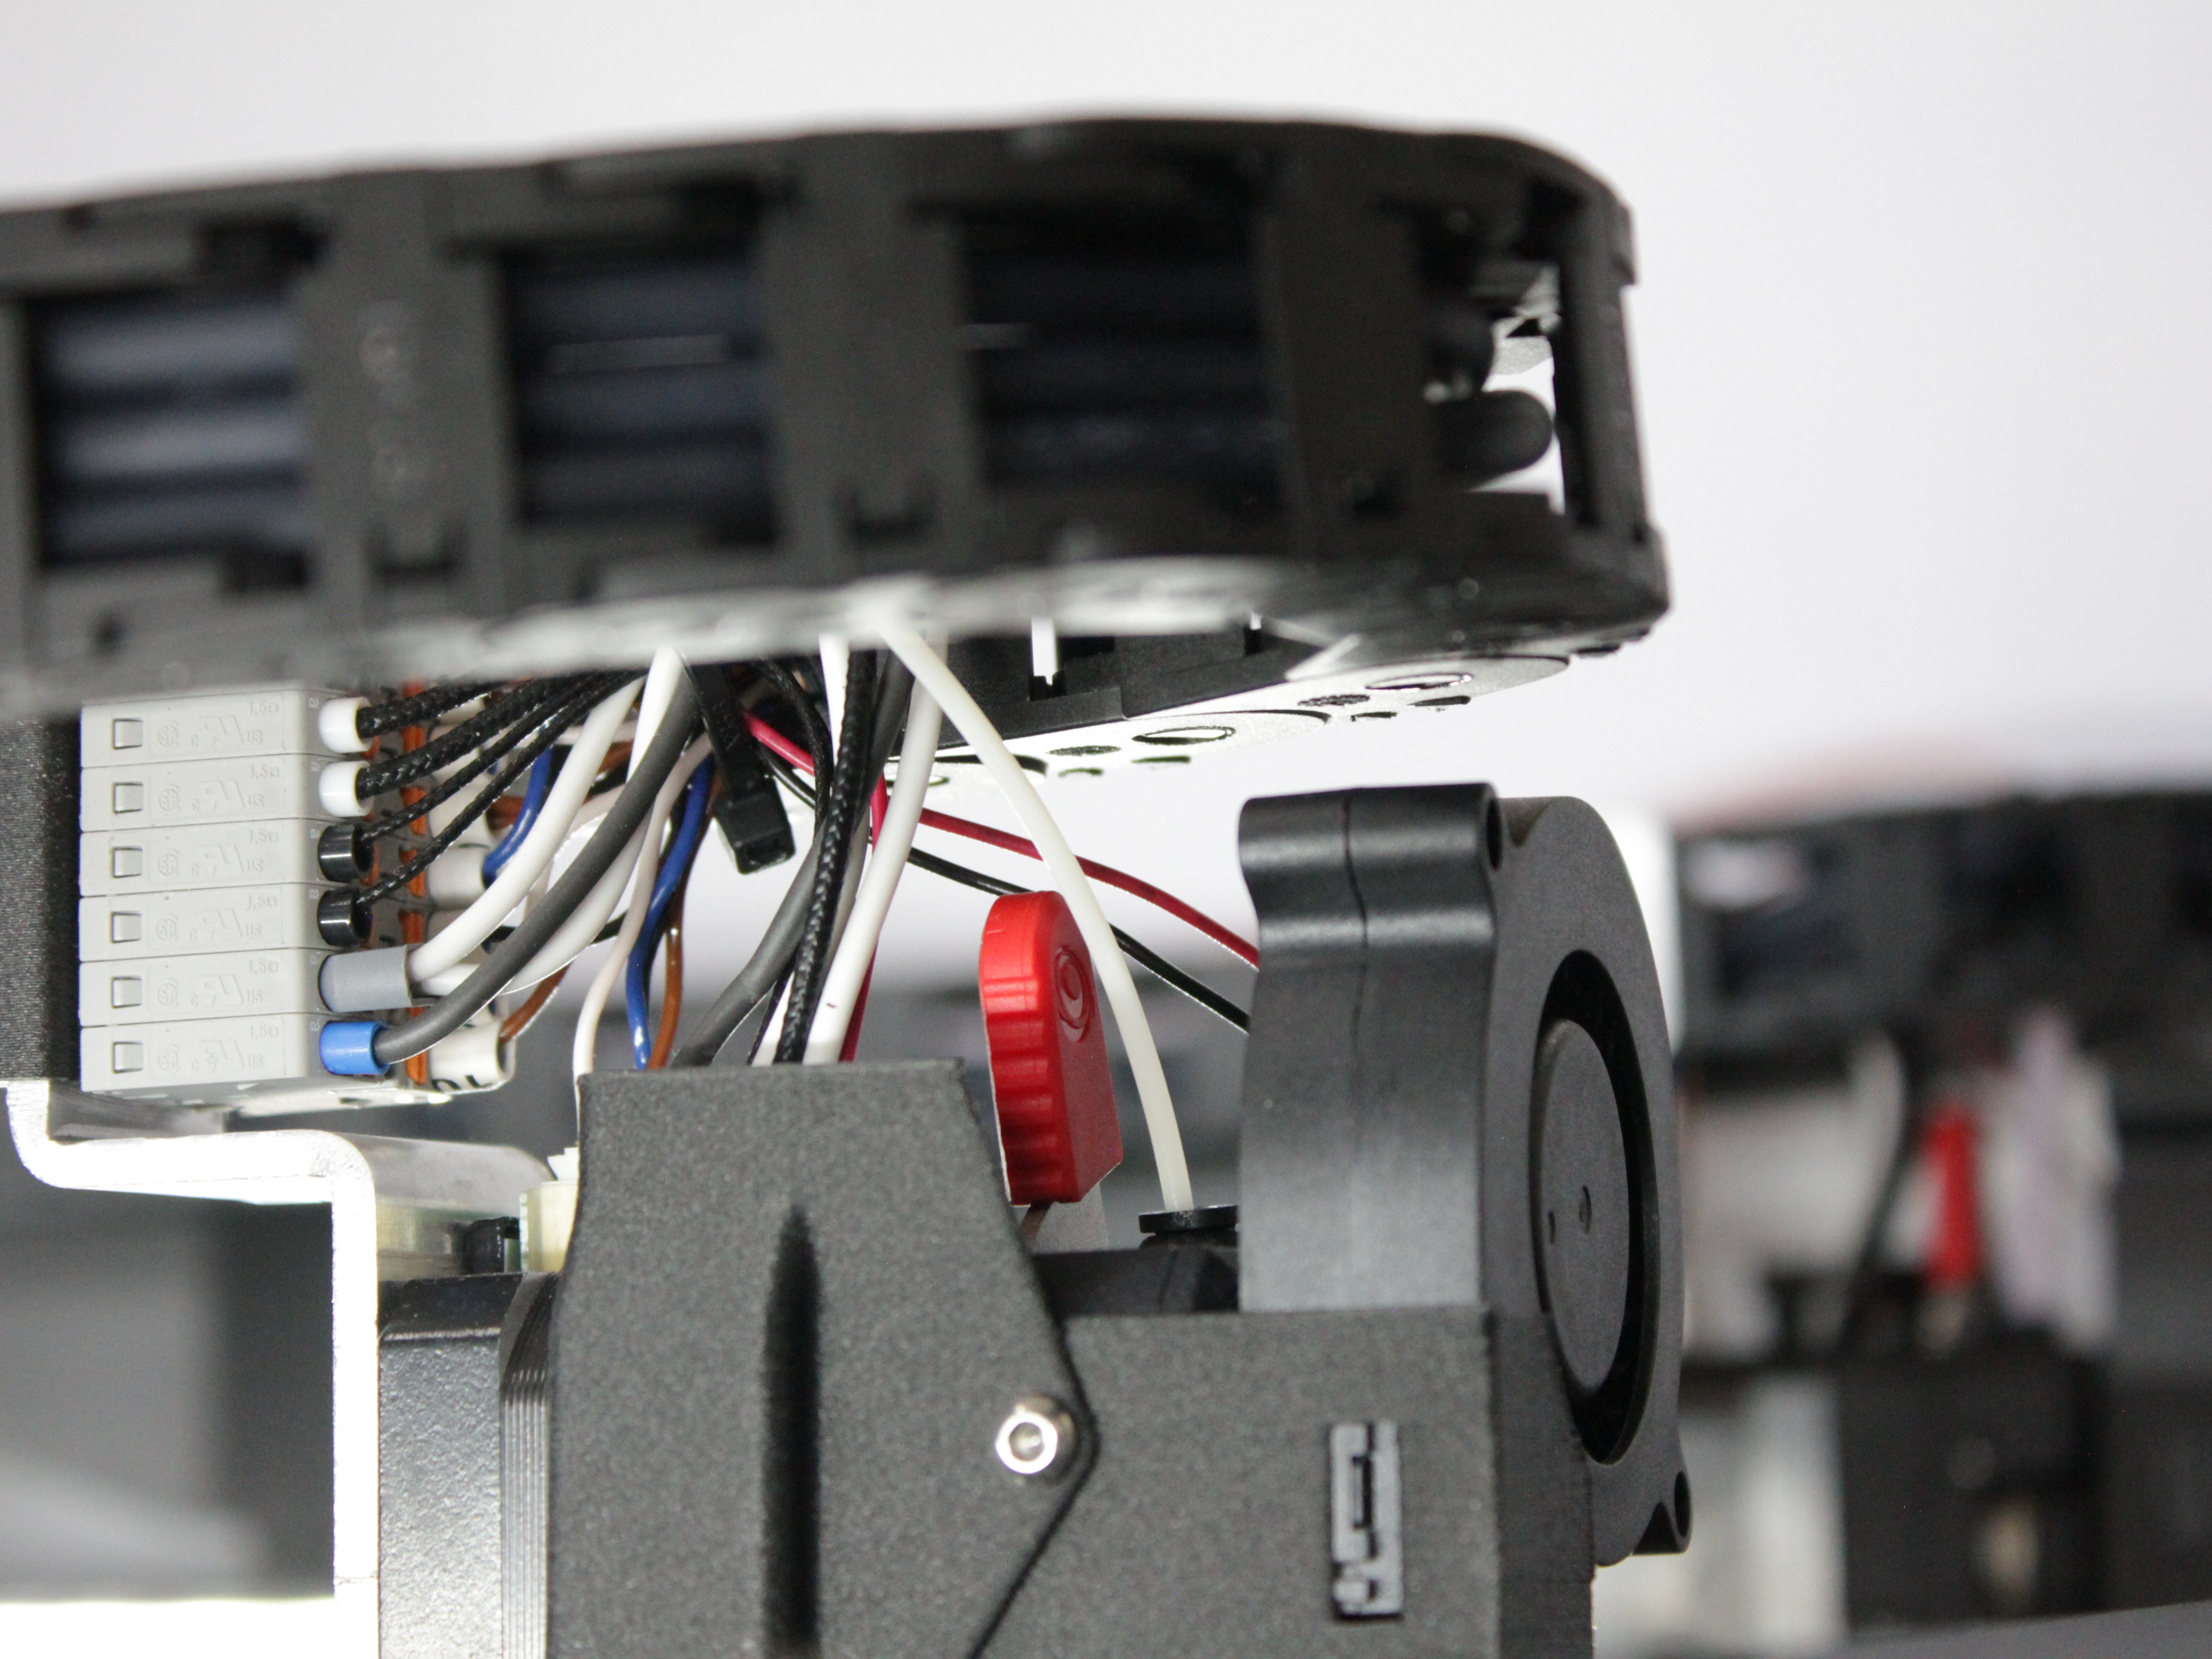
100°Cto160°Crange (Nylon might be slightly higher). Follow the printer's prompt. - Grip Filament: Once the printer indicates it's ready, firmly grip the filament just above the extruder assembly.
- Pull Firmly: Pull the filament directly upwards out of the extruder and hotend path in one smooth, continuous, and firm motion. Do not yank violently, but apply consistent force.
5. Inspect the Result
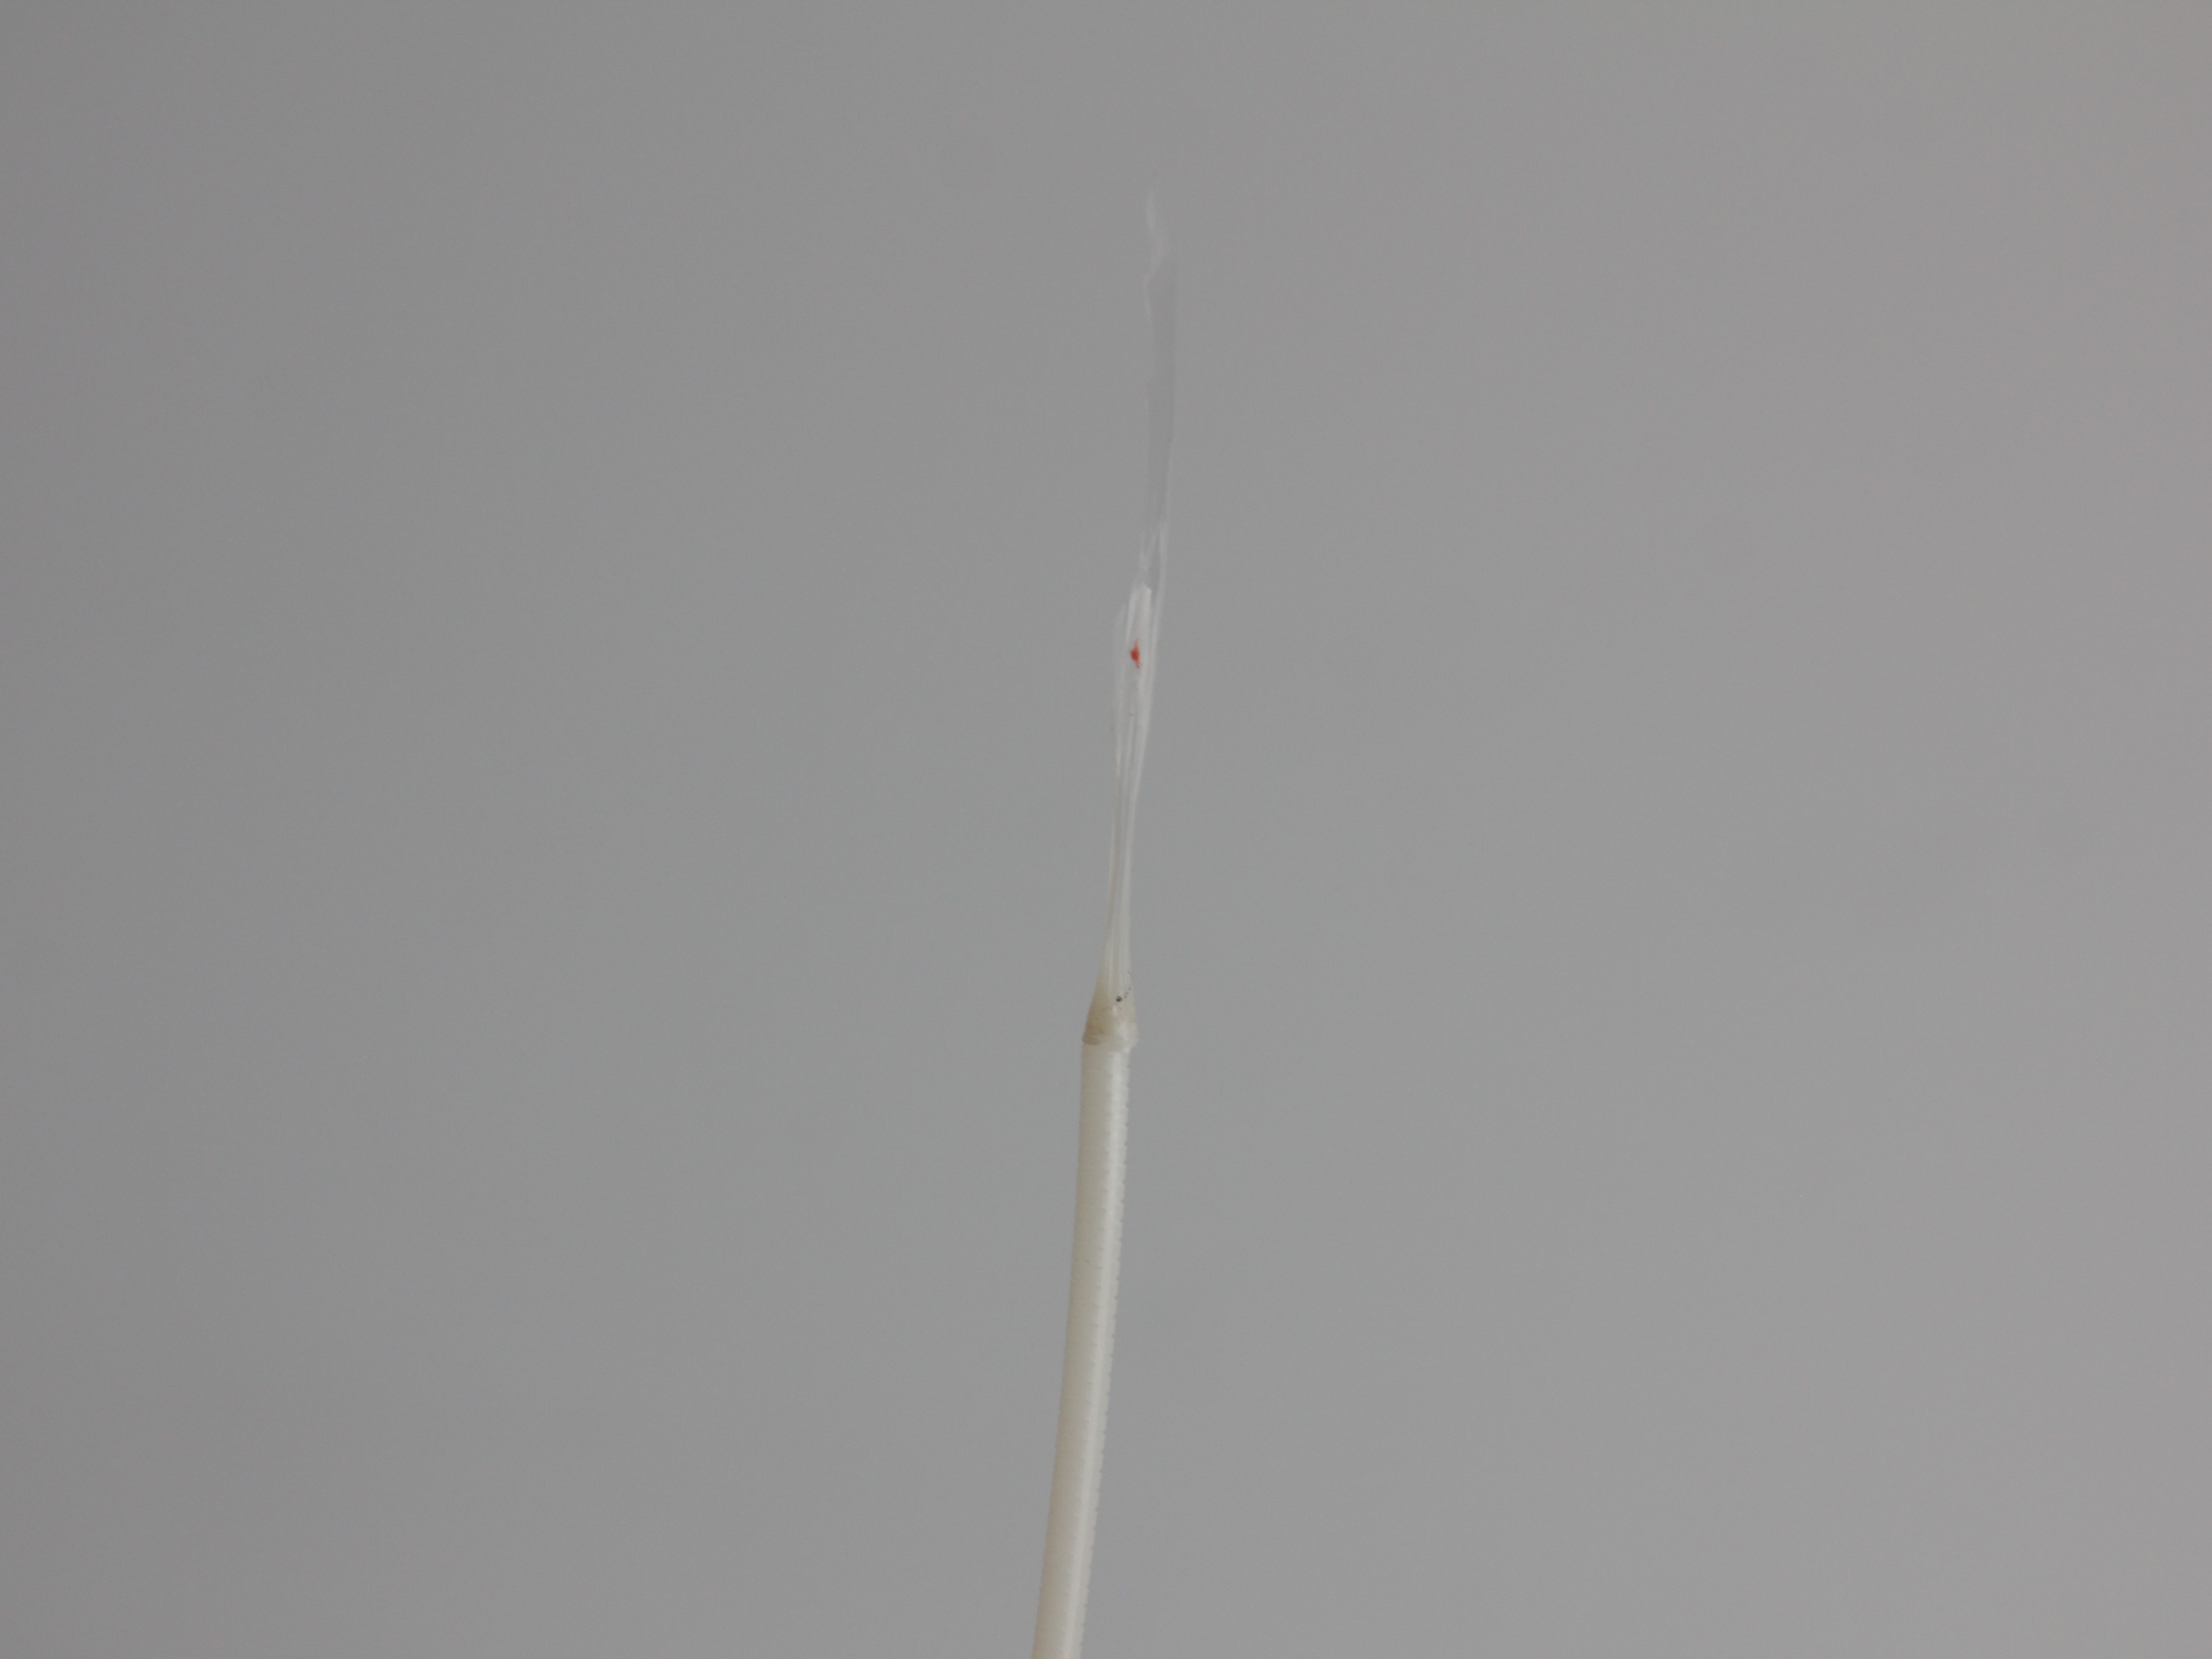
- Examine Tip: Look closely at the end of the filament you just removed. A successful Cold Pull will typically have a tip shaped like the inside of the nozzle cavity.
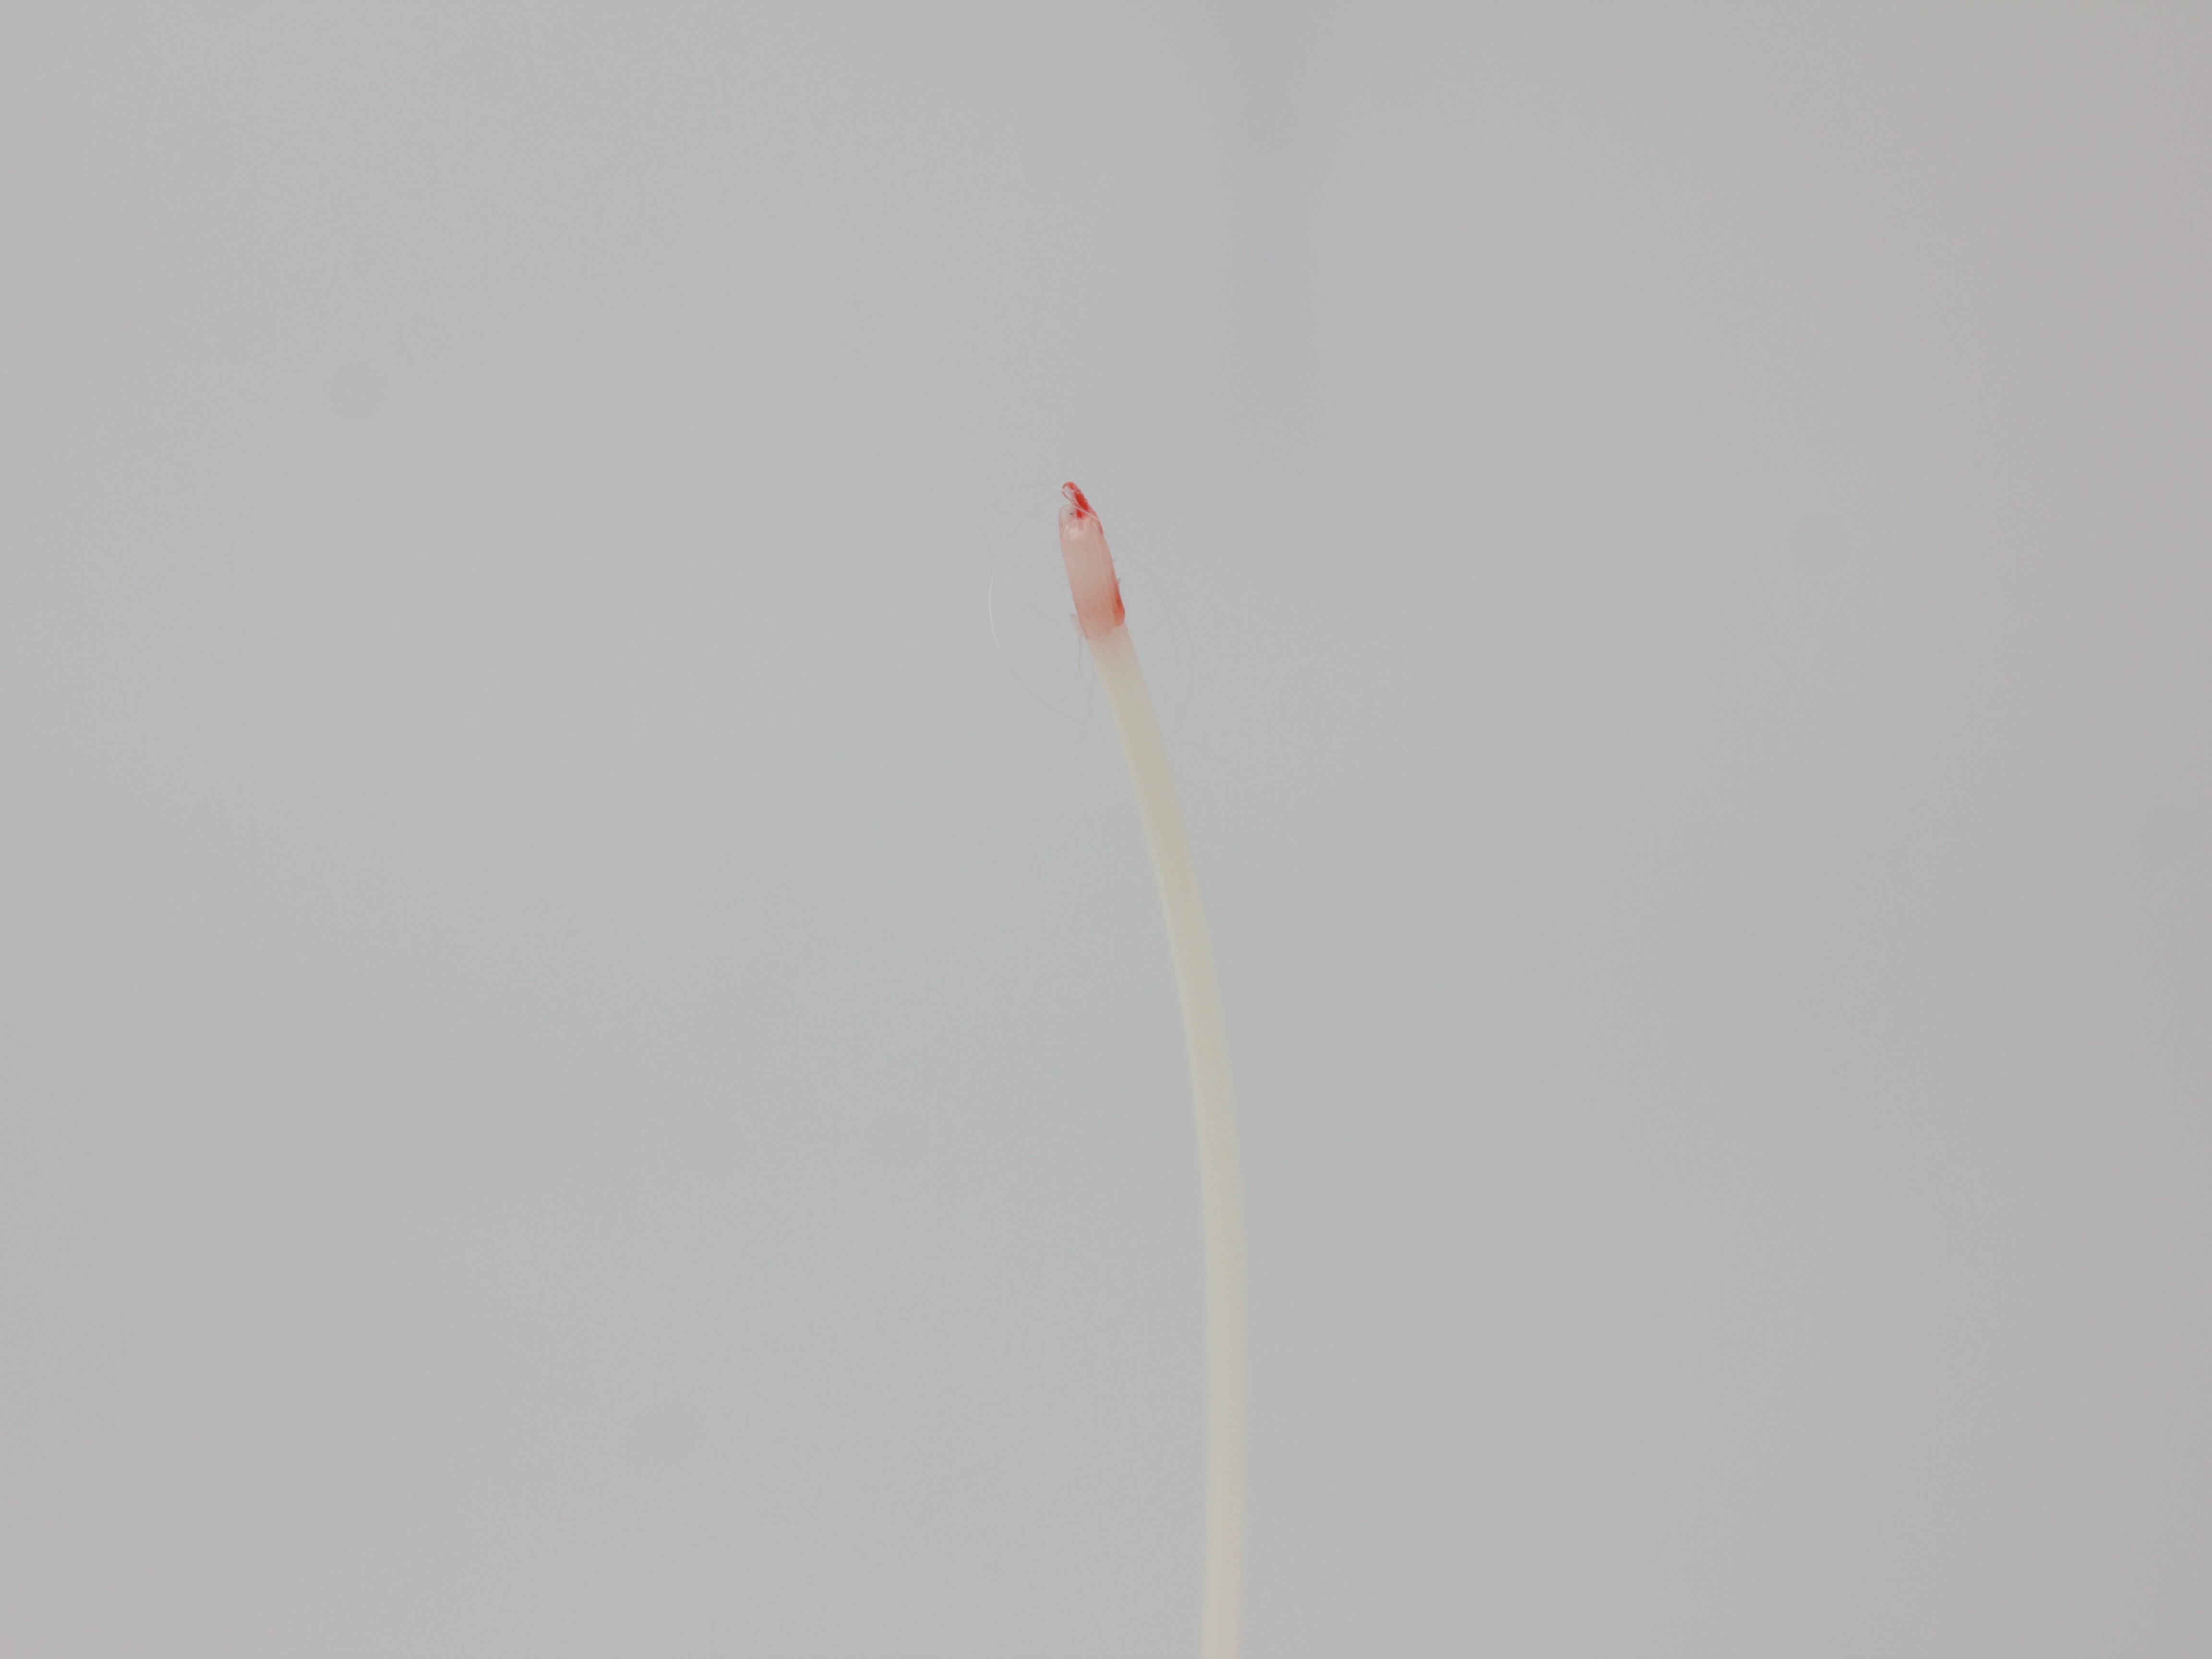
- Check for Debris: Observe the color and texture of the tip. You may see dark specks, discolored streaks, or small chunks of debris embedded in the filament - this is the contamination that has been successfully removed from your hotend.
6. Repeat if Necessary
- If the filament broke off inside the hotend during the pull, or if the removed tip still looks very dirty (indicating significant residue remains), repeat the Cold Pull procedure starting from Section 2 (Prepare and Load Filament). Continue performing Cold Pulls until the filament tip comes out clean and fully formed, indicating the melt path is clear.
FAQ
Troubleshooting
Support
If you could not find an answer here, reach out to our support team.