Nozzle Replacement
This guide covers nozzle replacement and basic troubleshooting for clogged nozzles on the Vision Miner 22IDEX V4. Replace the nozzle when it's worn, damaged, or when changing to a different nozzle size. If plastic won't extrude, this procedure helps identify whether the nozzle or heat break is clogged.
Before you begin – safety and risk
Read the Safety – Before You Begin article to understand the hazards involved in working on the Vision Miner 22IDEX V4 – including electrical, thermal, mechanical, and chemical risks. All procedures in this wiki are provided as recommendations only. By choosing to follow any procedure, you do so at your own risk.
Tools and Materials
- Nozzle Torque Wrench 7mm
- 12 mm open-end wrench (to hold heater block)
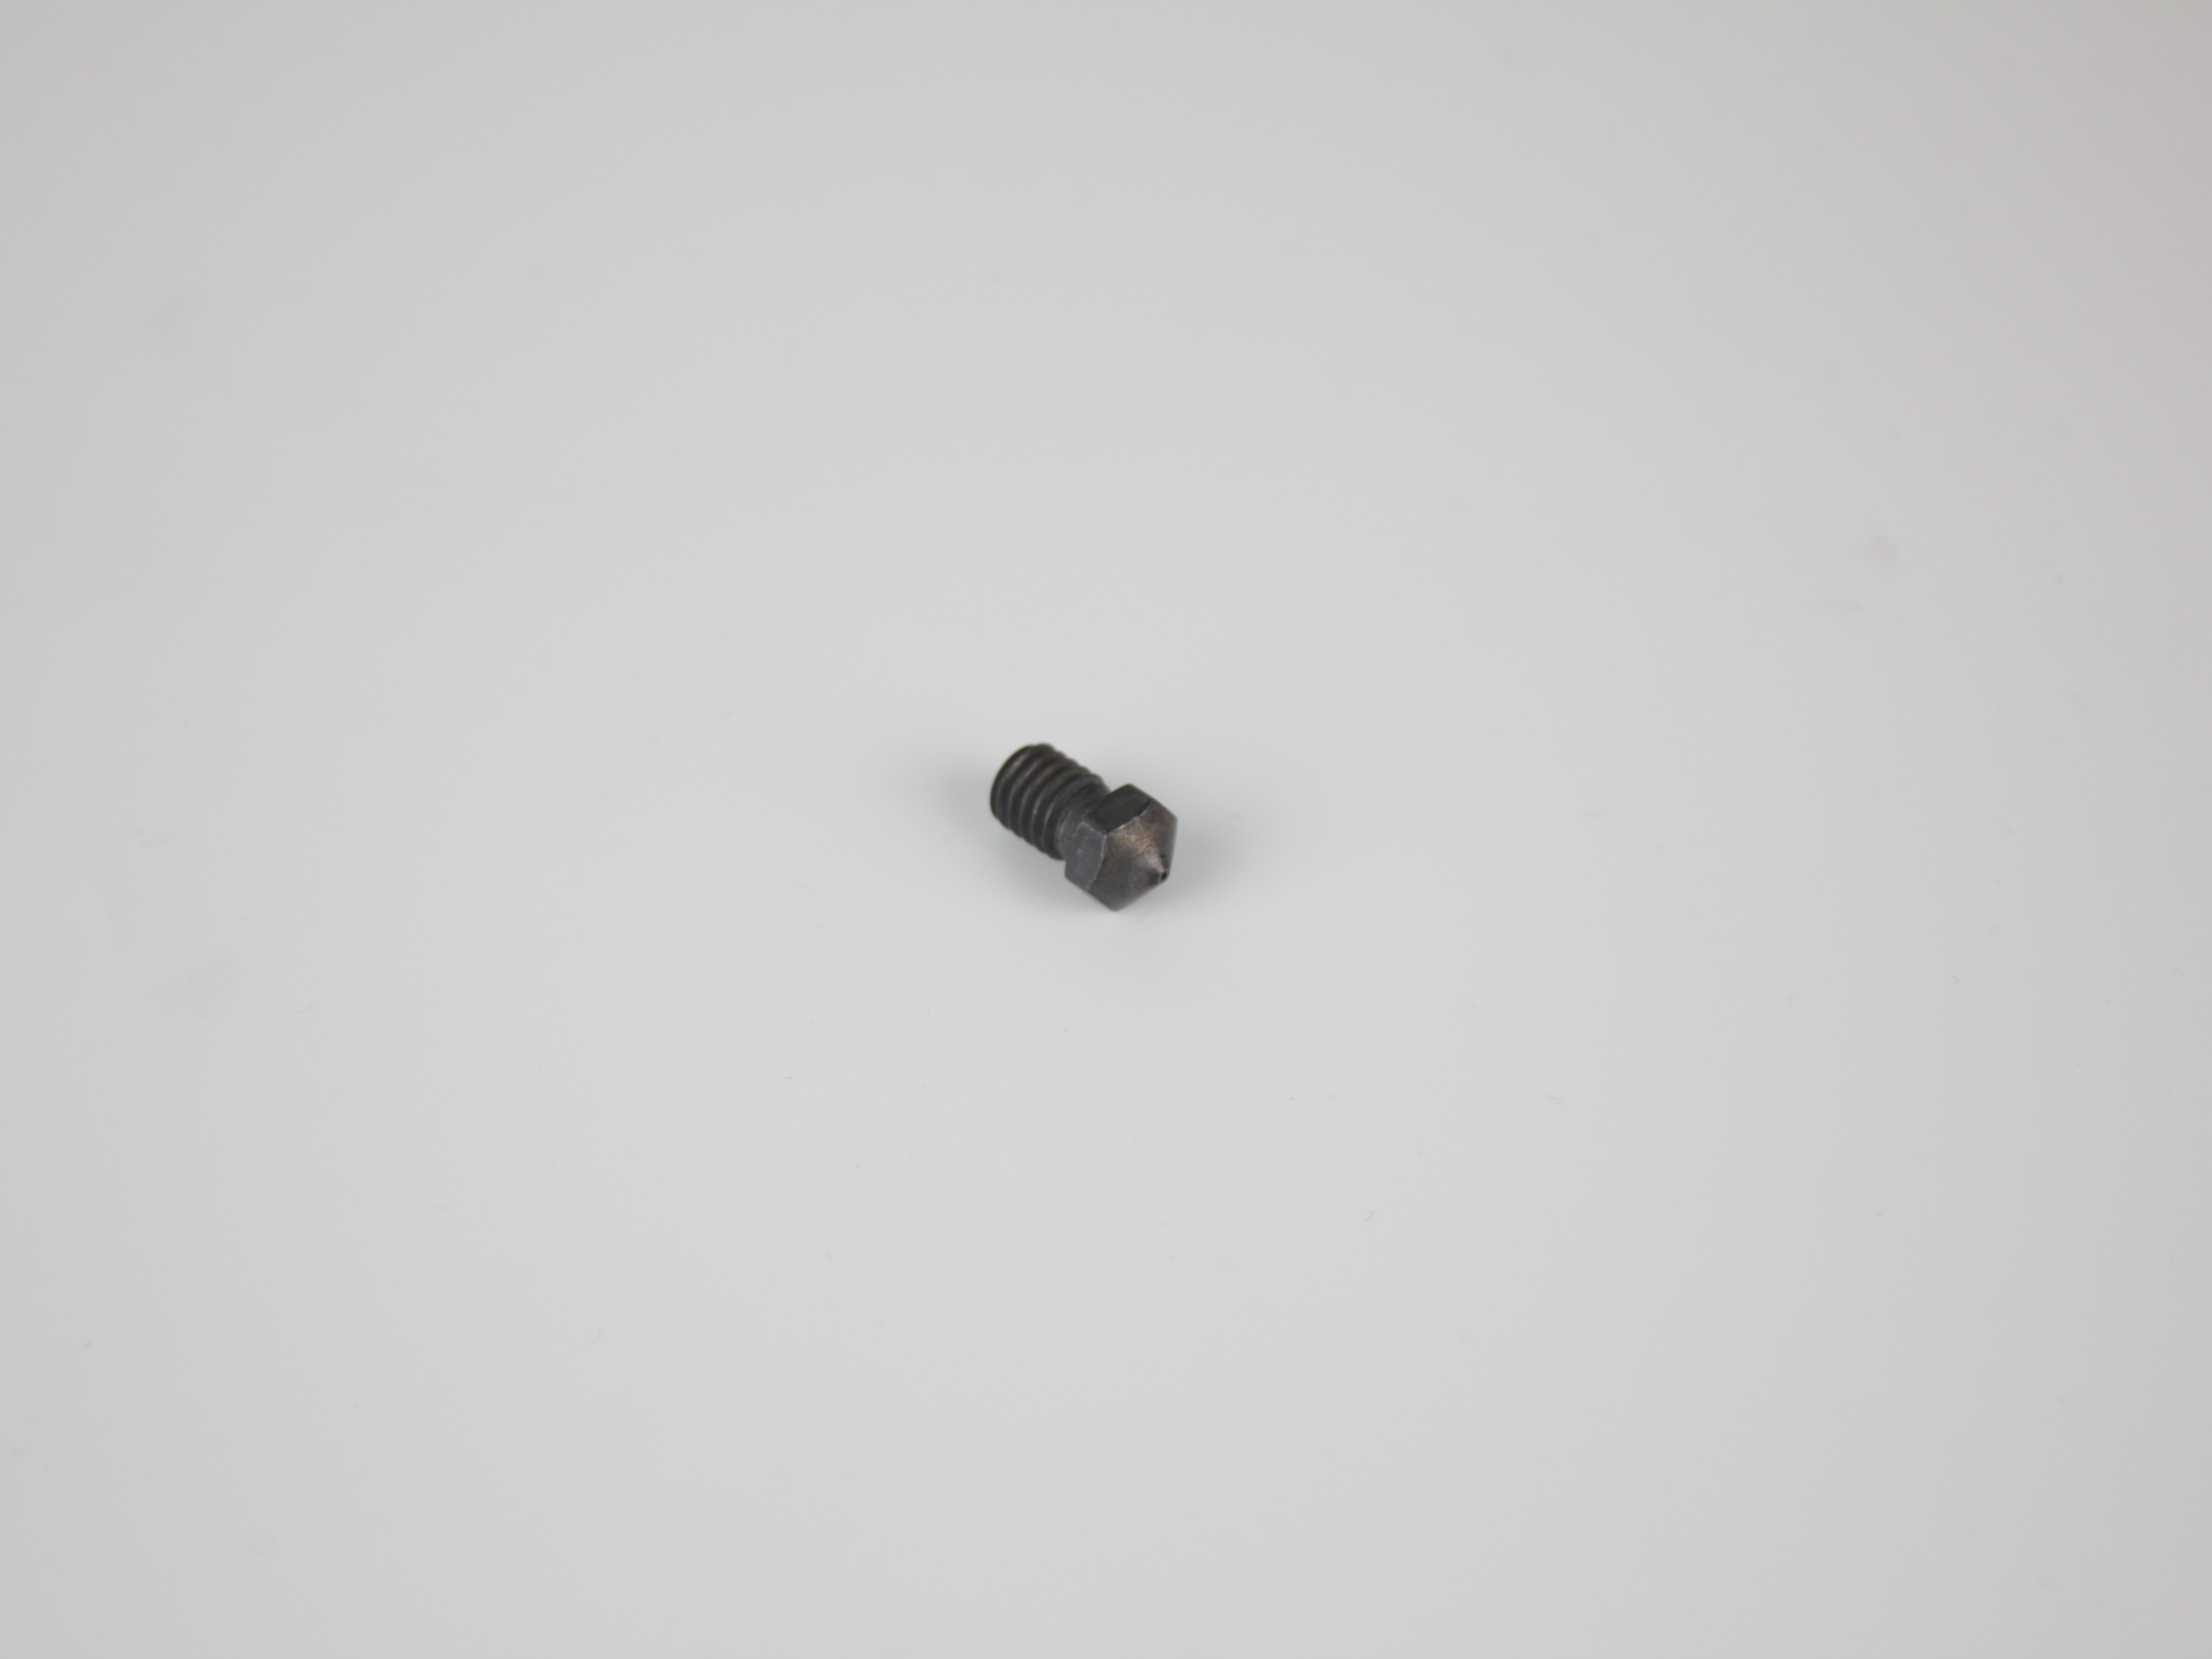
- Replacement nozzle (see note below)
- Lint-free cloth or paper towel
Nozzle compatibility by printer version
For Vision Miner 22IDEX V1: Use M6x1 Volcano Nozzle.
For Vision Miner 22IDEX V2, V3, and V4: Browse the full nozzle collection to find the correct nozzle for your printer version. The Volcano-style nozzle is not compatible with V2, V3, or V4 models.
1. Heat the hotend
Hot nozzle and heater block
The nozzle and heater block will reach temperatures above 250°C. Do not touch them during or immediately after this procedure. Allow at least 10 minutes to cool before touching.
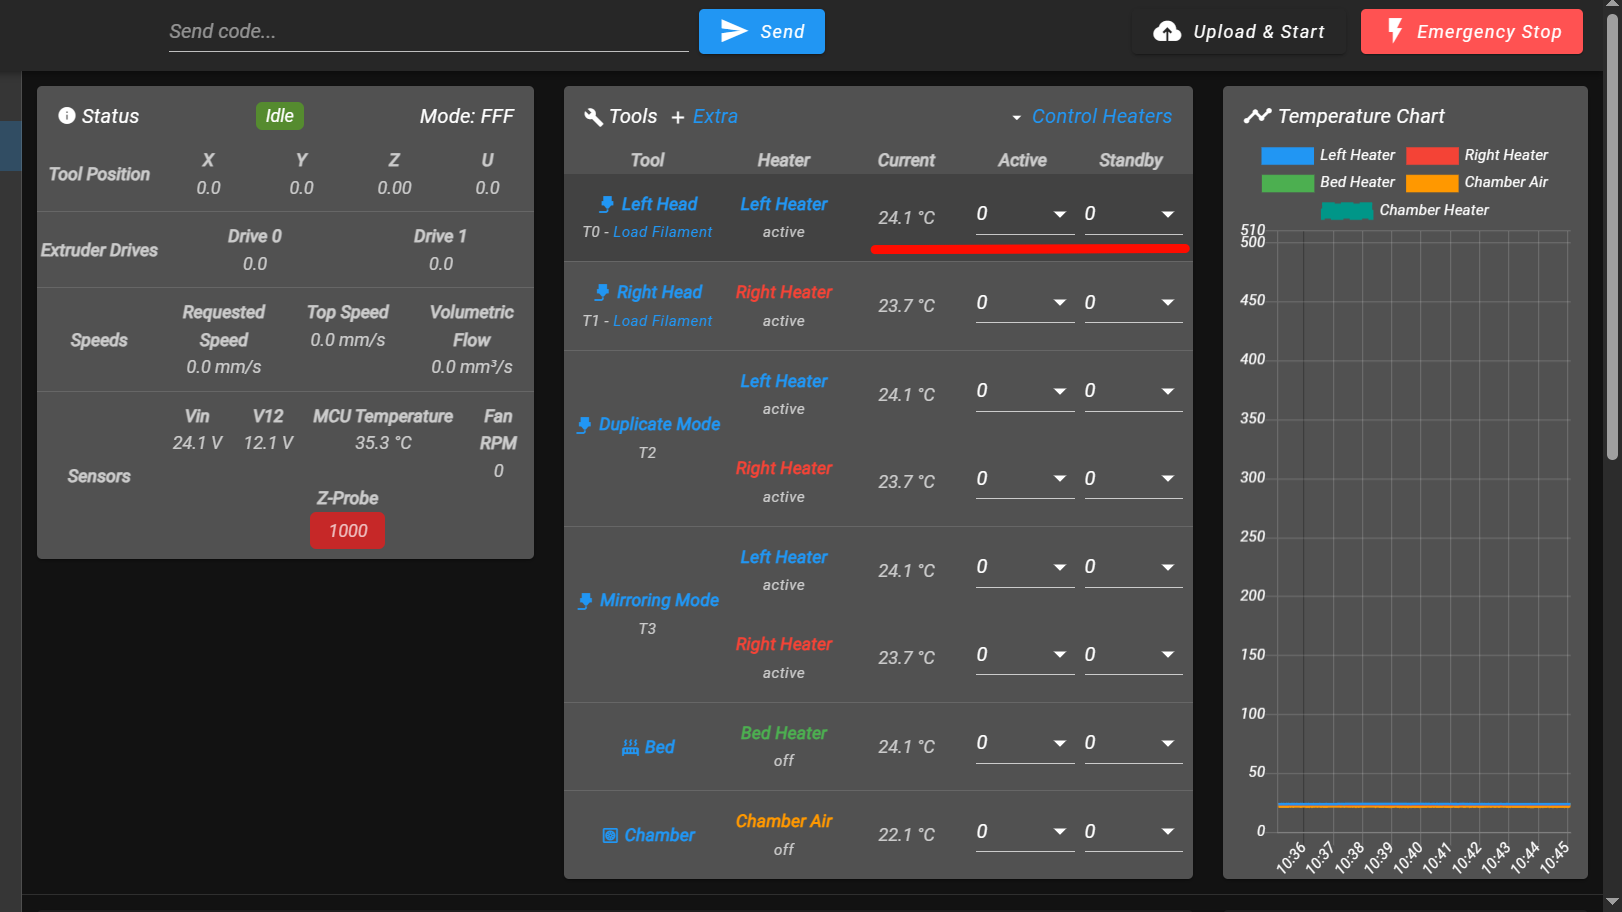
- In the Web Interface, navigate to the Dashboard tab.
- Select the tool you want to service (T0 or T1).
- Set the hotend temperature to 20–50°C below your normal printing temperature. For example, if you print at 300°C, heat to 250°C. This softens the plastic enough to remove the nozzle without excess oozing.
- Wait for the hotend to reach temperature.
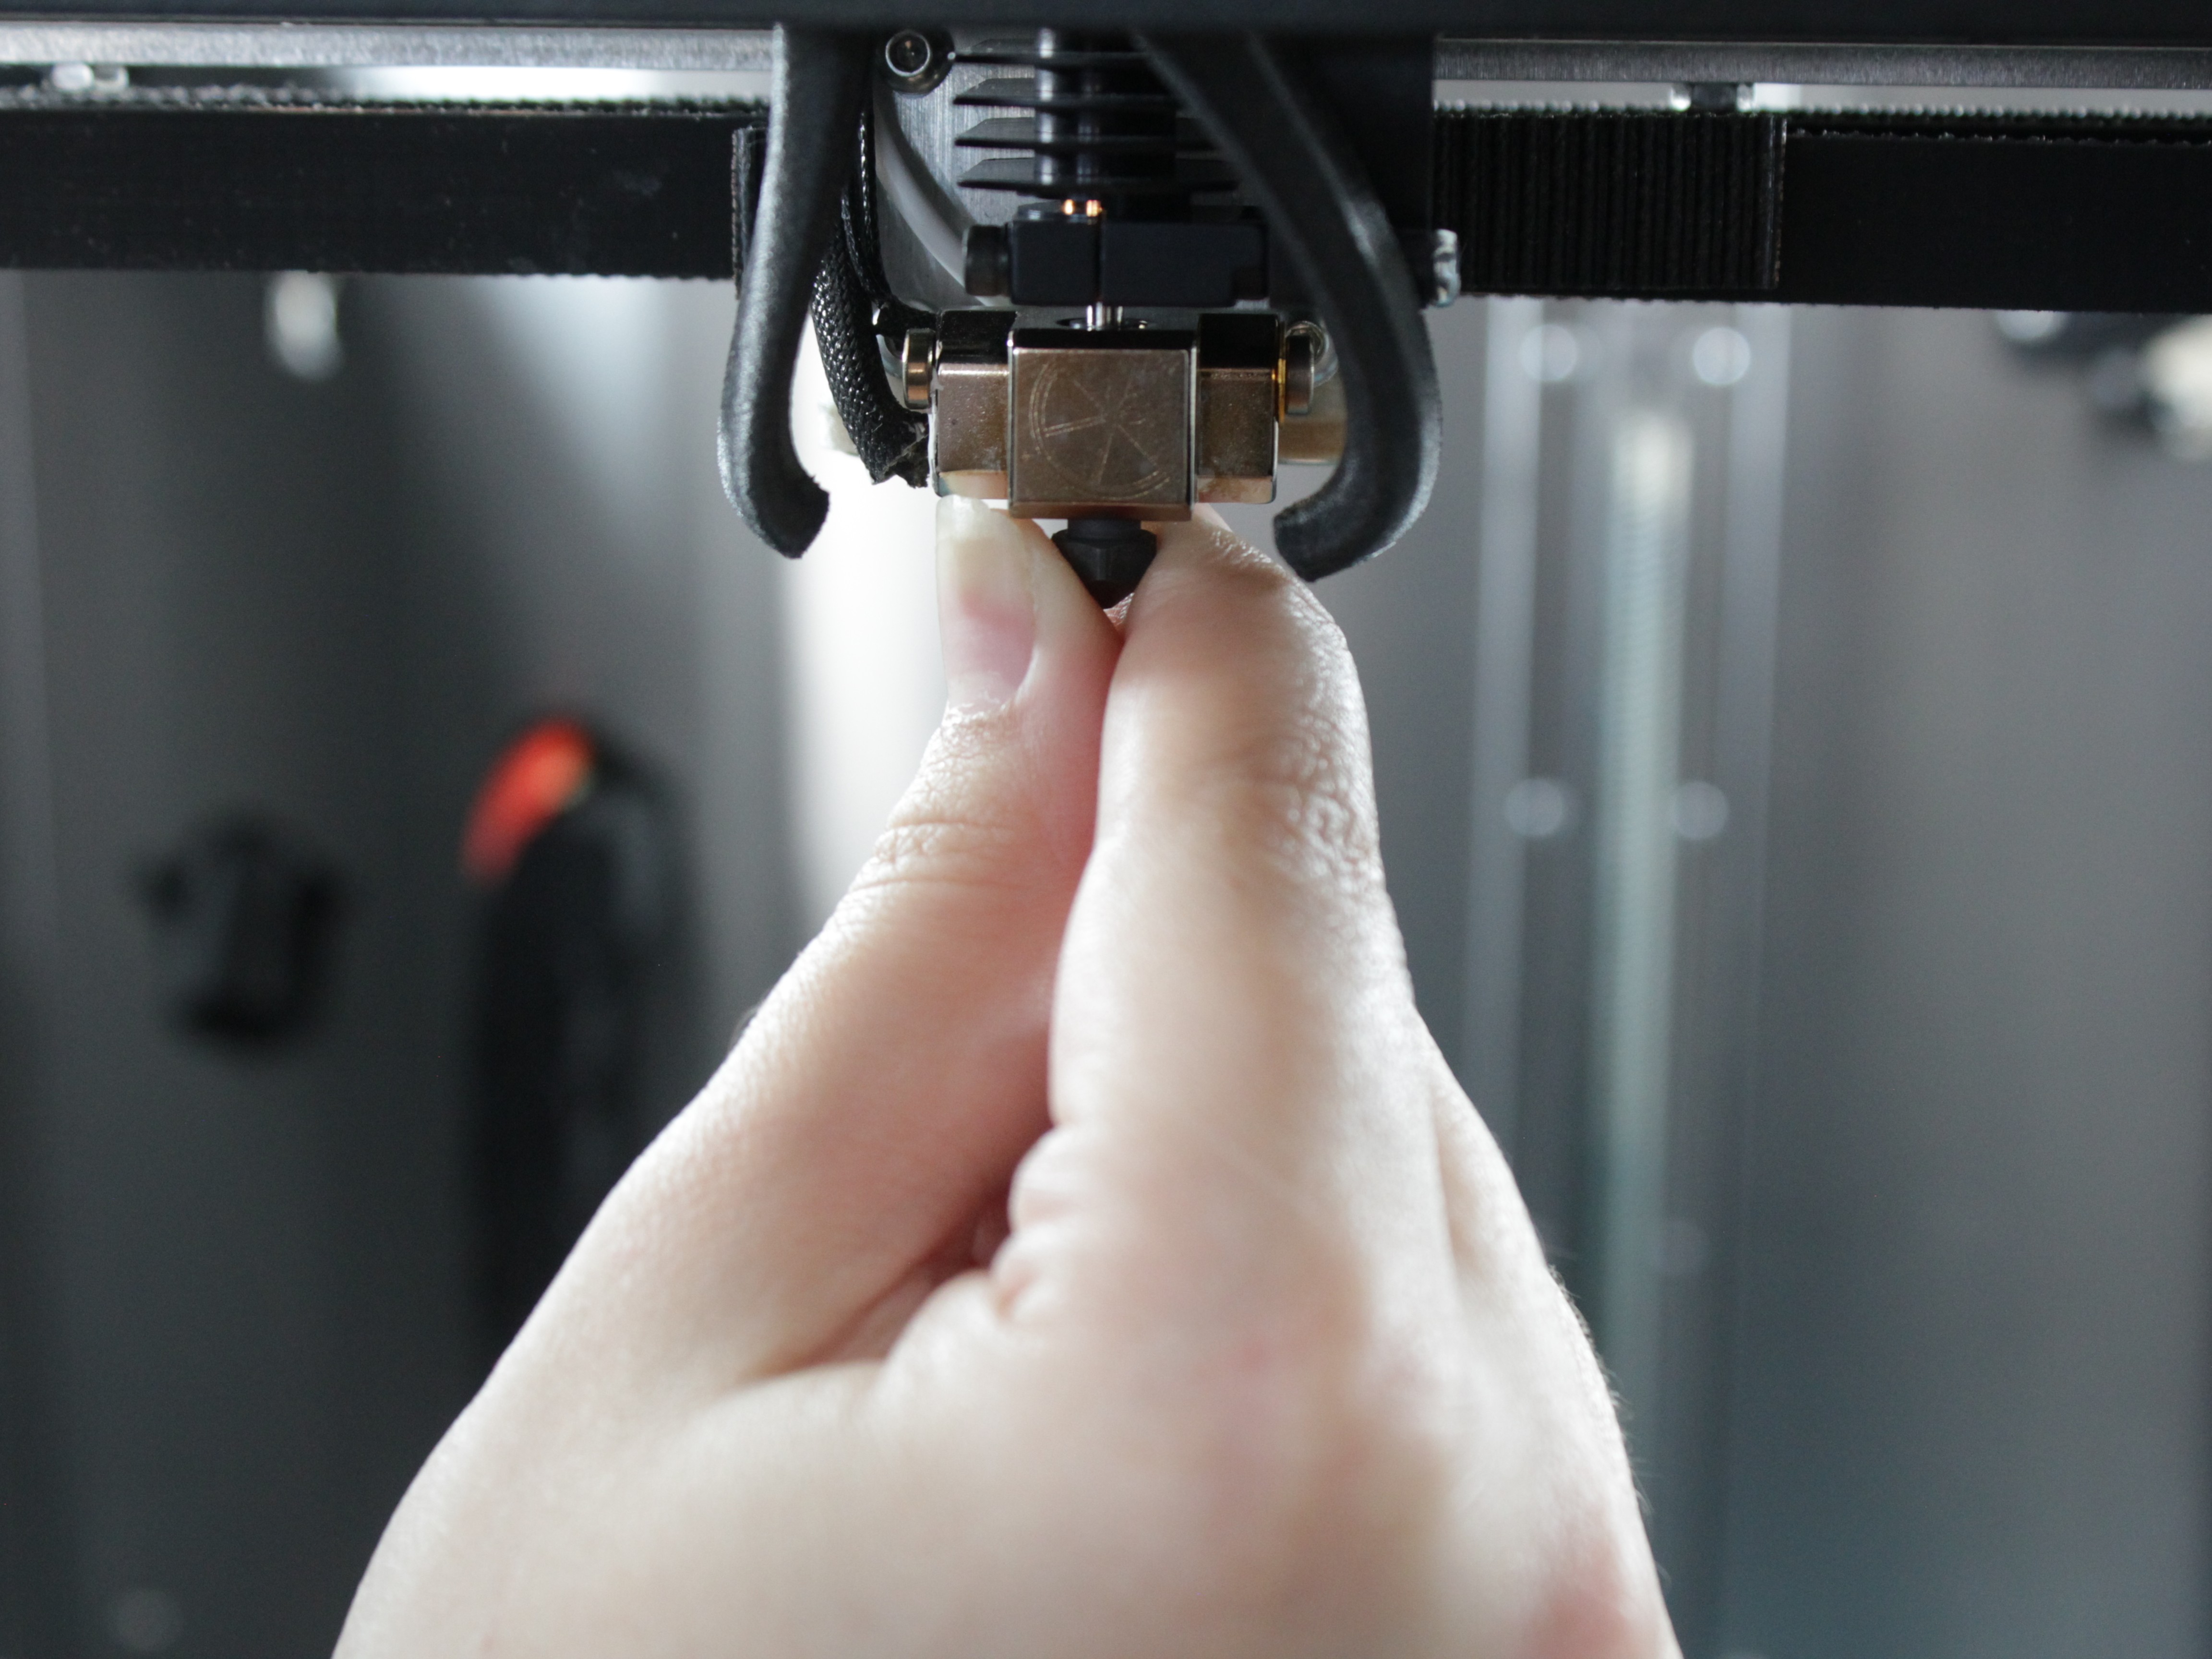
2. Remove the old nozzle
- Hold the heater block firmly with the 12 mm wrench to prevent it from rotating.
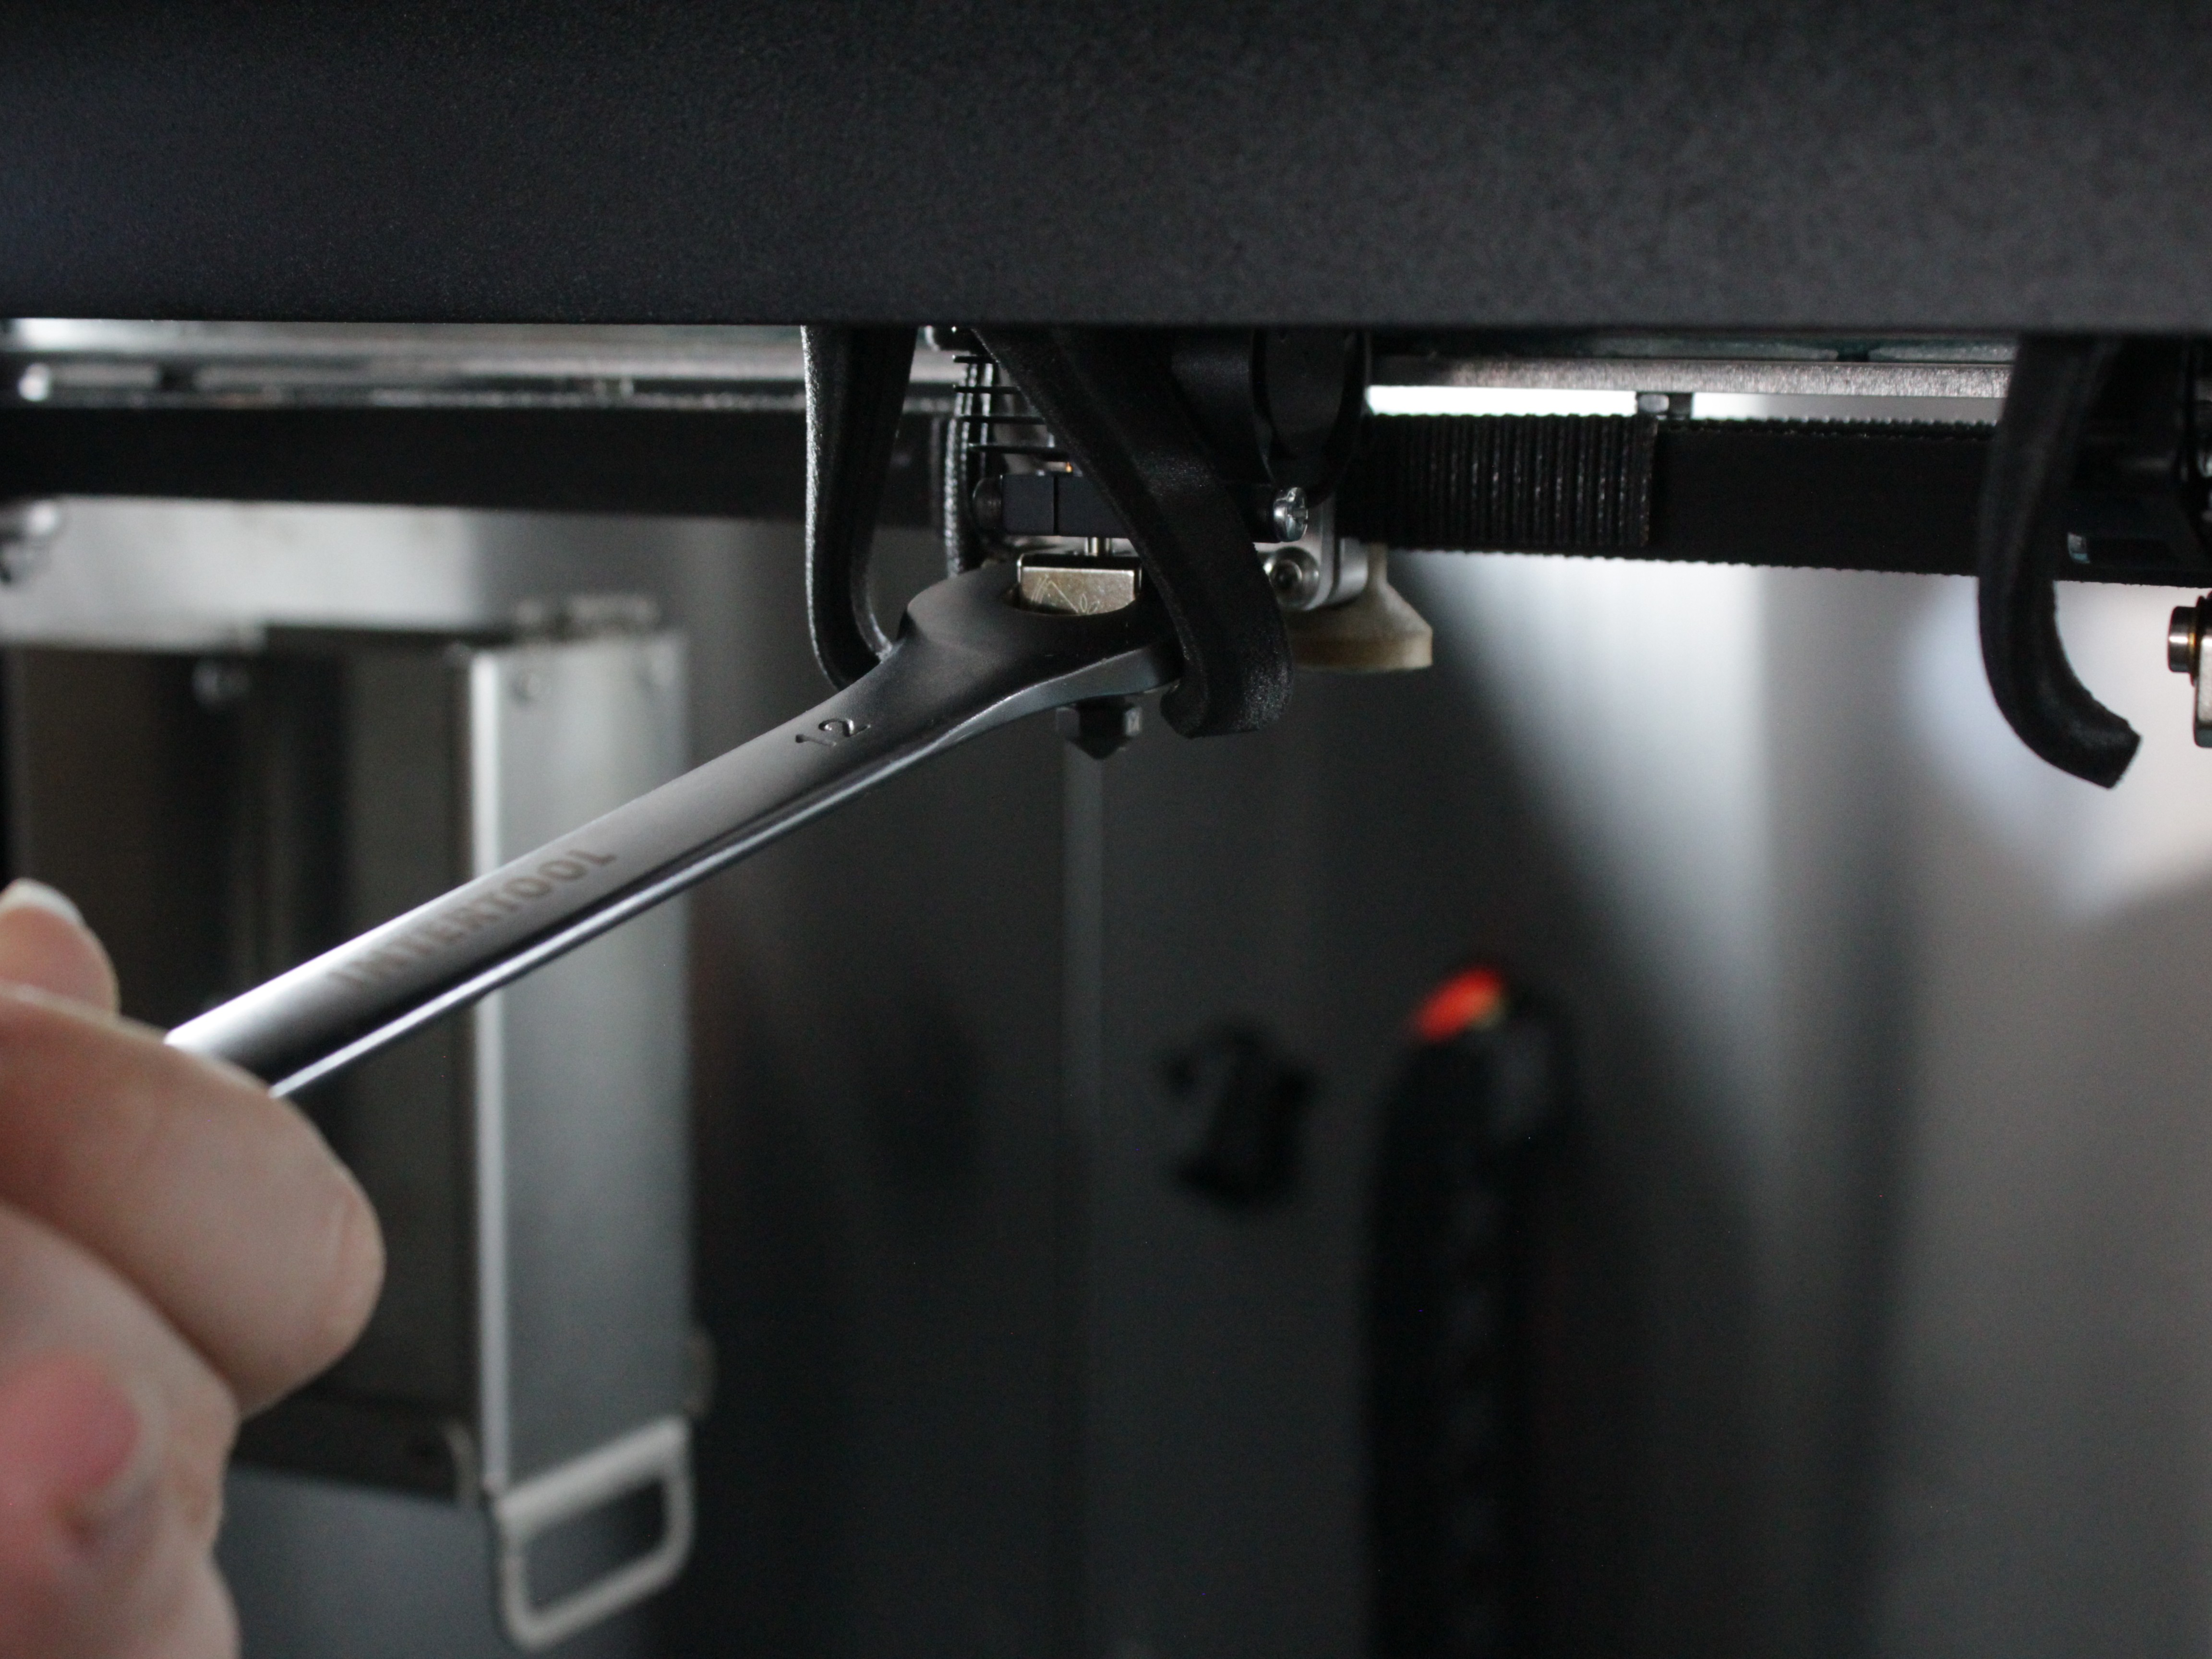
- Use the Nozzle Torque Wrench 7mm to unscrew the nozzle counterclockwise. Apply steady, even force – do not jerk or twist the heater block.
- Once the nozzle is loose, remove it completely by hand (use a cloth if it's still hot). Set it aside on a heat-resistant surface.
- Wipe away any plastic residue from the heater block threads with a lint-free cloth while the block is still hot.
- In the Web Interface, set the tool temperature to 0°C (standby or off). Wait until the hotend cools to room temperature before proceeding. This prevents burns when threading the new nozzle by hand.
3. Install the new nozzle
- Thread the new nozzle into the heater block by hand. Turn it clockwise until it seats against the heat break – you'll feel slight resistance. Do not force it.
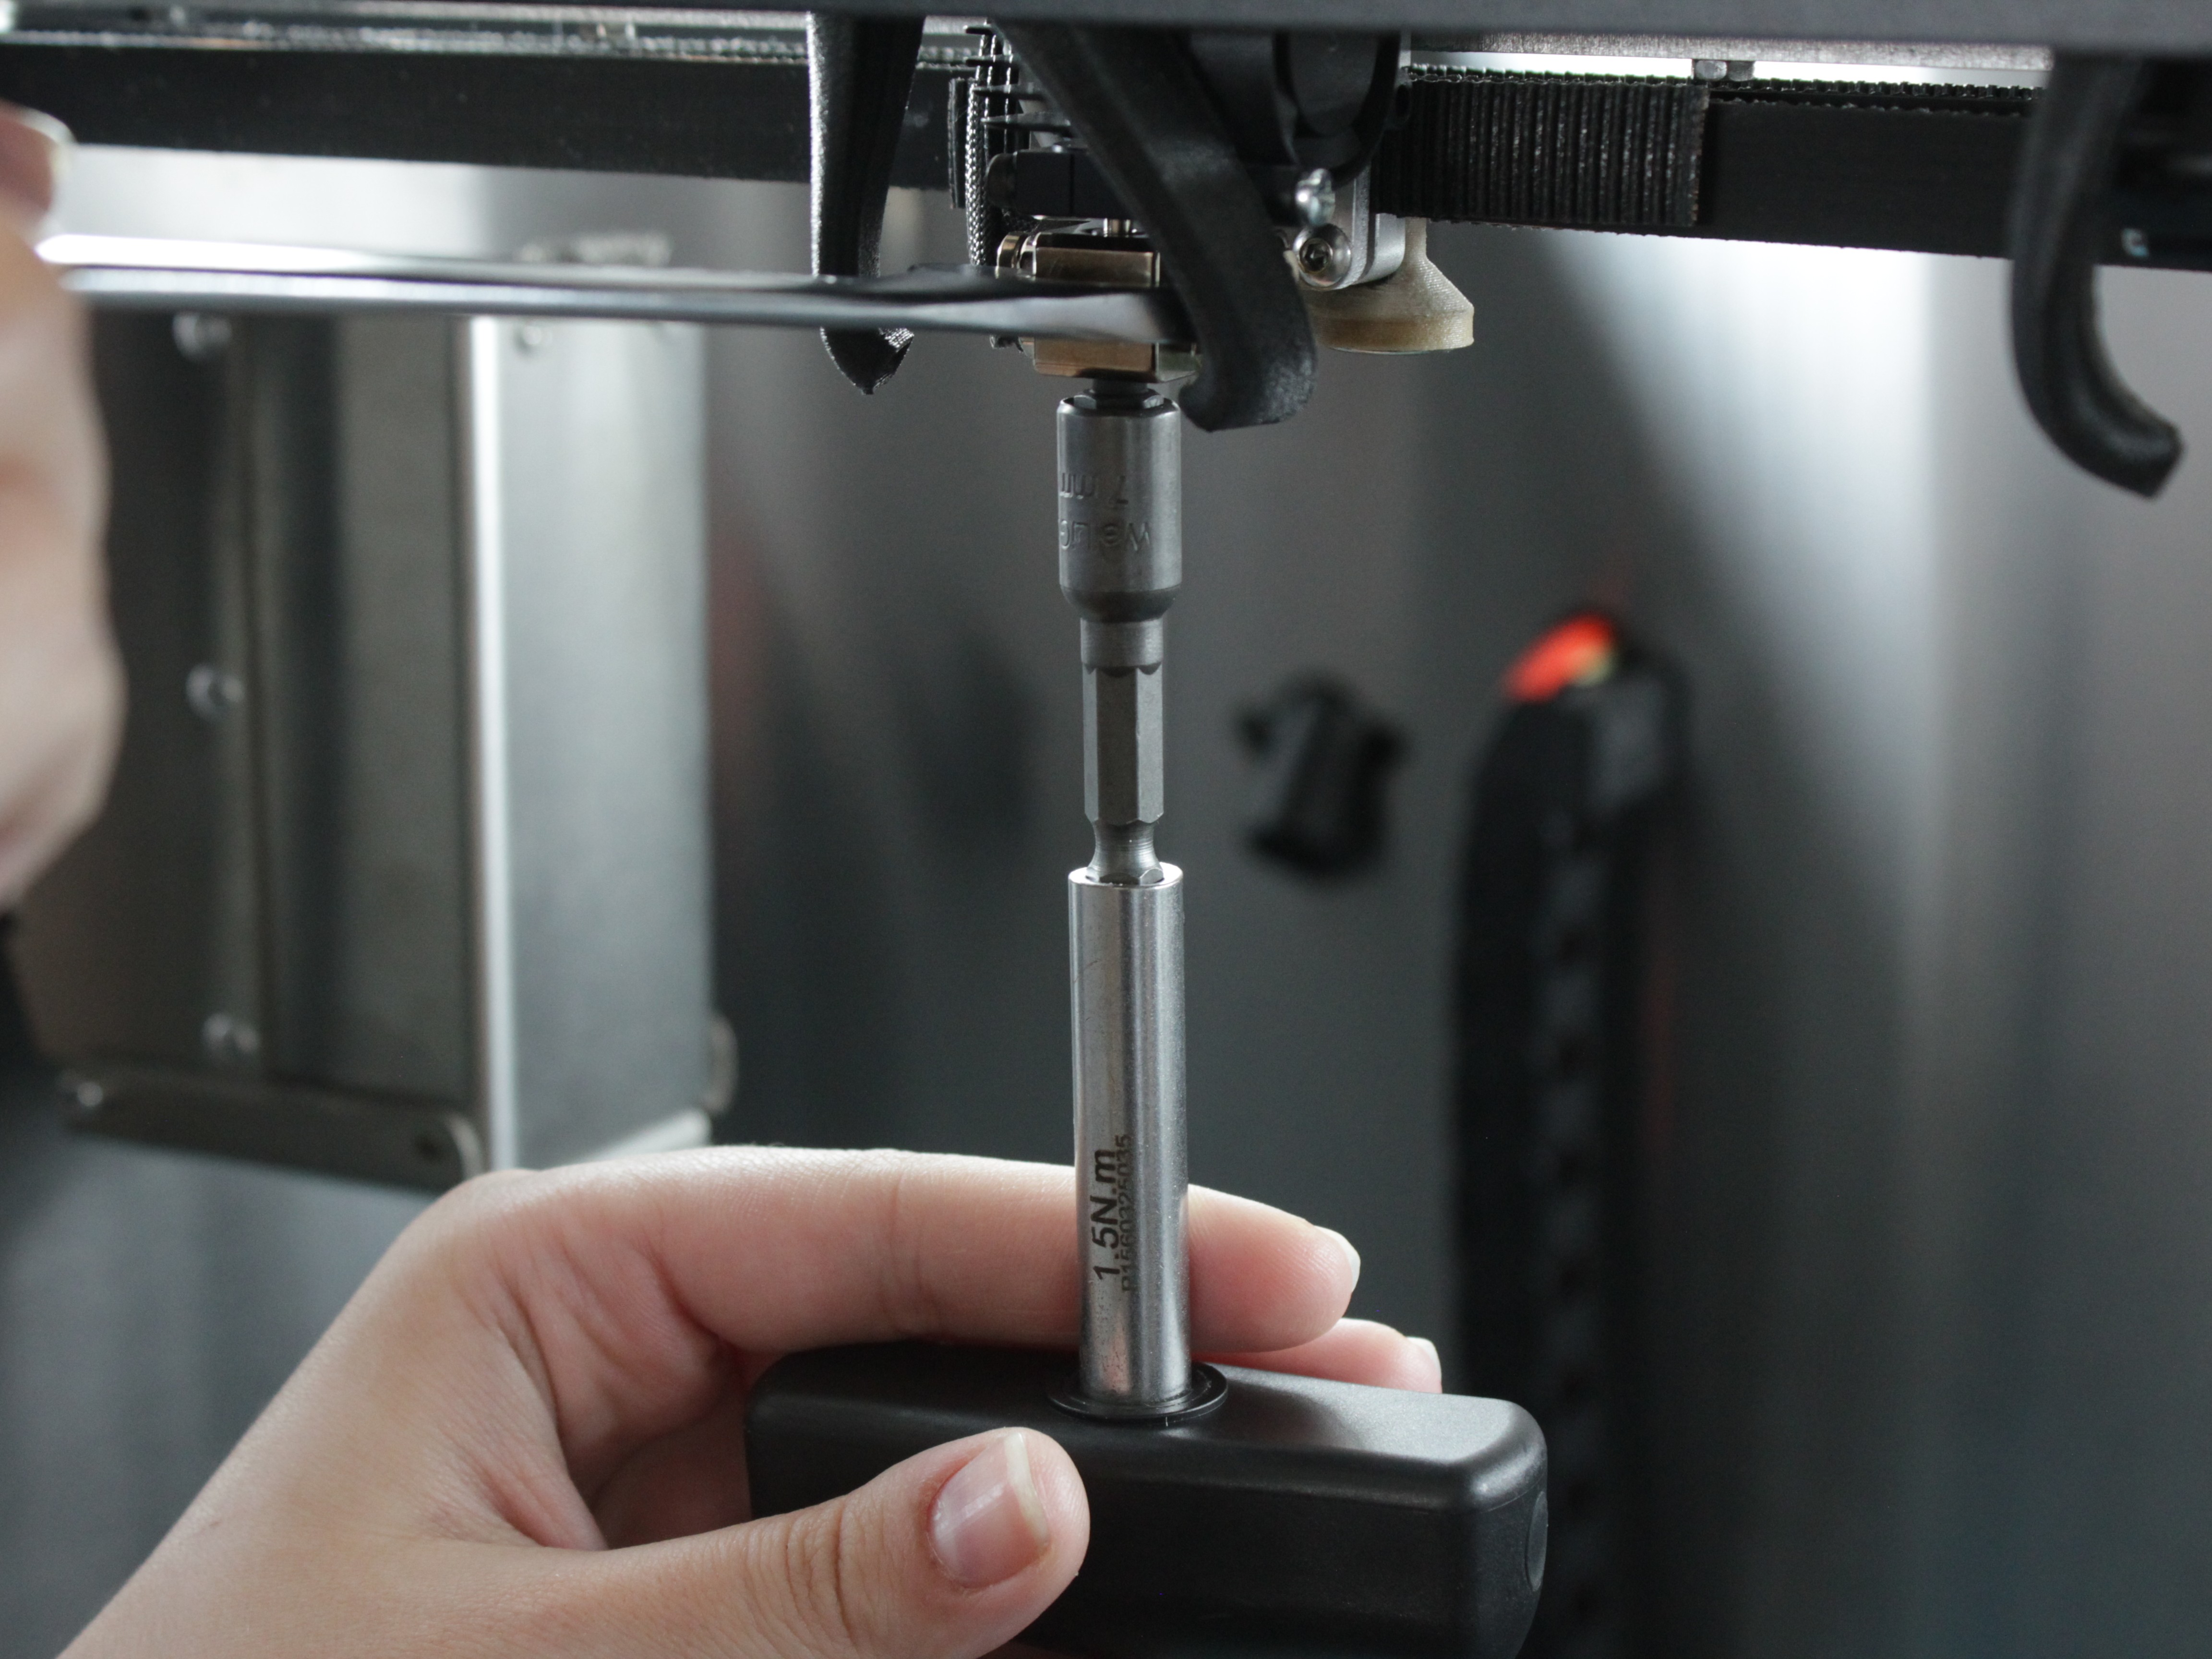
- Hold the heater block with the 12 mm wrench.
- Use the Nozzle Torque Wrench 7mm to tighten the nozzle to 1.5 Nm. The torque wrench will click when the correct torque is reached.
Do not overtighten
Tightening beyond 1.5 Nm can damage the heat break or crack the nozzle. Stop immediately when the torque wrench clicks.
- In the Web Interface, set the tool temperature back to standby or turn off the heater.
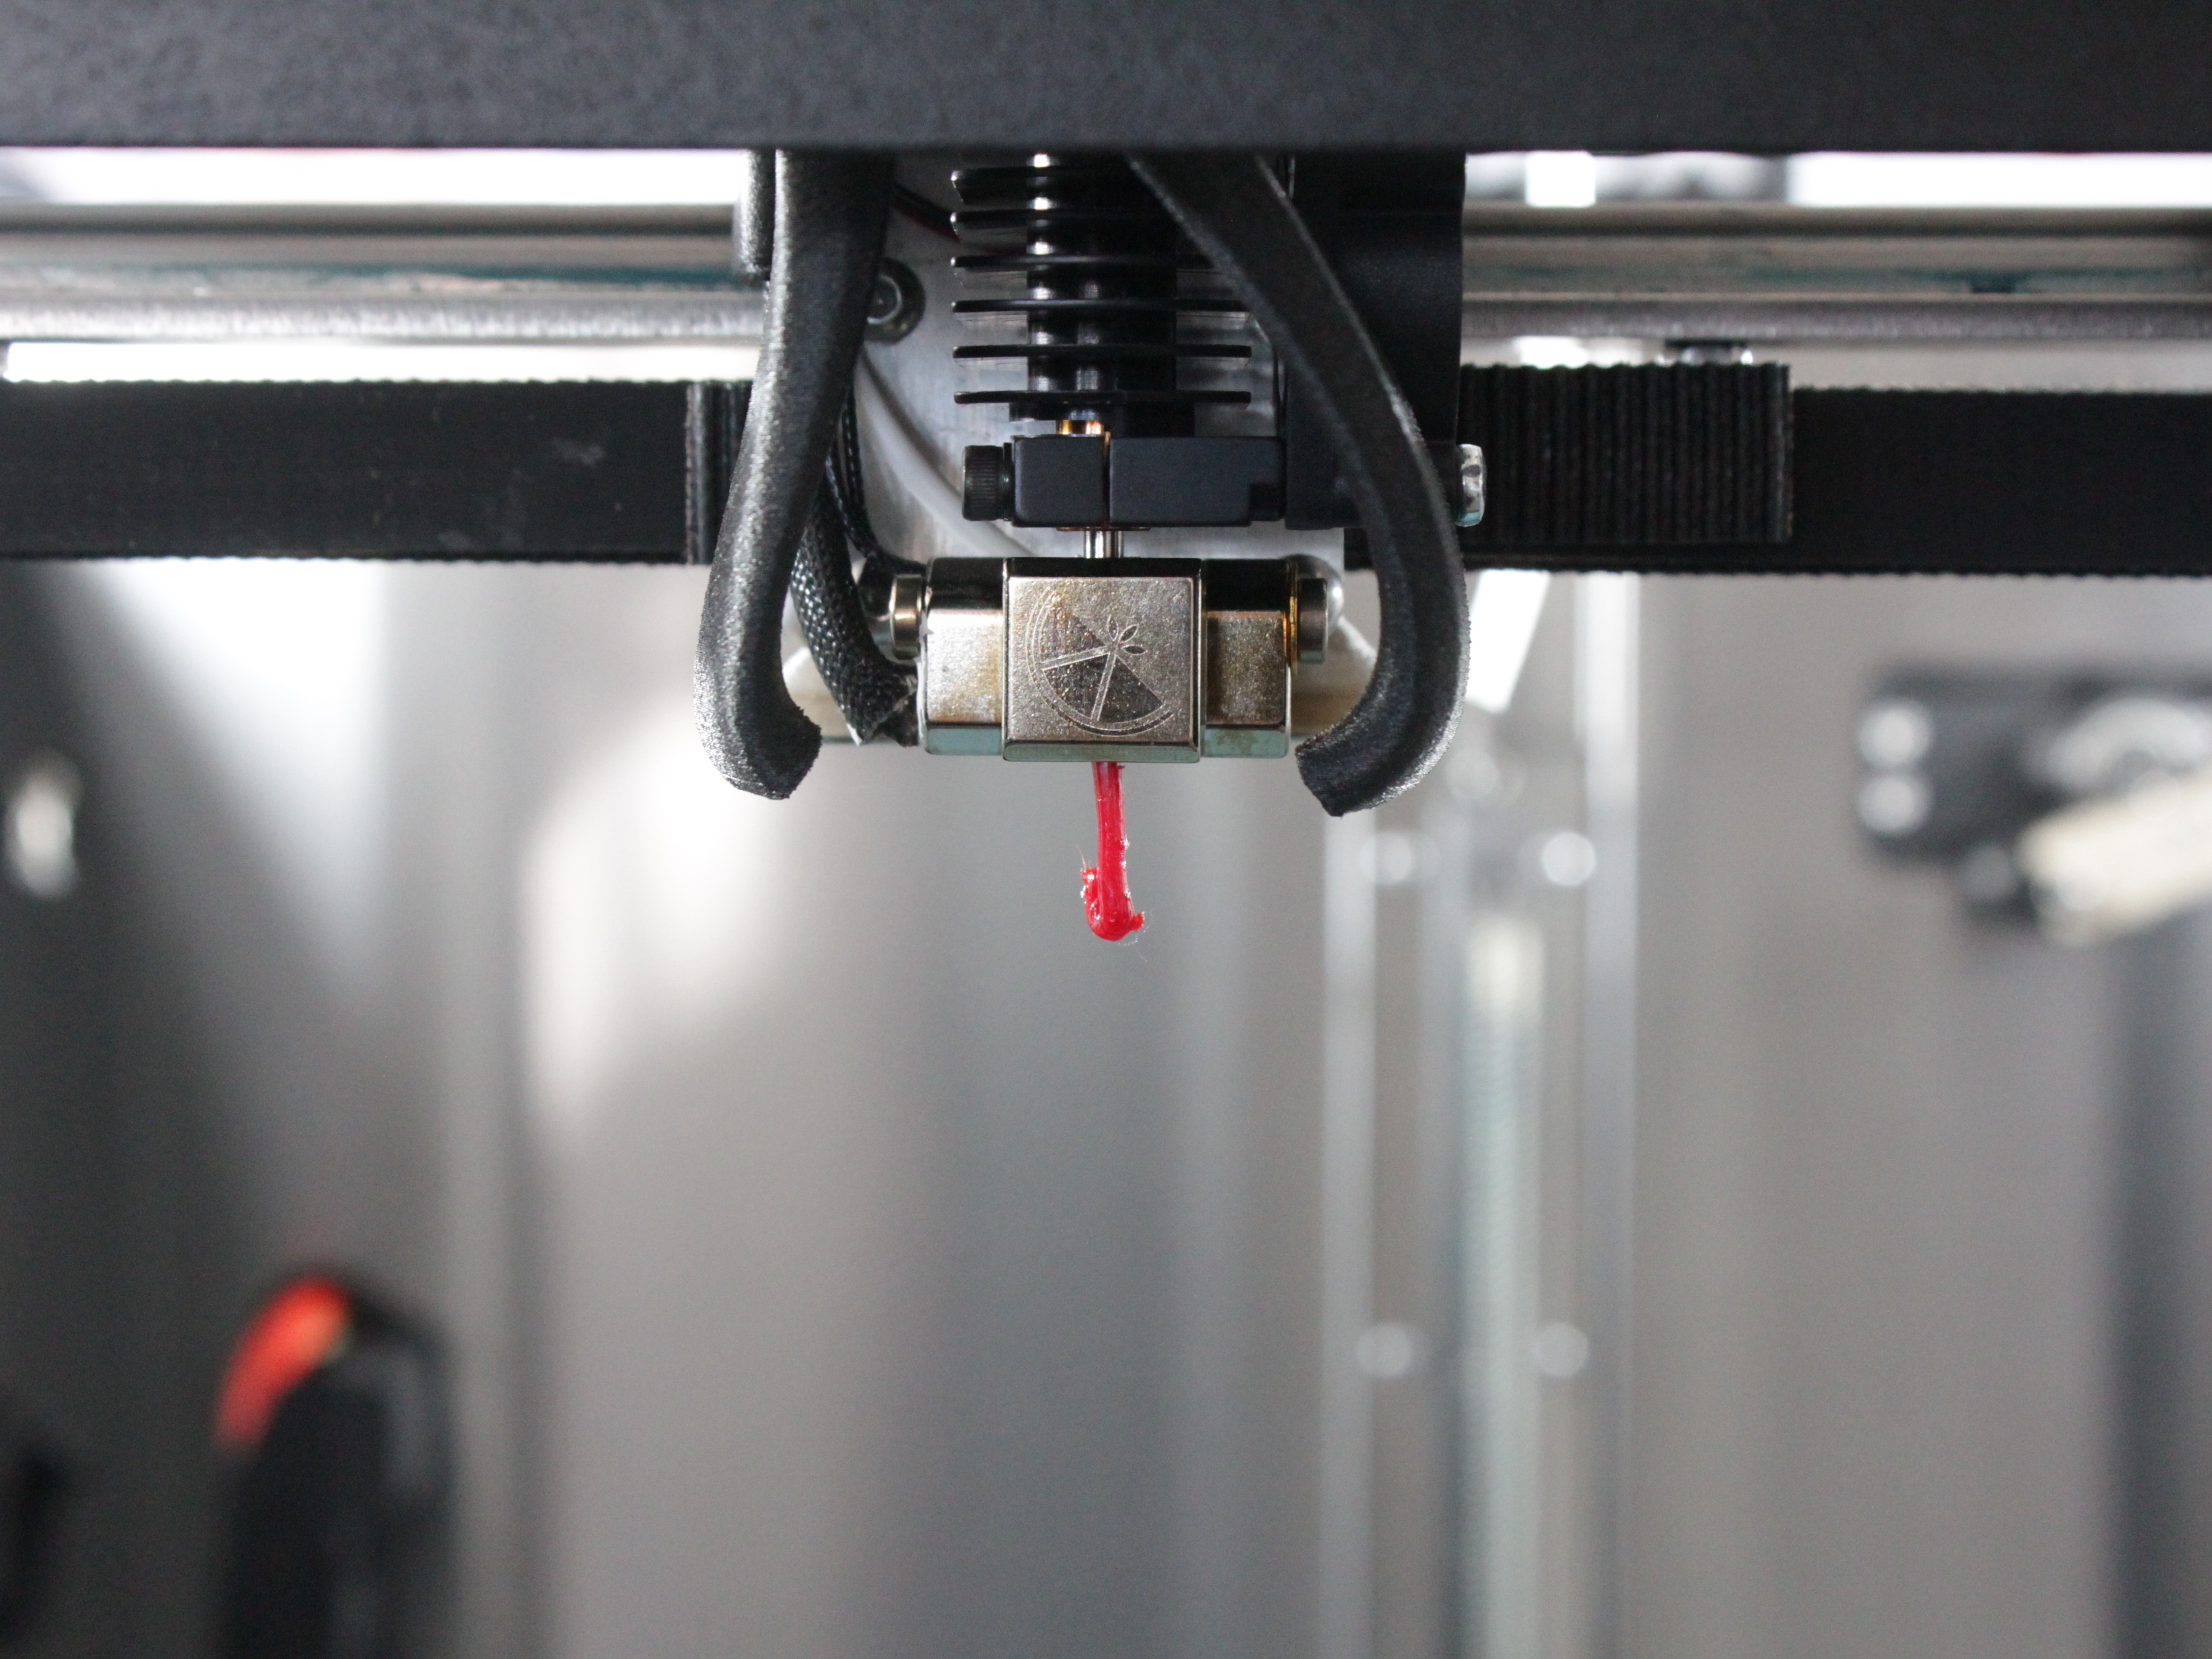
4. Test extrusion (optional – for clog diagnosis)
If you removed the nozzle to diagnose a clog, test extrusion without the nozzle installed to determine whether the blockage is in the nozzle or the heat break.
Plastic will extrude freely
Without the nozzle, plastic will extrude directly from the heater block. Place a cloth or container below the hotend to catch extruded material.
- With the nozzle removed and the hotend still at temperature, navigate to Dashboard and select Extrude (e.g., 10 mm at 5 mm/s).
- Observe the result:
- Plastic extrudes: The nozzle was clogged. Install a new or cleaned nozzle and resume printing.
- Plastic does not extrude: The heat break is clogged. Follow the Unclogging procedure or the Cold Pull procedure to clear the heat break.
- If you performed this test, reinstall the nozzle following steps 10–12 before resuming normal operation.
FAQ
Support
If you could not find an answer here, reach out to our support team.