Slicer Setup
This guide installs PrusaSlicer with the Vision Miner V4 profile library for the Vision Miner 22IDEX V4 - every printer mode, print profile, and filament, with build-plate previews and the printer connection already wired up. You need a PC on the same LAN as the printer (or on the printer AP) so the Physical printer connection test succeeds - see Network Troubleshooting or WiFi Setup if you cannot reach the machine.
This page covers:
- Installing PrusaSlicer and downloading the Vision Miner vendor archive ZIP.
- Fresh install: Quick setup for first-time users with no previous profiles.
- Upgrading: Reset old configurations and install new profiles (separate procedures for macOS and Windows).
- Importing the config bundle to apply the default selections and create the 22 IDEX physical printer.
- Verifying the printer connection (
22idex.localor the printer IP address).
You need:
- Windows, macOS, or Linux PC with admin rights to install software.
- Network path to the printer (see links above).
New installation model - Configuration Assistant manages everything
The profile library ships as an offline vendor archive loaded through the Configuration Assistant. Build-plate models, textures, printer profiles, and filaments all come preconfigured in the single ZIP file. The Configuration Assistant also handles resetting old configurations - no manual folder deletion required.
1. Download PrusaSlicer
| Step | Action |
|---|---|
| 1 | Install PrusaSlicer 2.9 or newer for your OS from PrusaSlicer releases. The library loads through the Configuration Wizard's offline-archive loader, which was added in 2.9 - older versions cannot install it. |
| 2 | Optional: open the vendor page PrusaSlicer download. |
2. Download Vision Miner V4 profiles
Download the vendor archive and save it to a folder you can find - you load it in the Configuration Assistant according to the steps below.
| Step | File | Link |
|---|---|---|
| 1 | Vendor archive (all printers, print profiles, filaments, build-plate previews), .zip | VisionMiner-offline.zip |
| 2 | Physical Printer configuration (defines the 22 IDEX printer with IP/hostname, API key), .ini | 22_IDEX_Physical_Printer.ini |
Do not unpack the .zip - PrusaSlicer loads the archive as-is in the wizard.
3. Install and first launch
- Run the installer and finish the OS-specific steps.
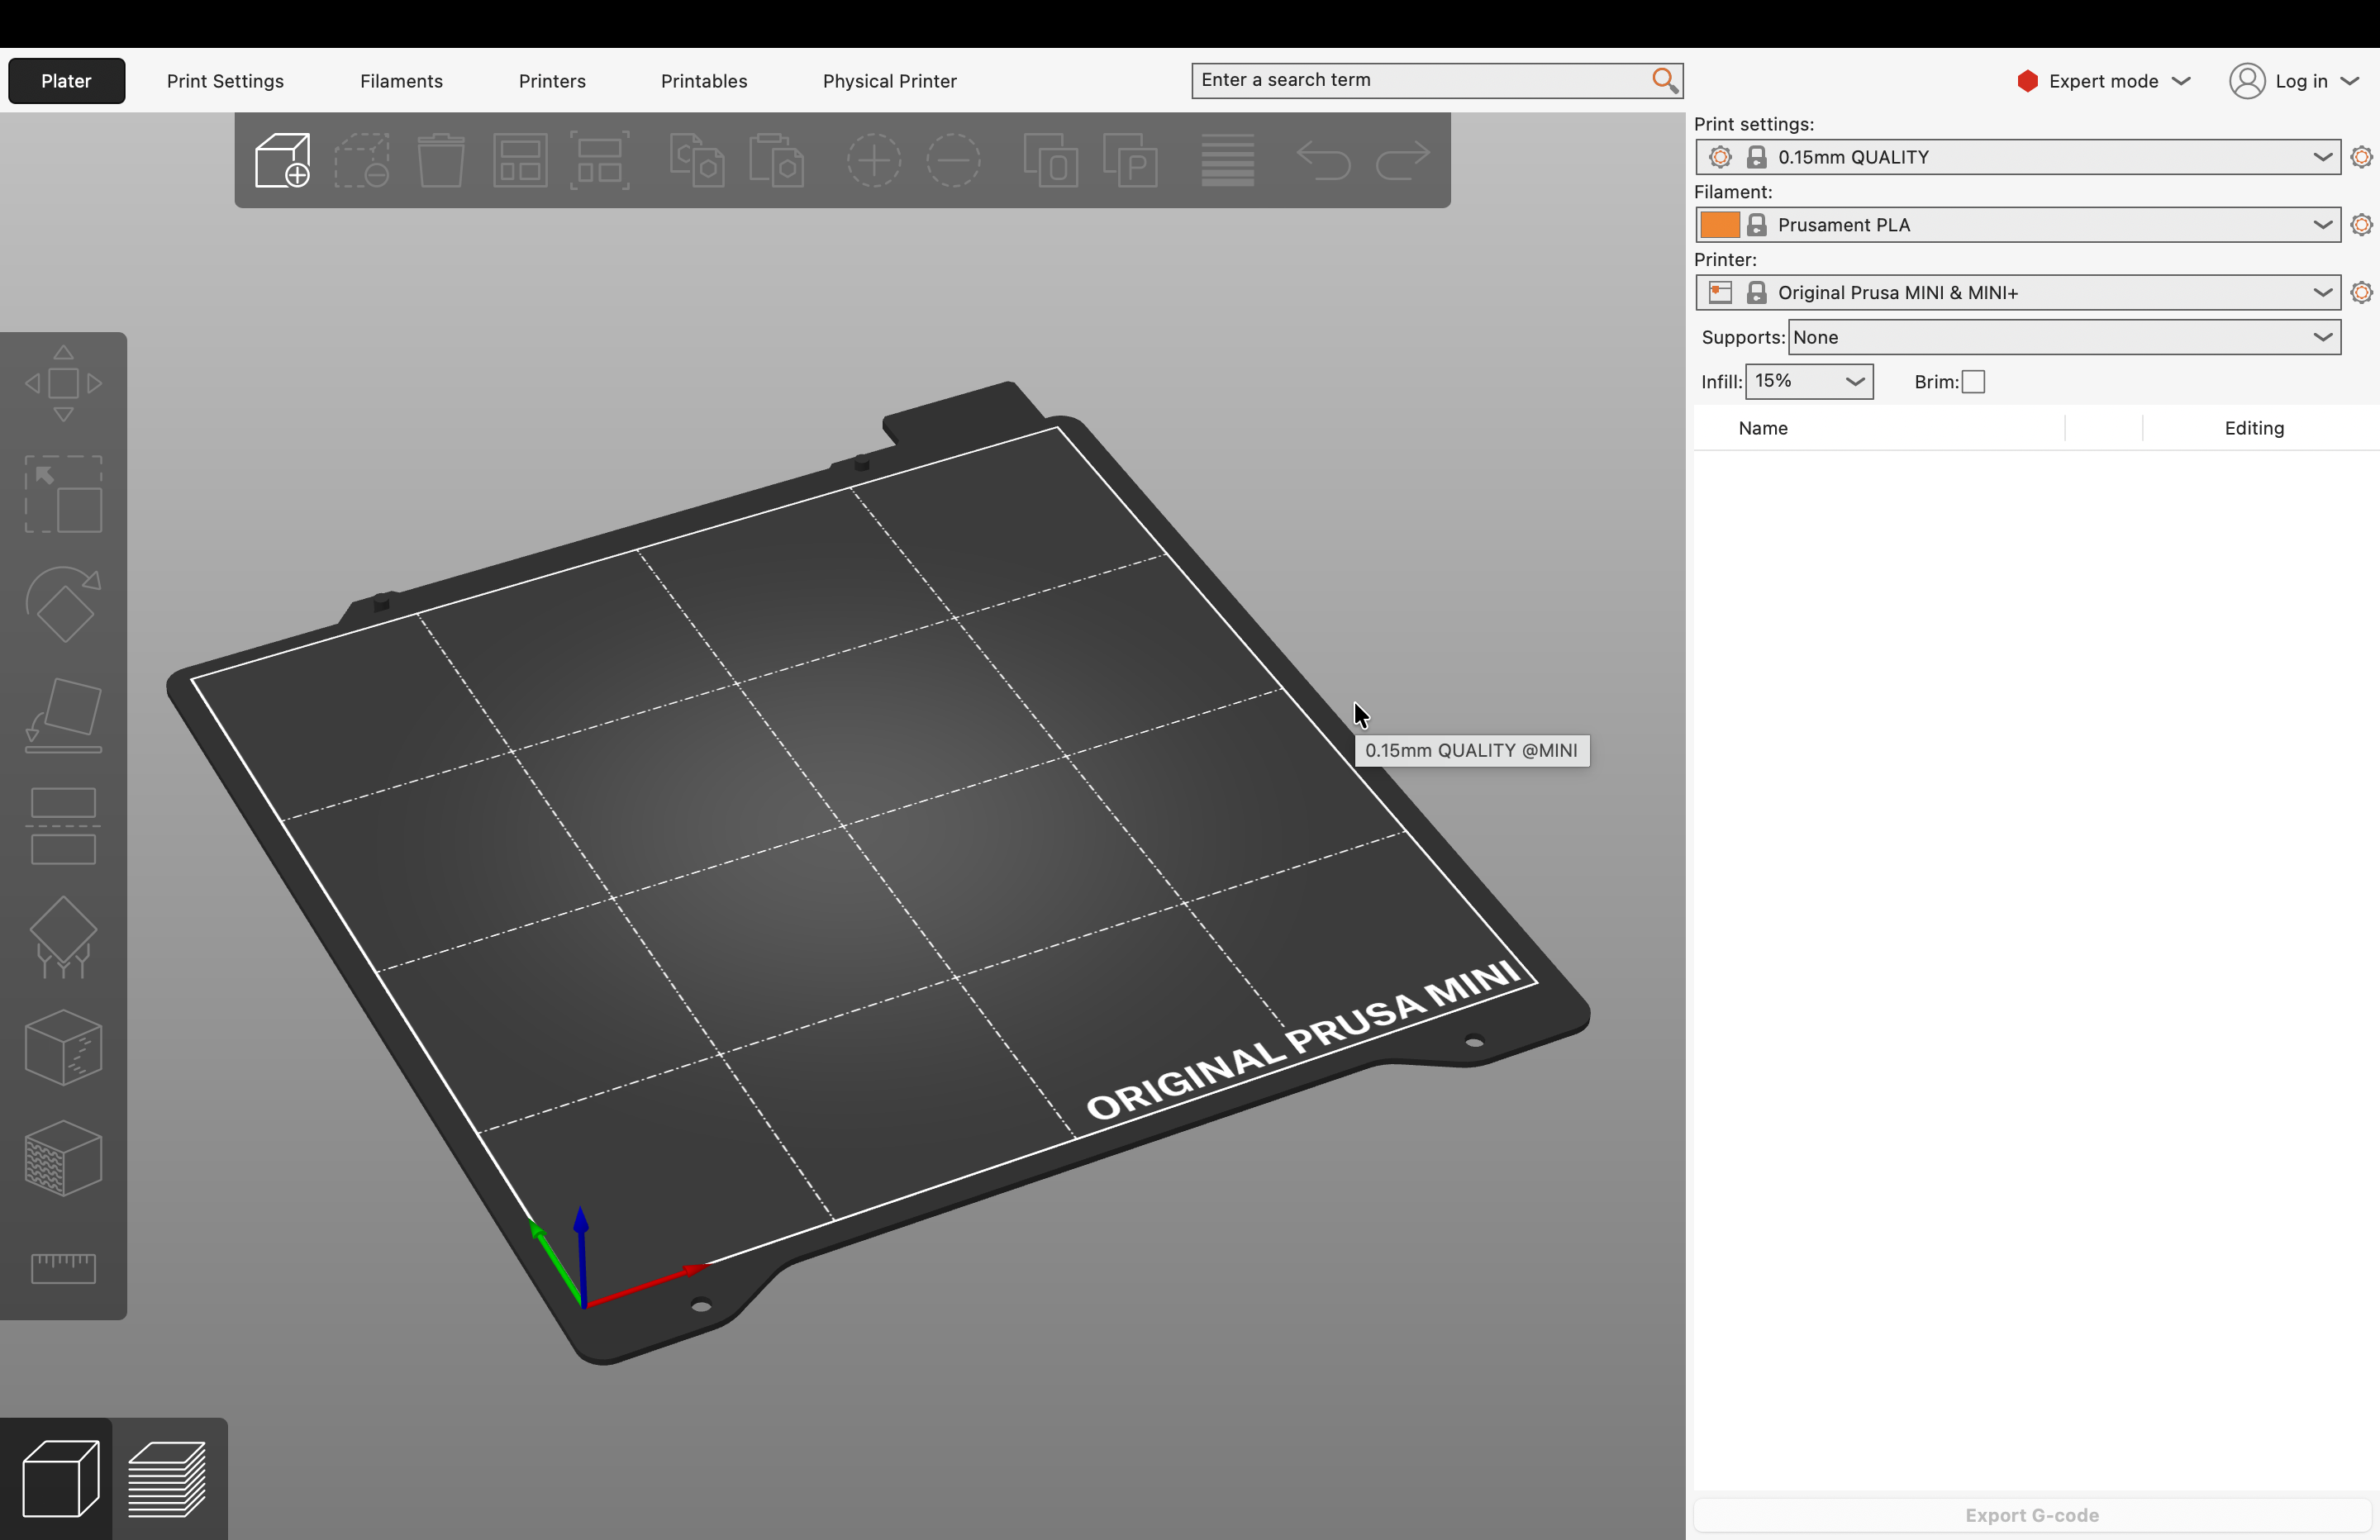
- Open PrusaSlicer once so it creates its config folders. On a brand-new machine the Configuration Wizard opens automatically - you can cancel it for now and reopen it in step 5.
4. Choose your installation path
Below are two instruction paths for installing the Vision Miner configuration in PrusaSlicer: one for macOS and one for Windows. Both include the process of cleaning old configurations.
If you have never installed Vision Miner profiles before (first-time setup), you can skip the configuration reset steps and jump directly to the installation:
| Operating System | If you are upgrading an existing configuration | If this is your first-time setup |
|---|---|---|
| macOS | Start from the beginning (full process with reset) | Skip configuration cleanup (jump to step 10) |
| Windows | Start from the beginning (full process with reset) | Skip configuration cleanup (jump to step 24) |
macOS - Upgrading
If you previously installed Vision Miner profiles (any version before 5.0.0), follow this process to reset the old configuration and install the new one.
Reset erases your custom profiles - back them up first
The reset checkbox in the Configuration Assistant removes all existing PrusaSlicer user profiles, not only the Vision Miner ones. If you have personal print, filament, or printer profiles to keep, export them first with File > Export > Export Config Bundle....
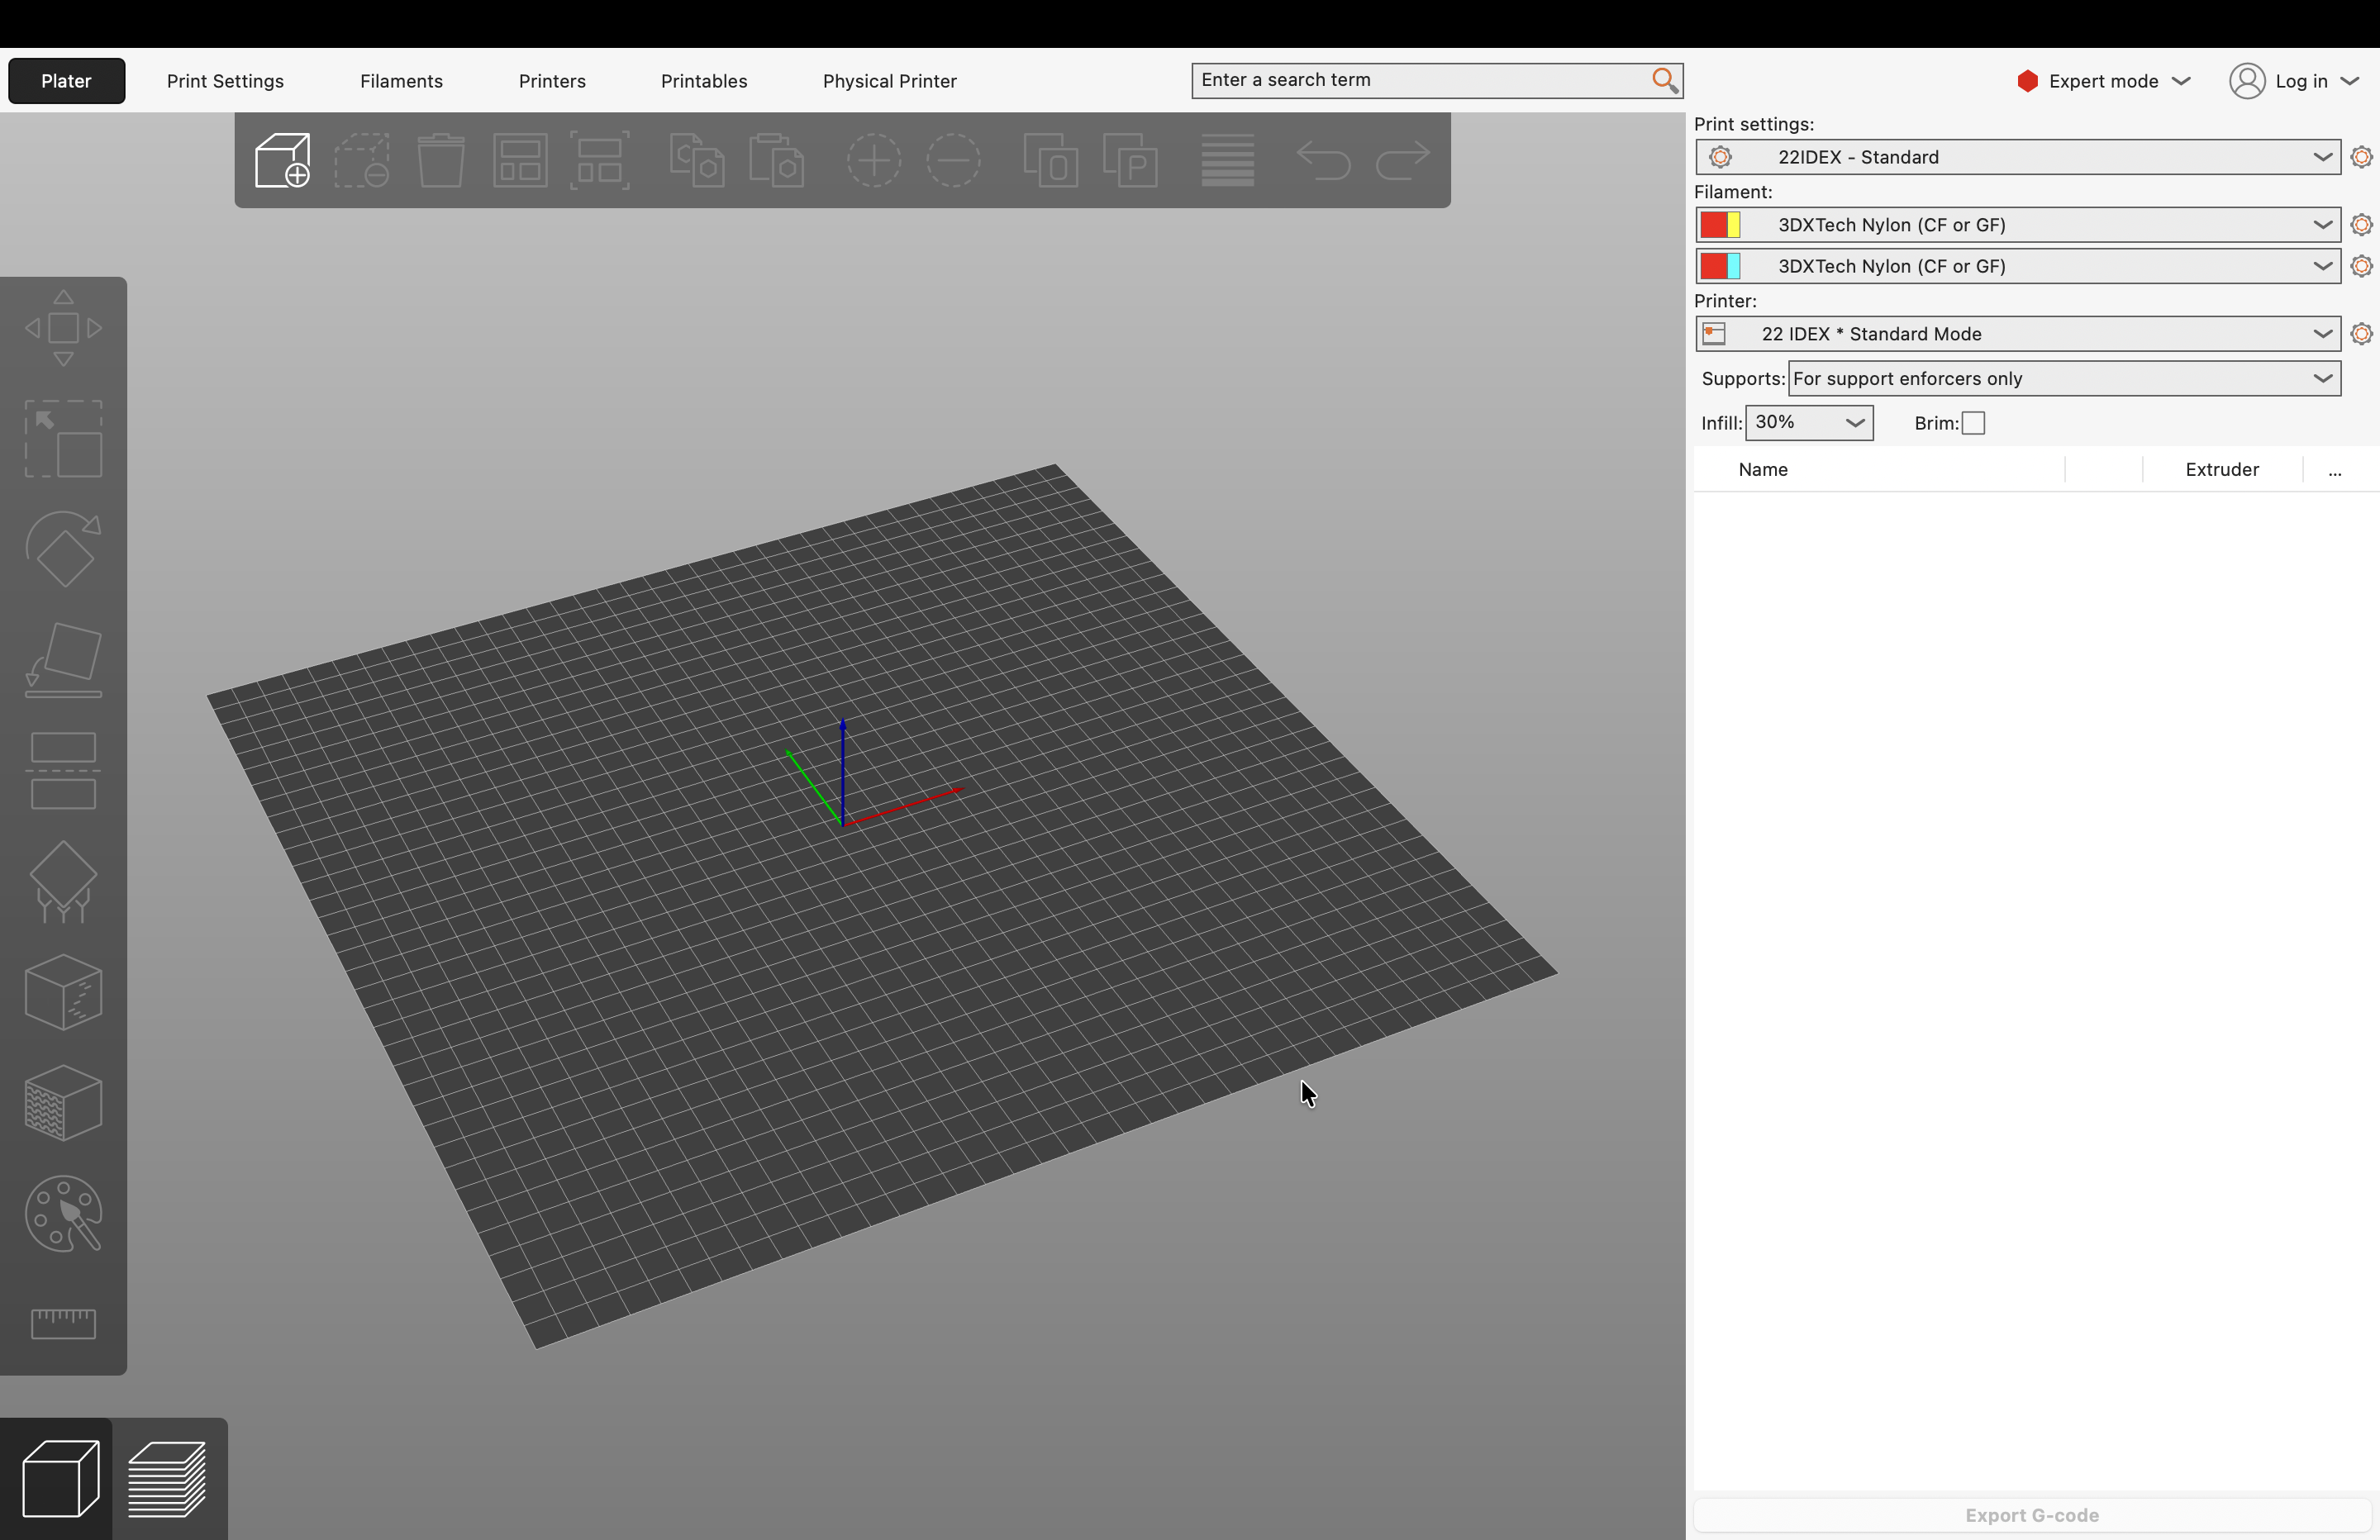
- Open PrusaSlicer. Launch PrusaSlicer and go to the main application window.
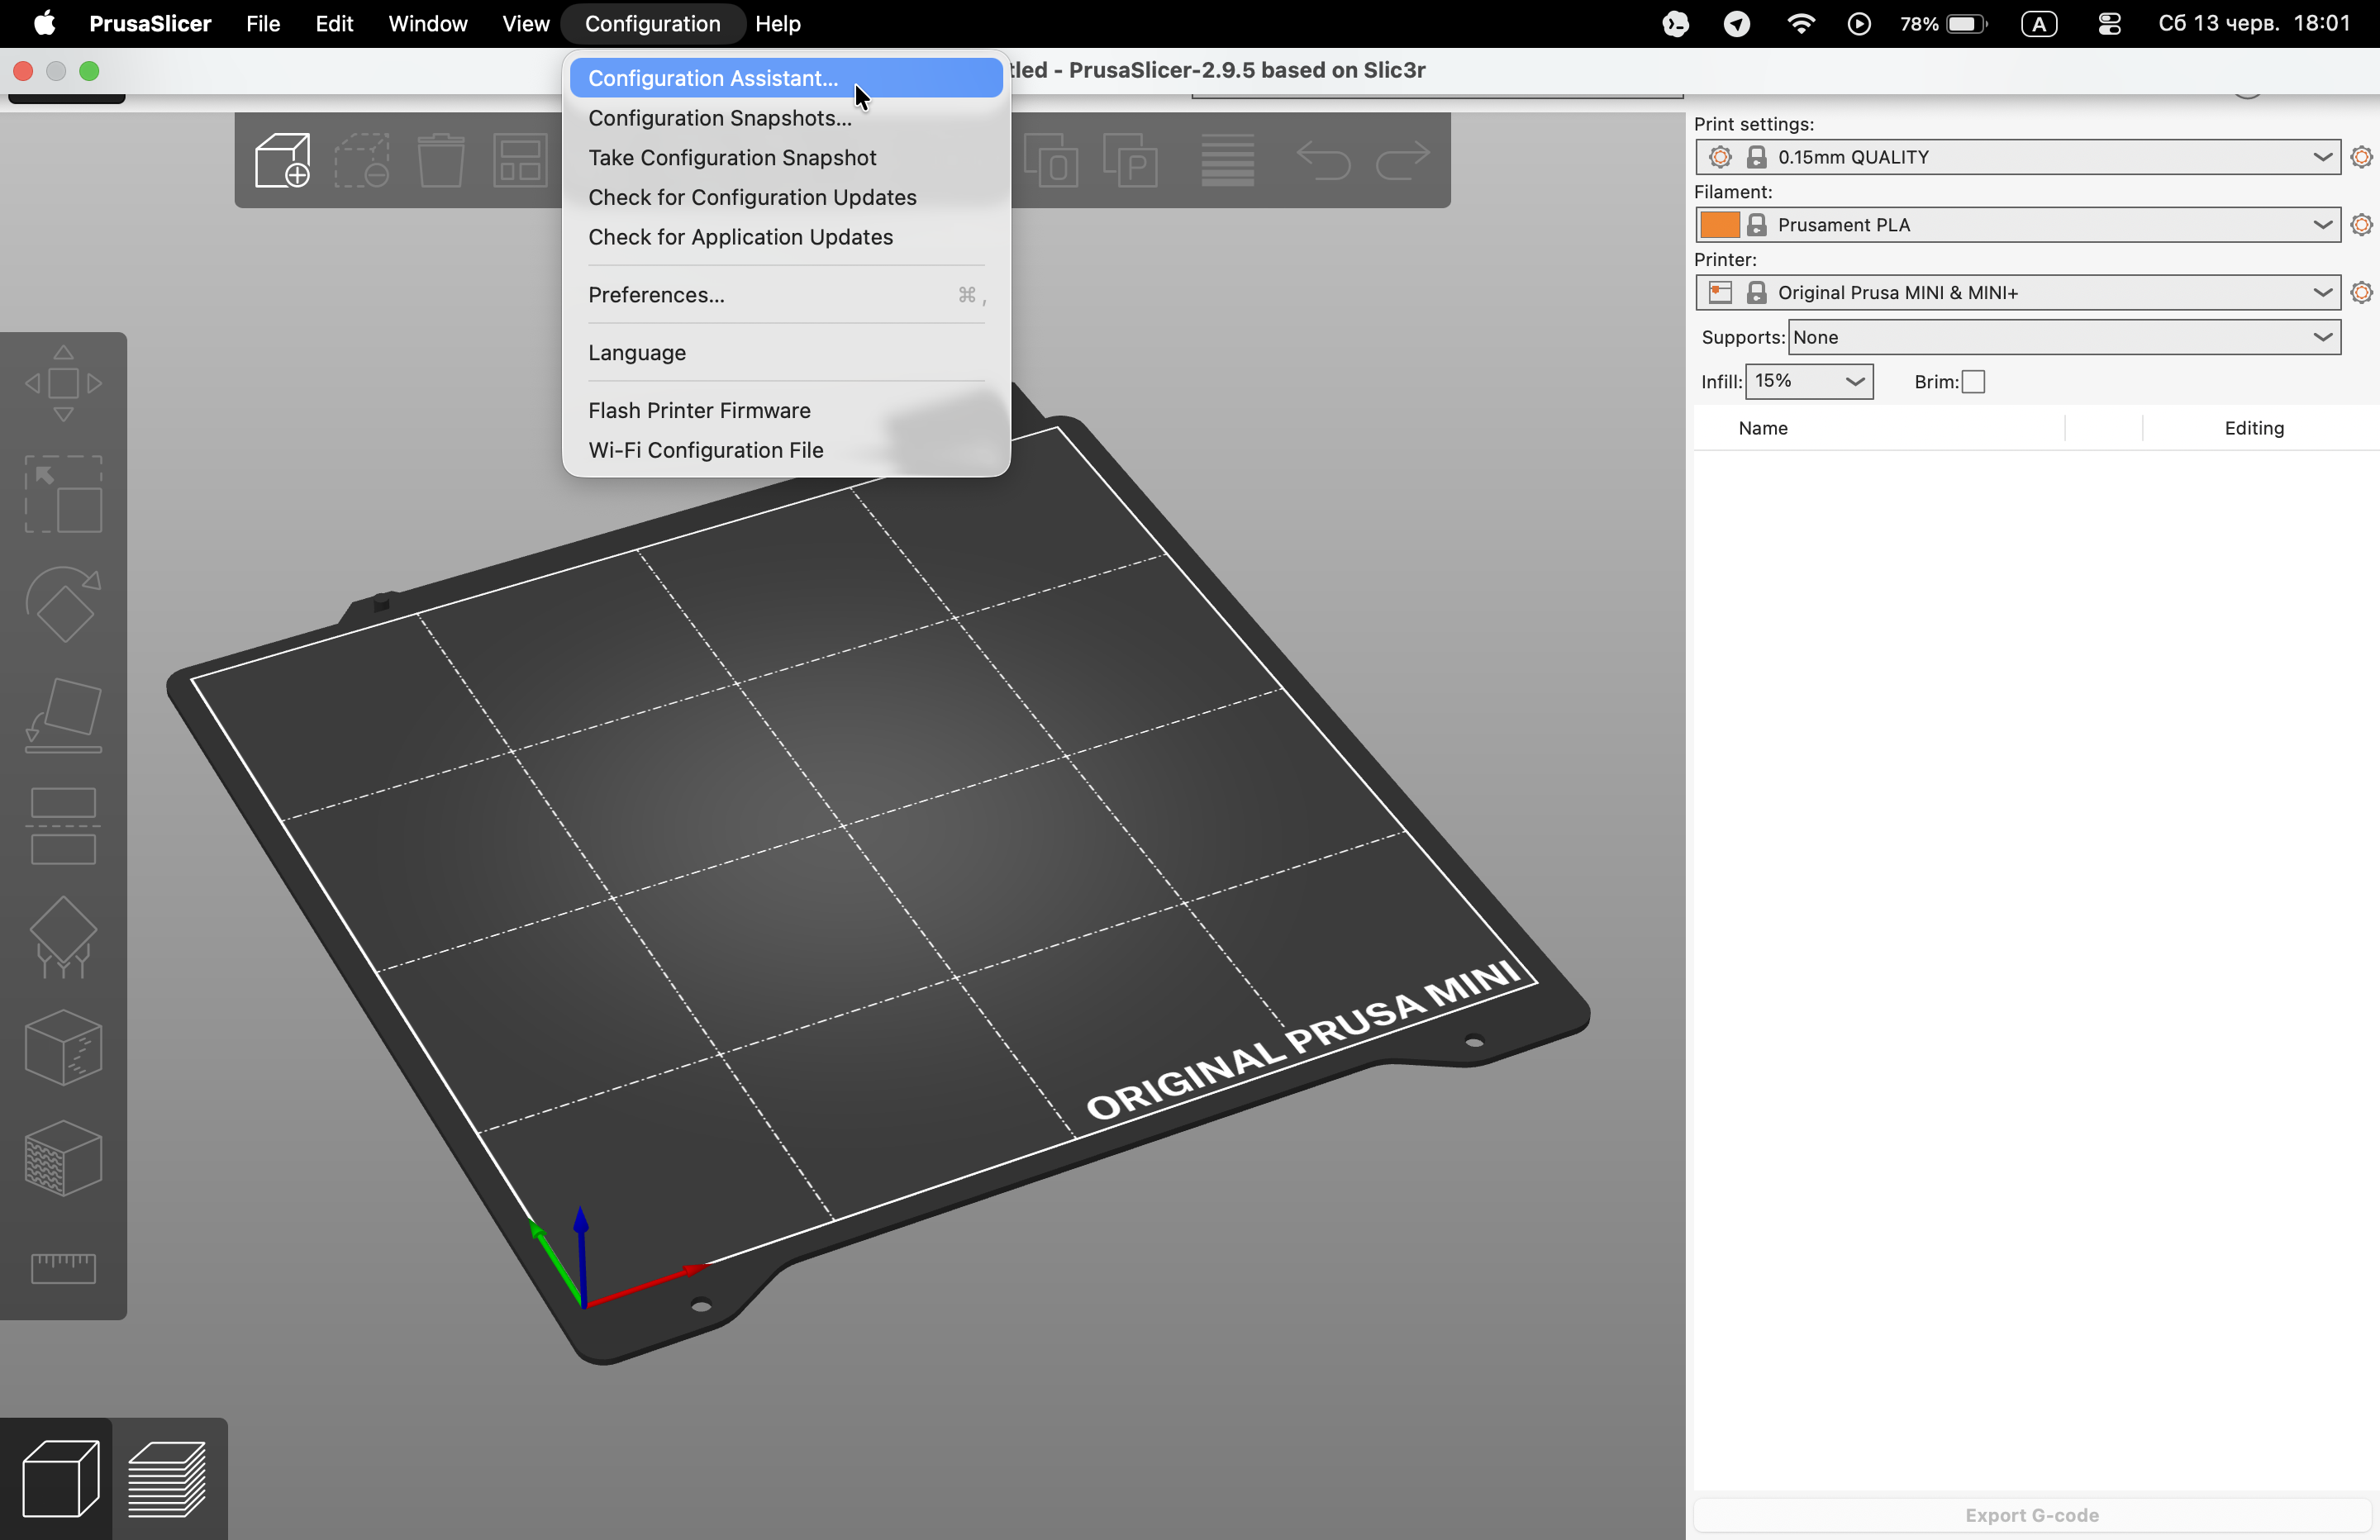
- Open the Configuration menu. In the macOS menu bar, click Configuration.
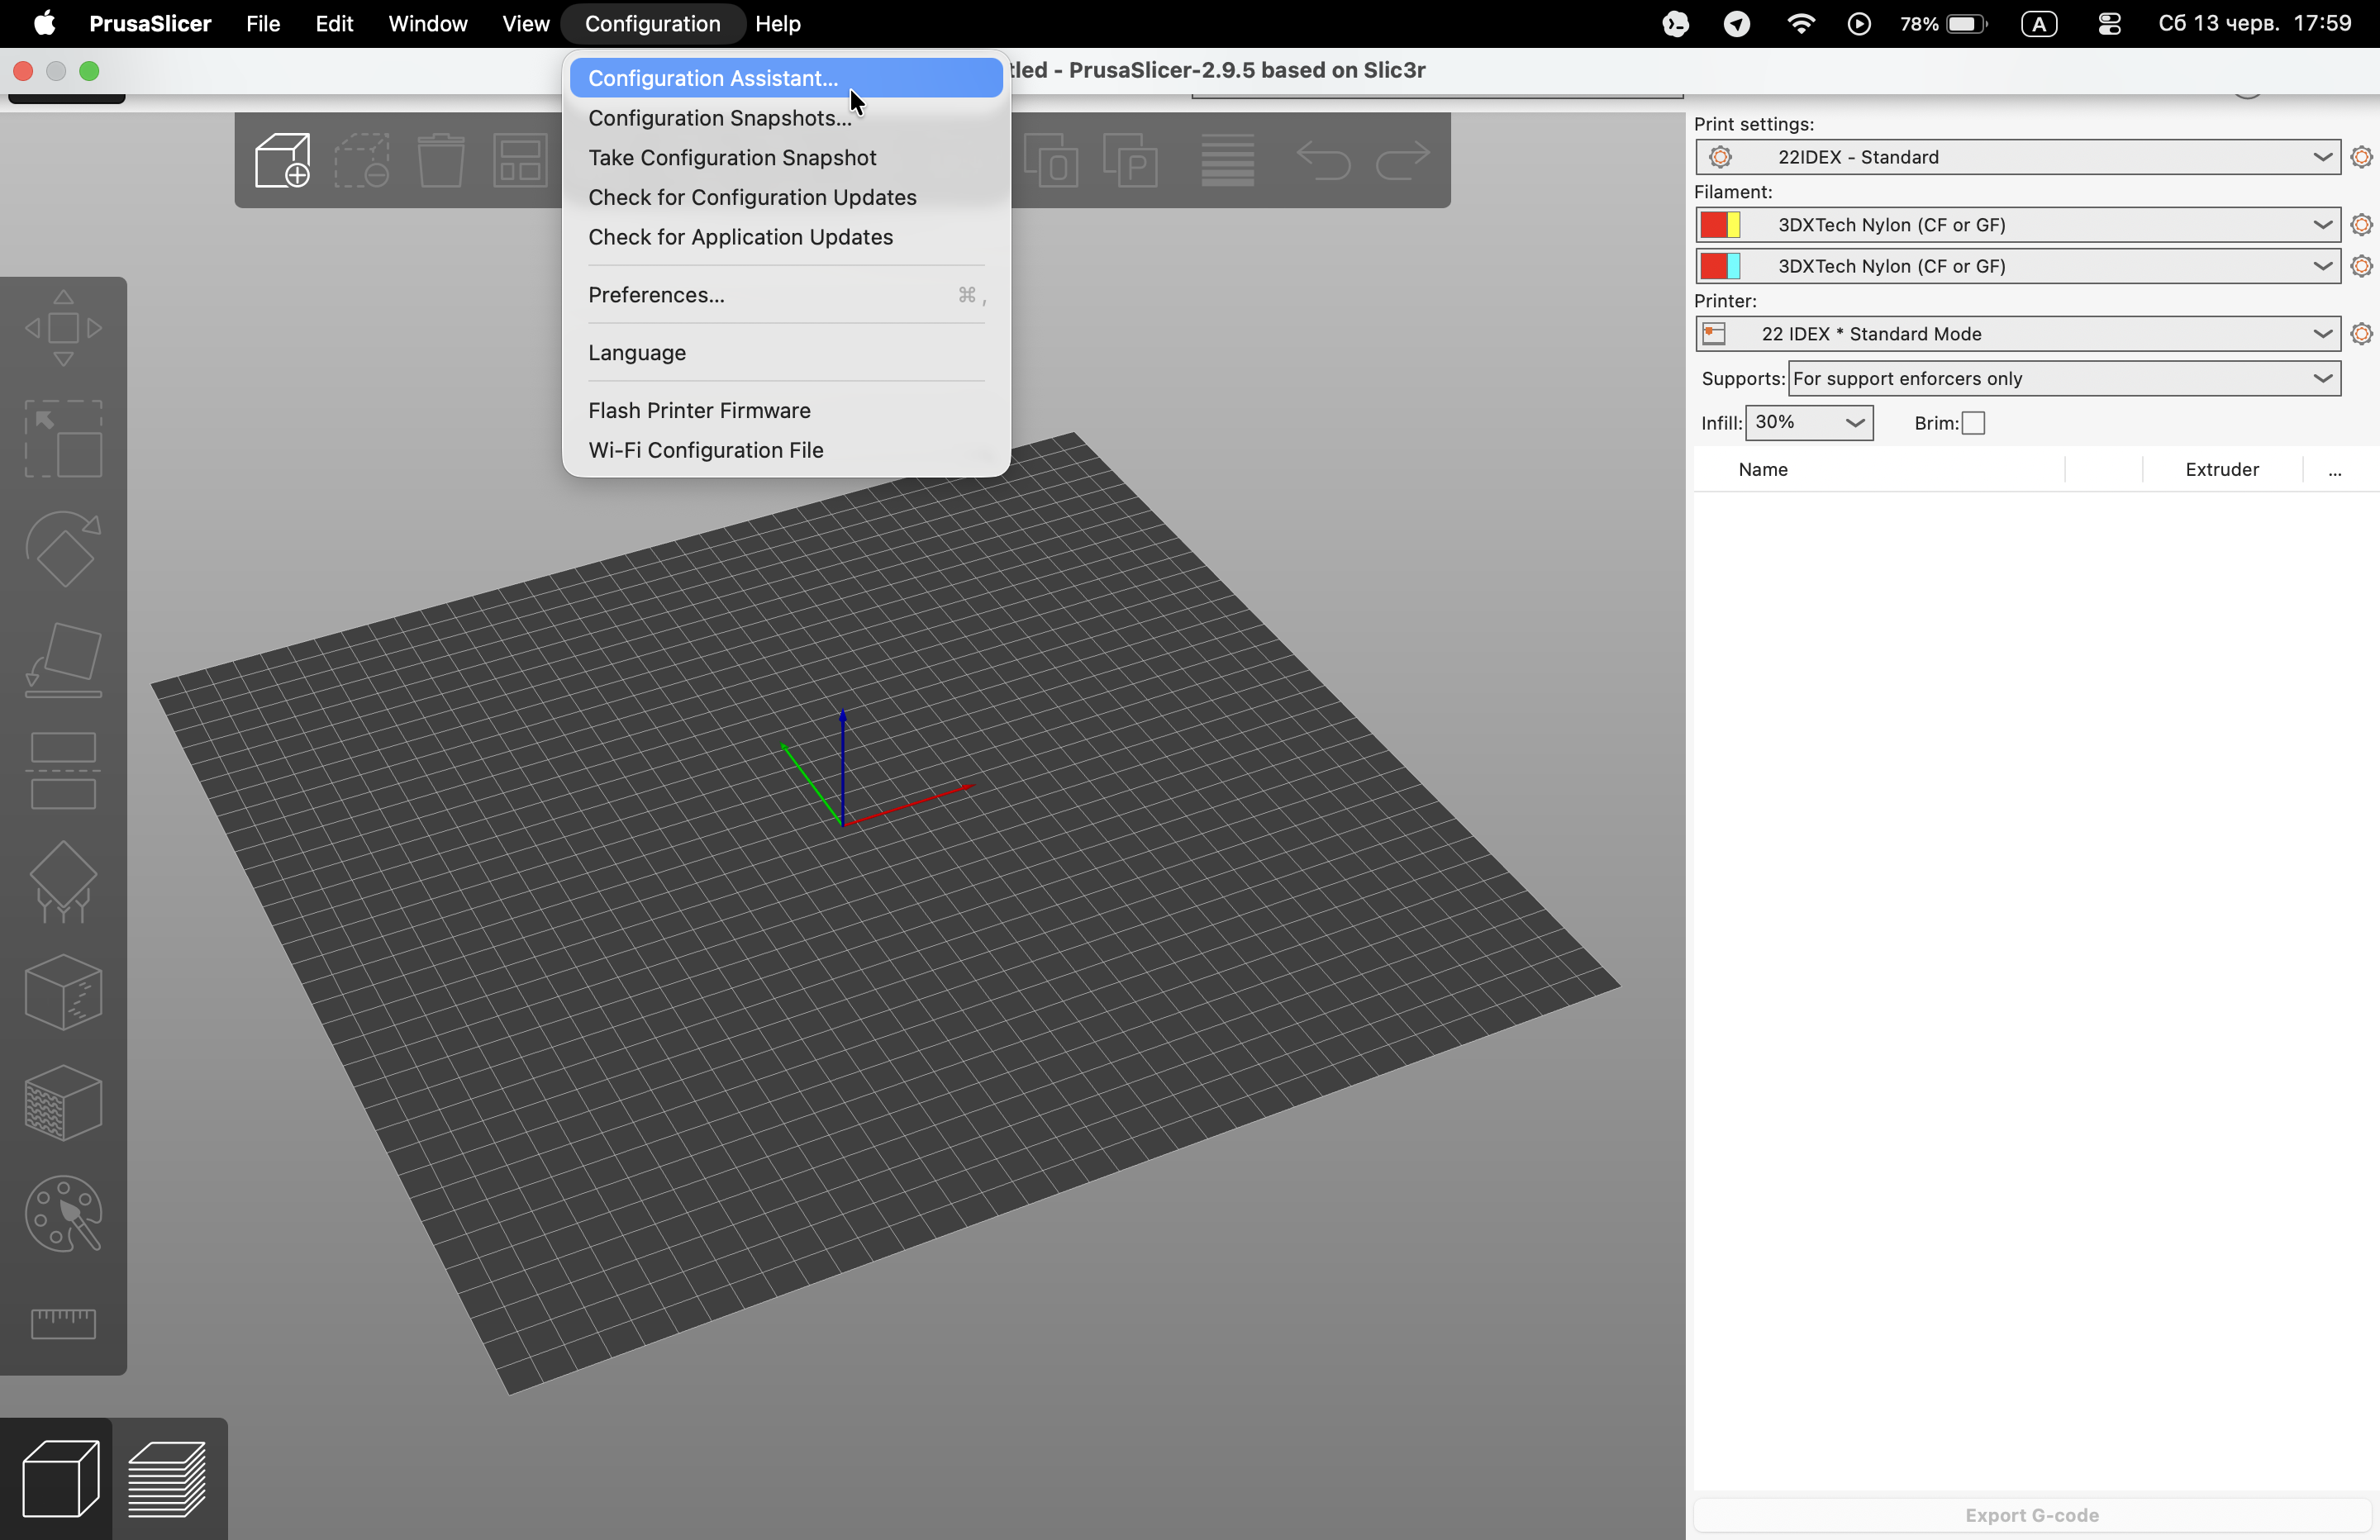
- Start Configuration Assistant or Configuration Wizard. Depending on the PrusaSlicer version, the menu item may be named Configuration Assistant or Configuration Wizard.
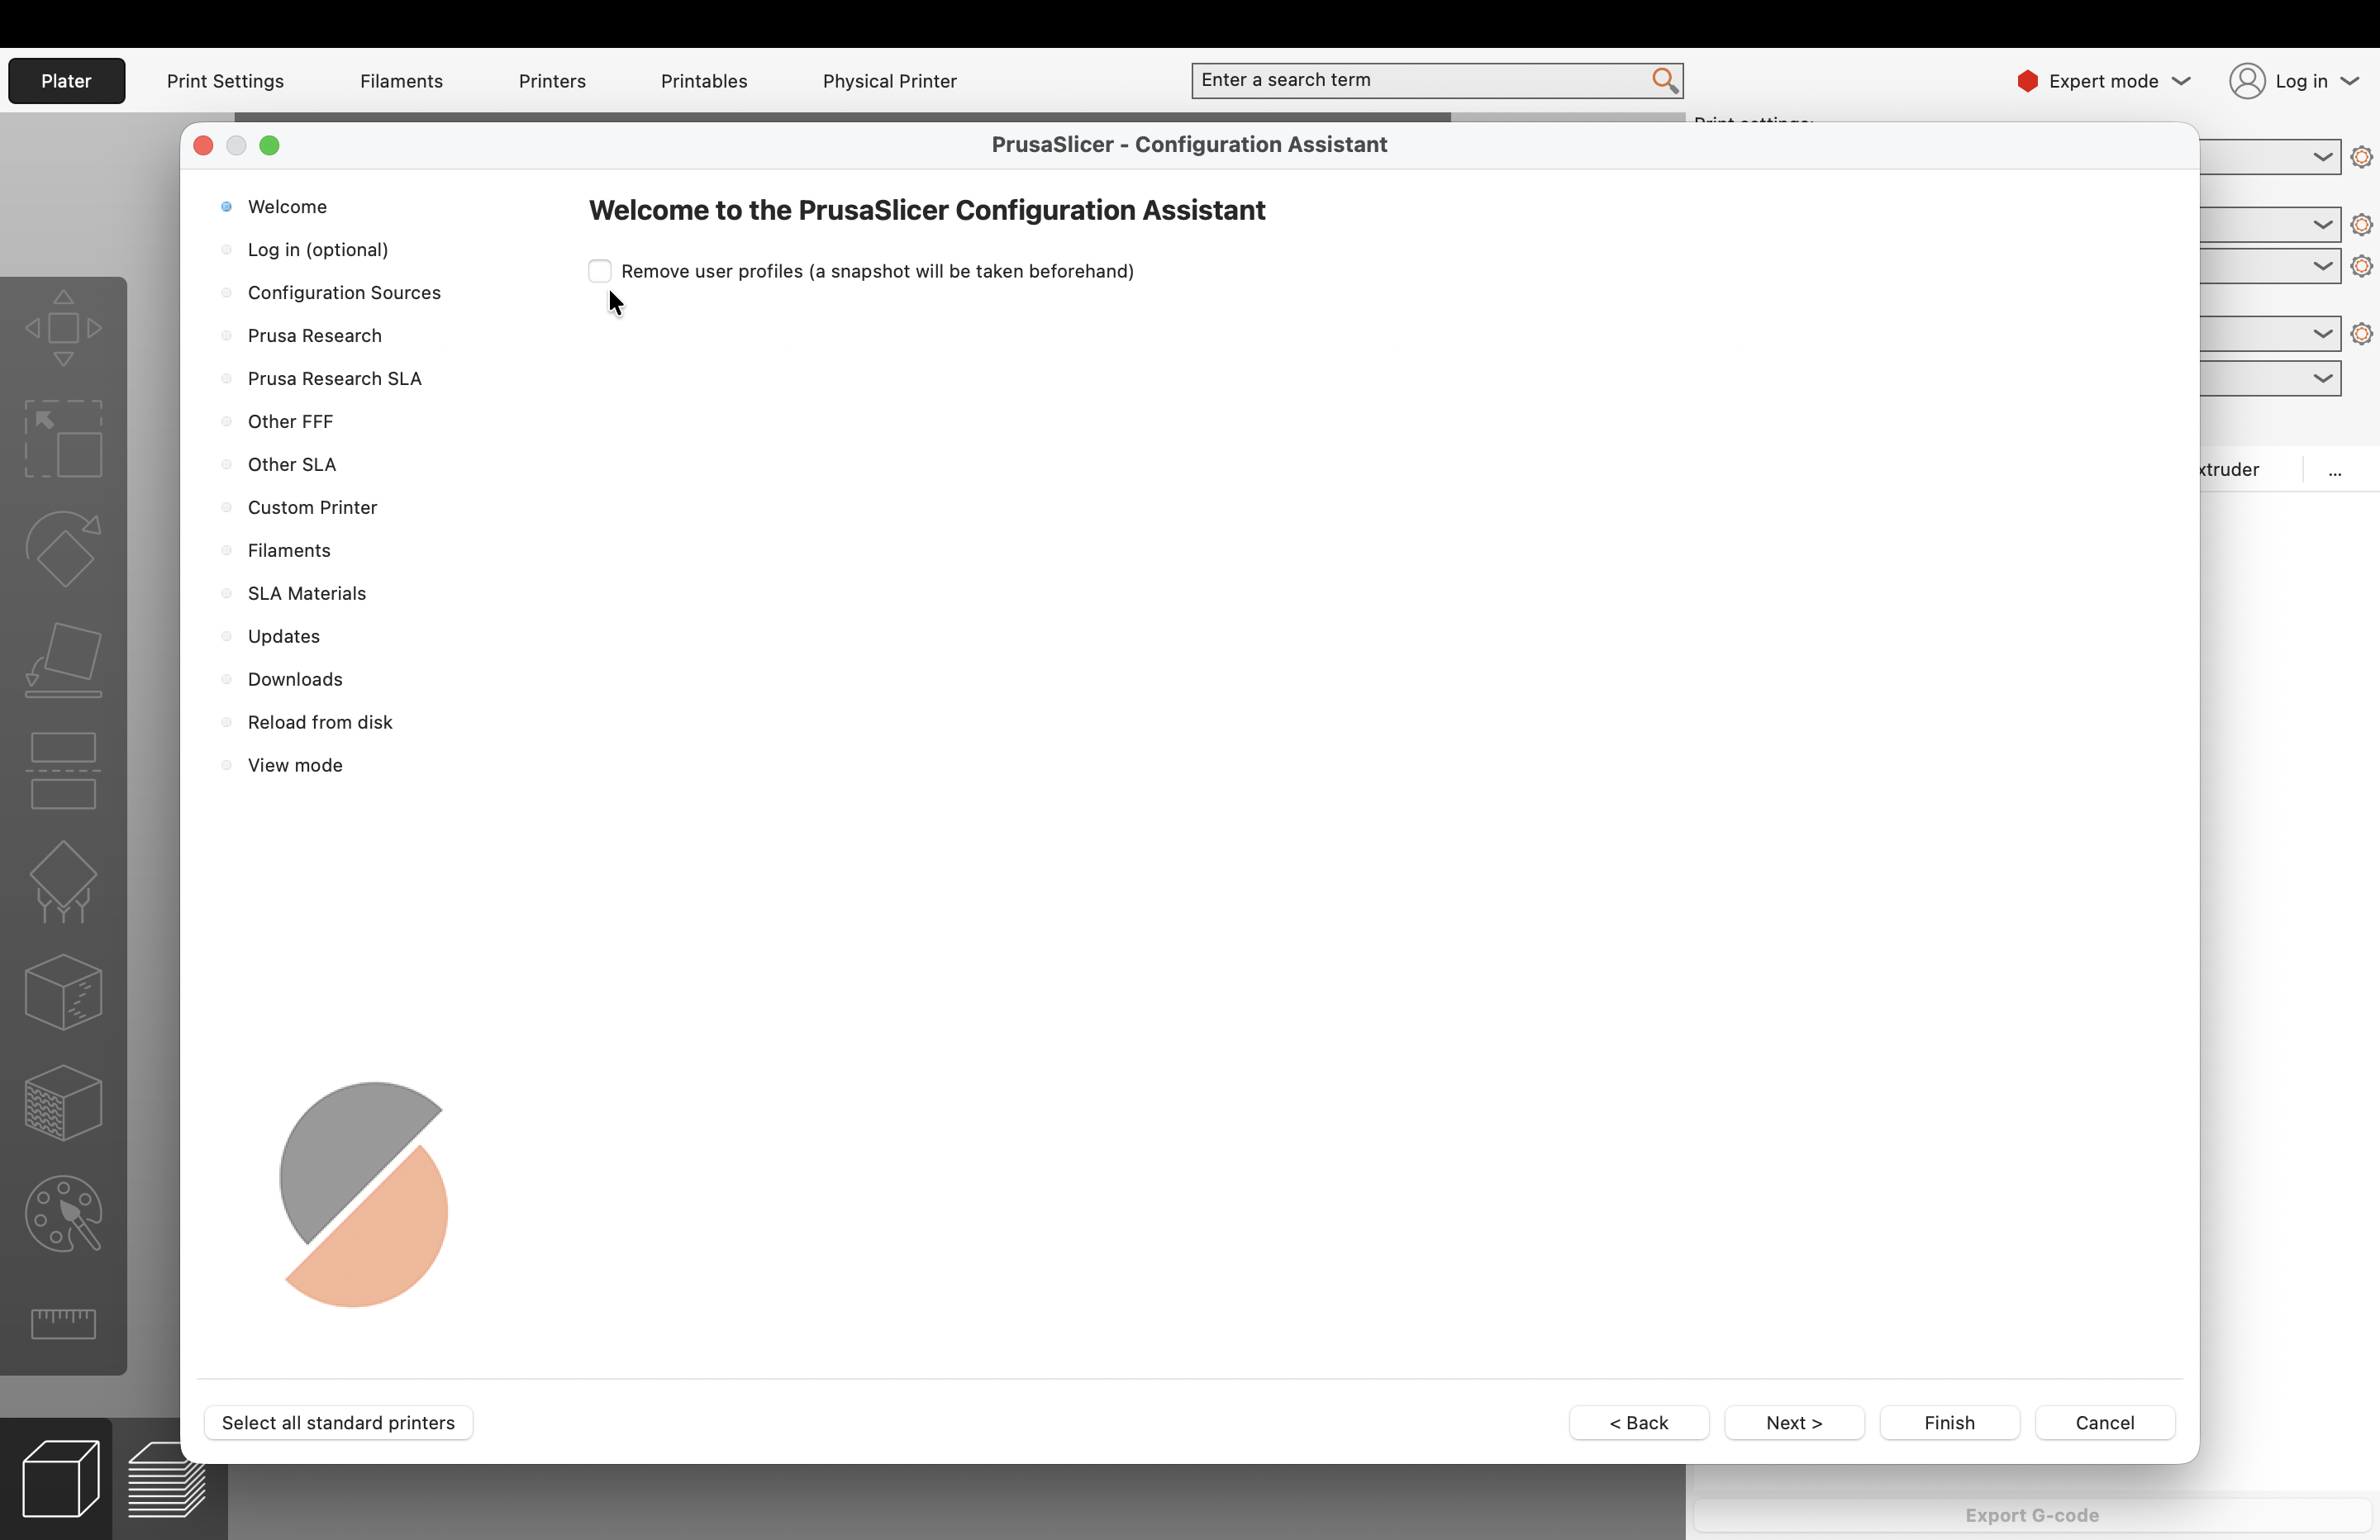
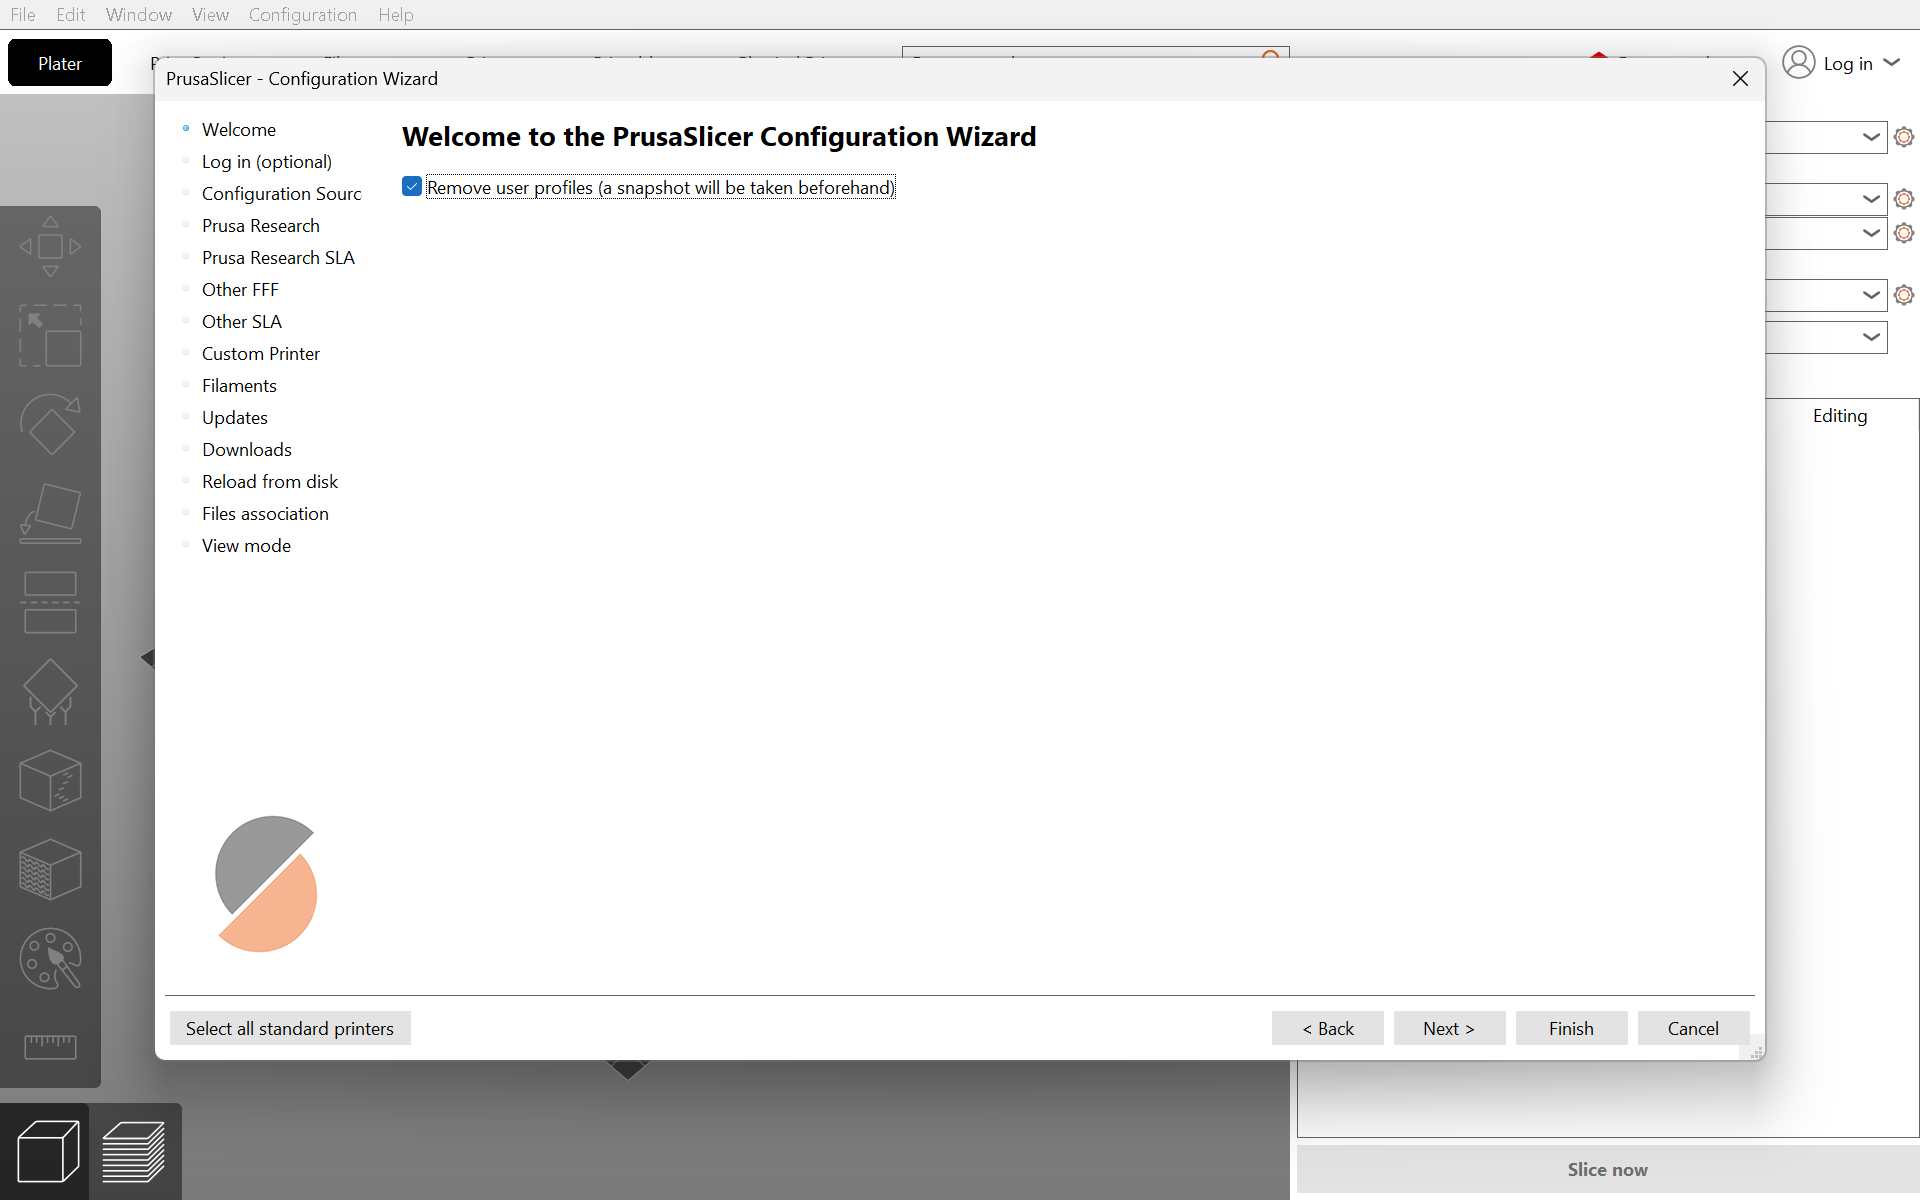
- Enable the first checkbox on the first page. Check the first option. This option removes/resets the old PrusaSlicer configuration through the application interface.
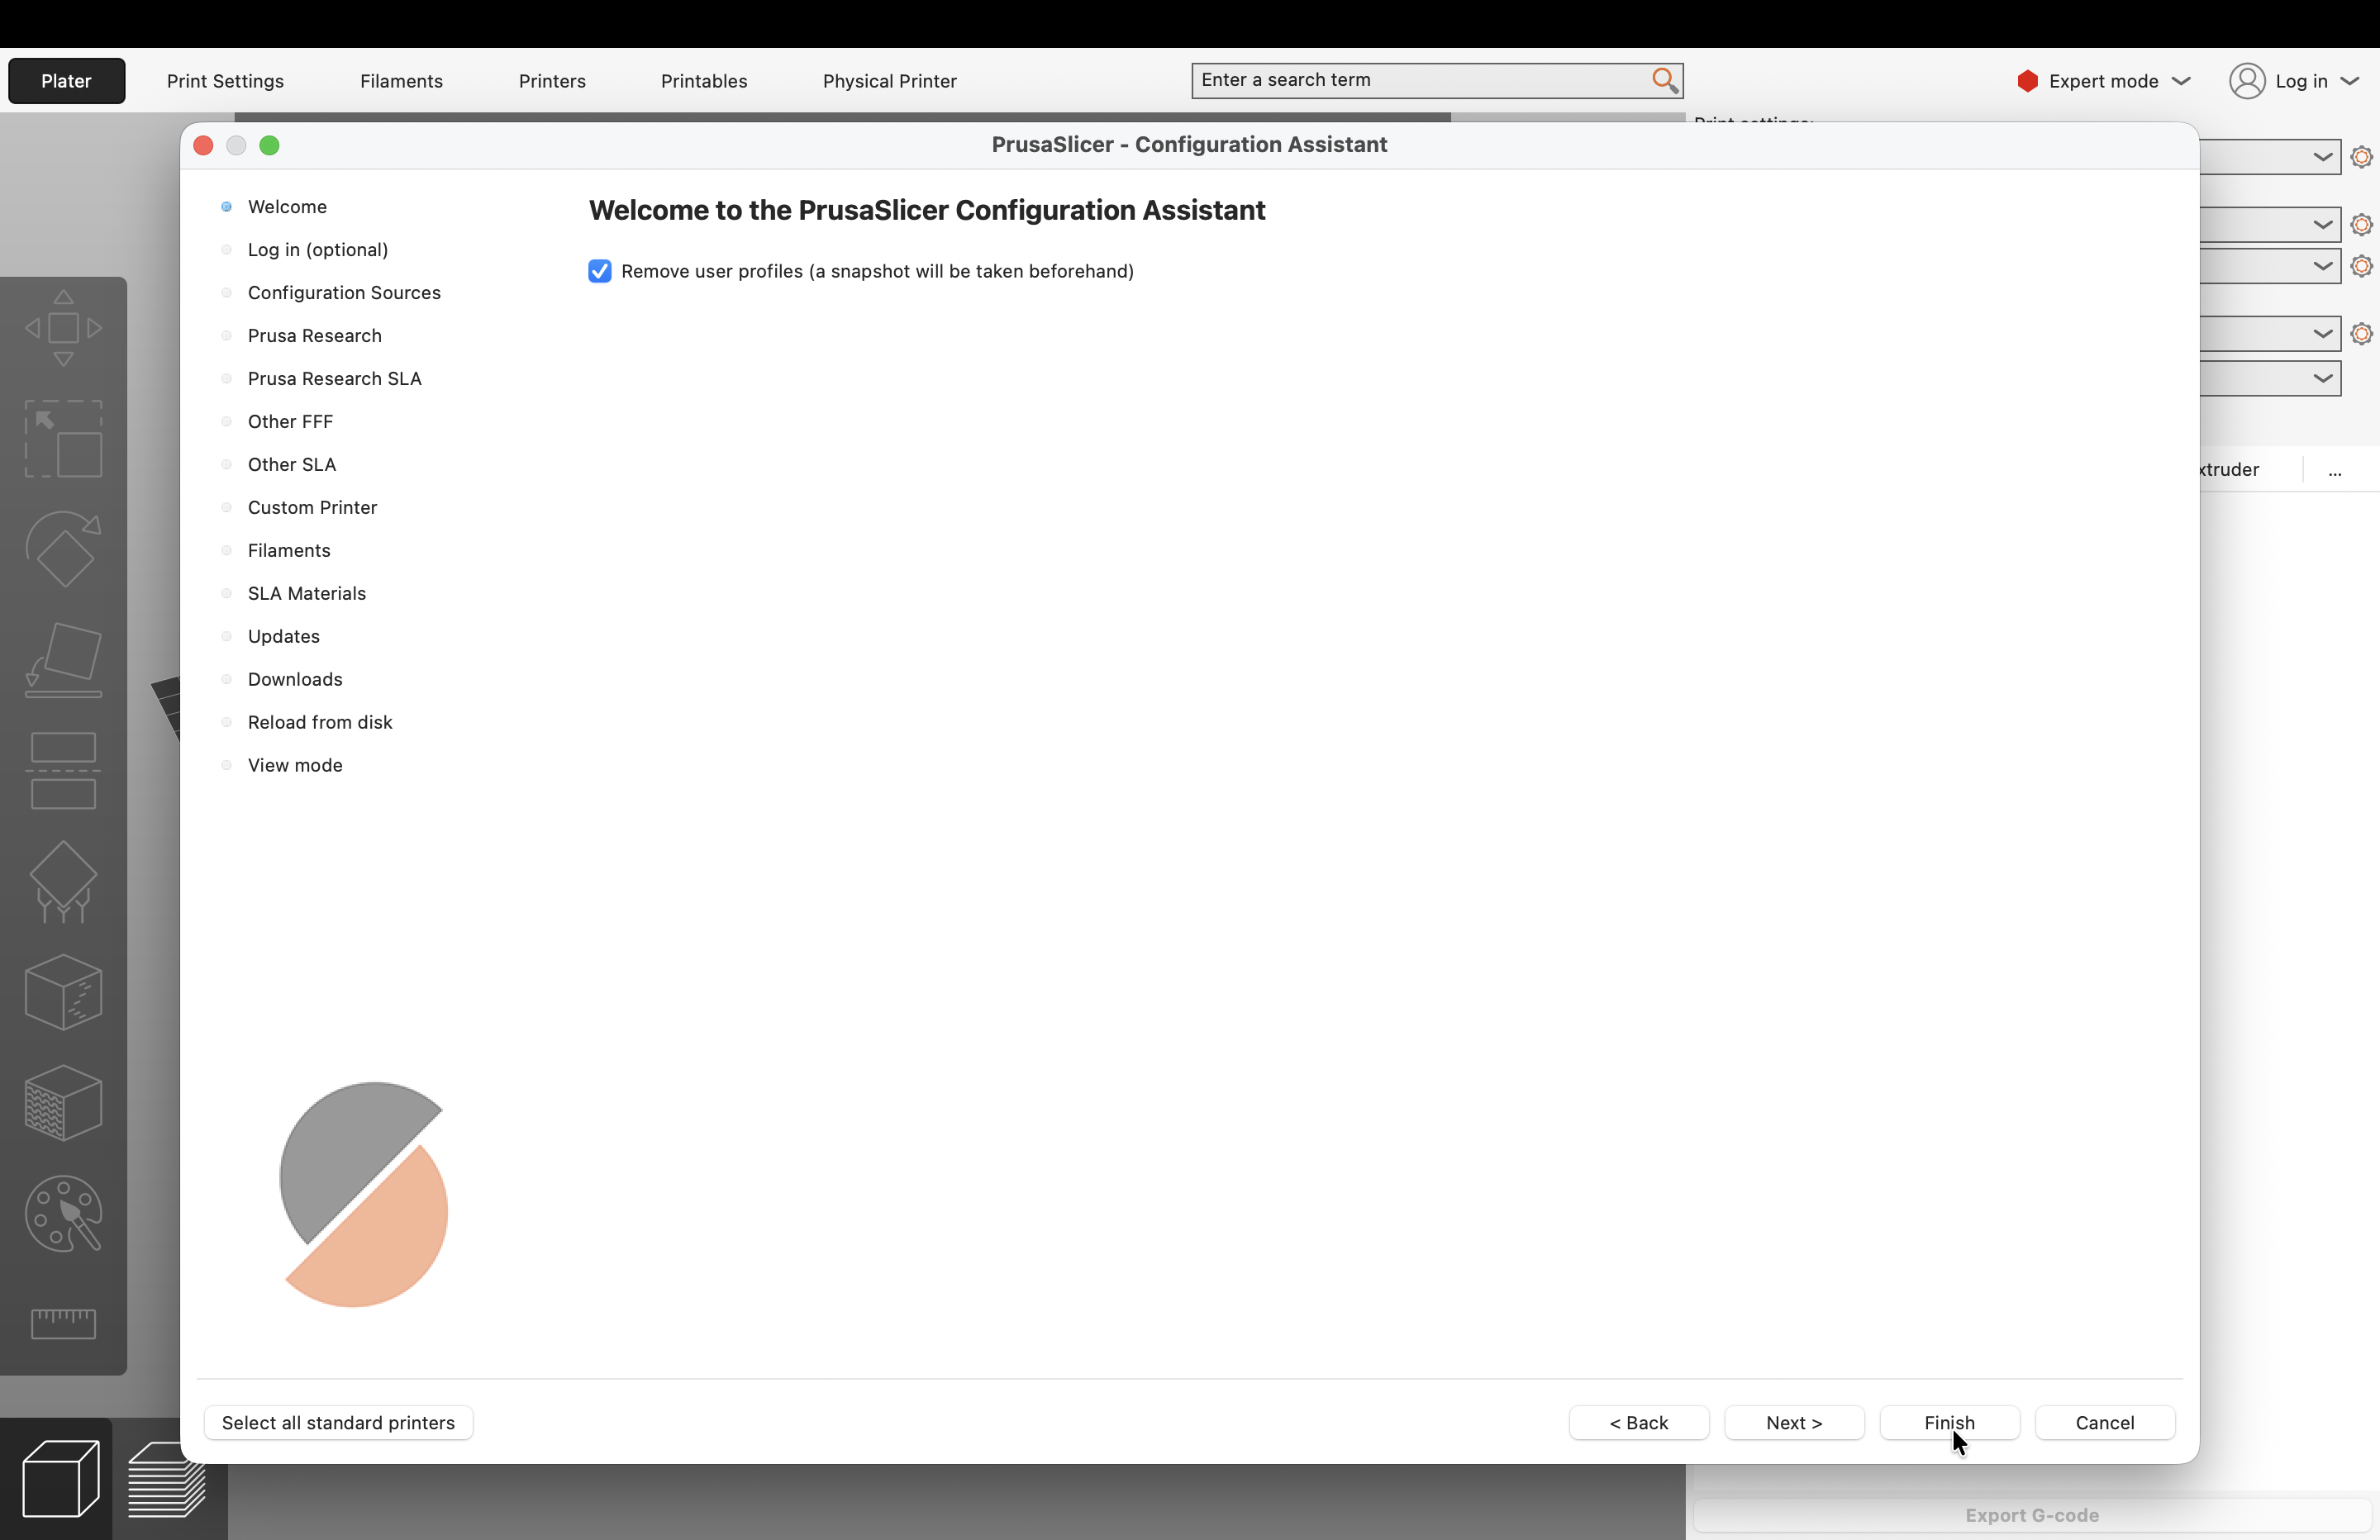
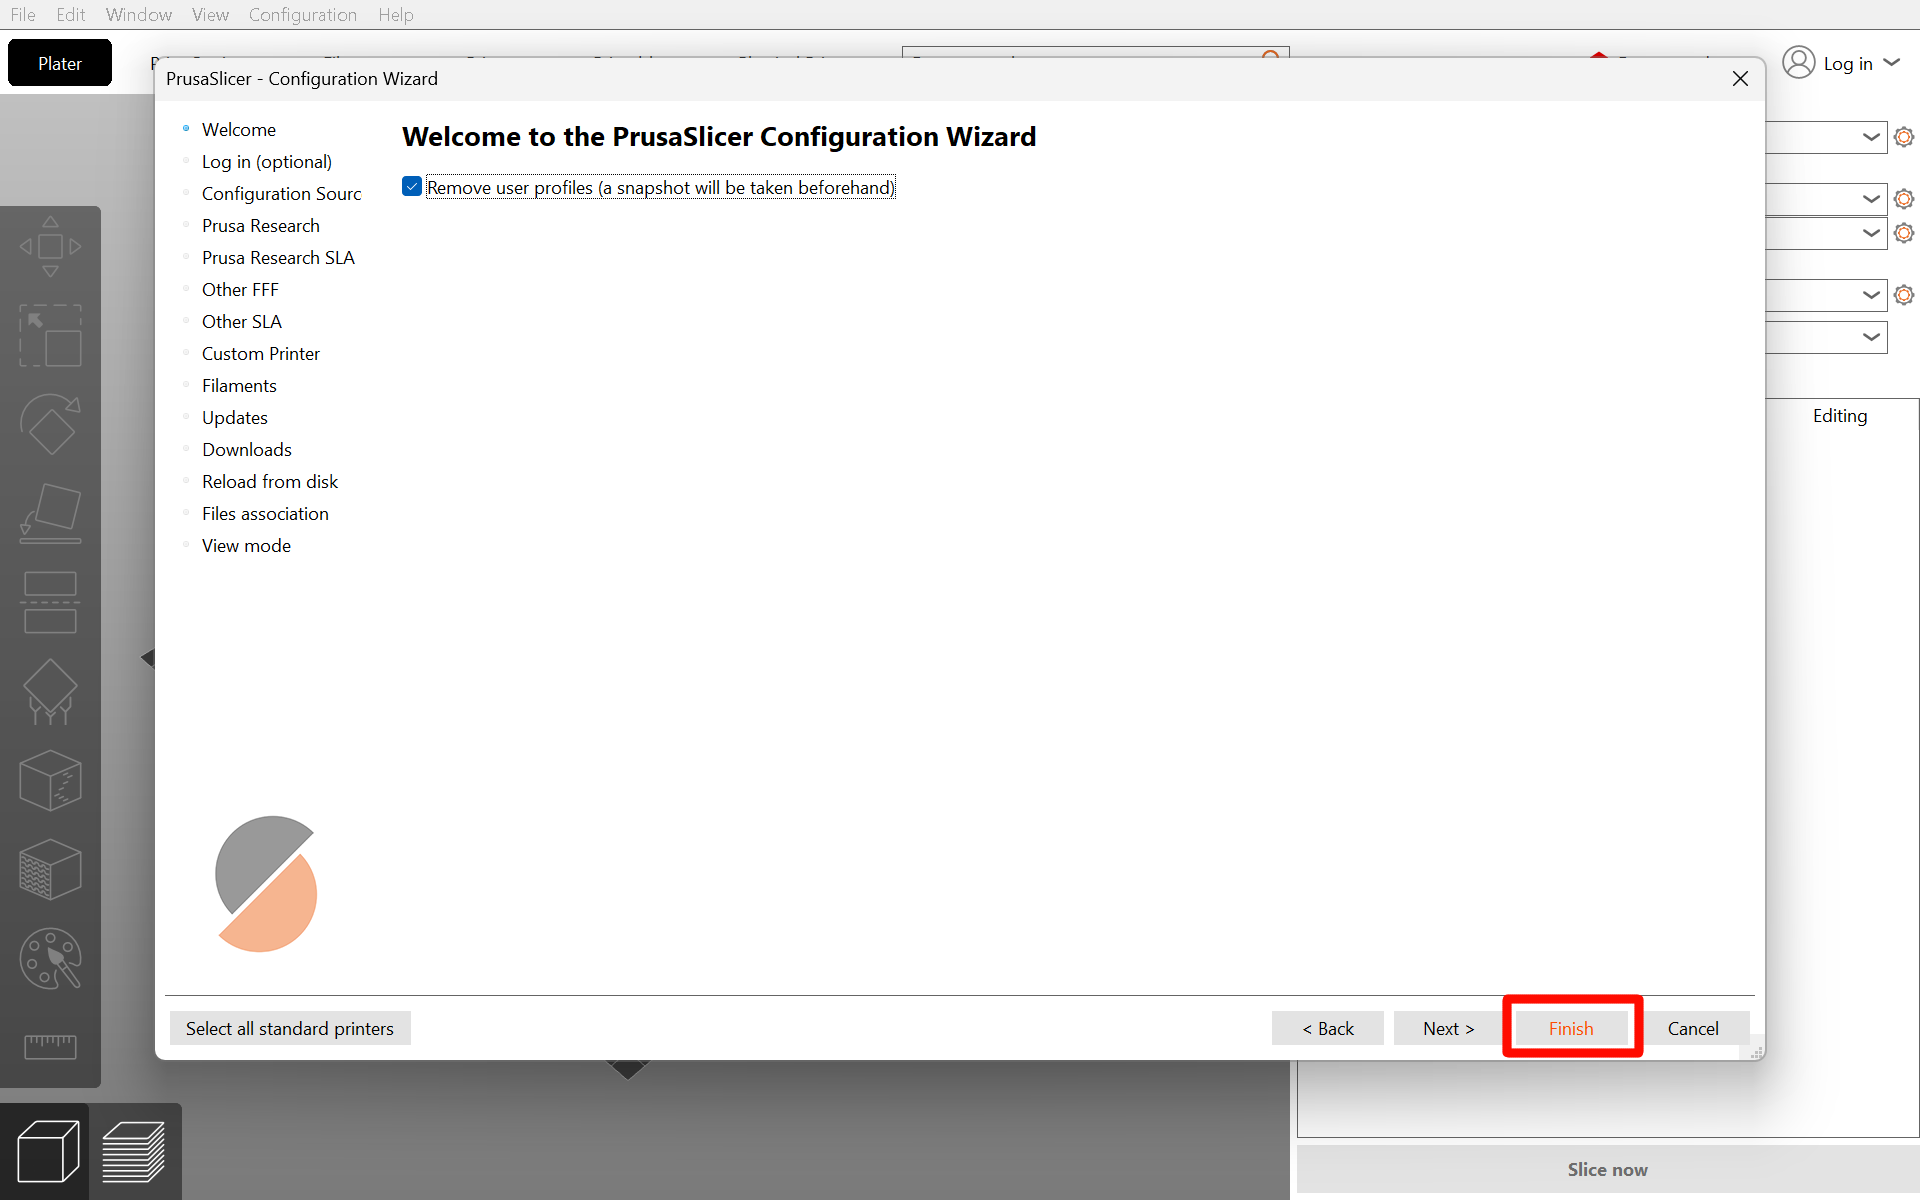
- Click Finish. After clicking Finish, PrusaSlicer applies the configuration reset.
- Open Configuration Assistant / Wizard again. After cleanup, open the wizard again to install the new configuration. If this is your first time installing Vision Miner profiles (you skipped steps 5-9), open the Configuration Assistant from Configuration > Configuration Assistant... in the menu bar.
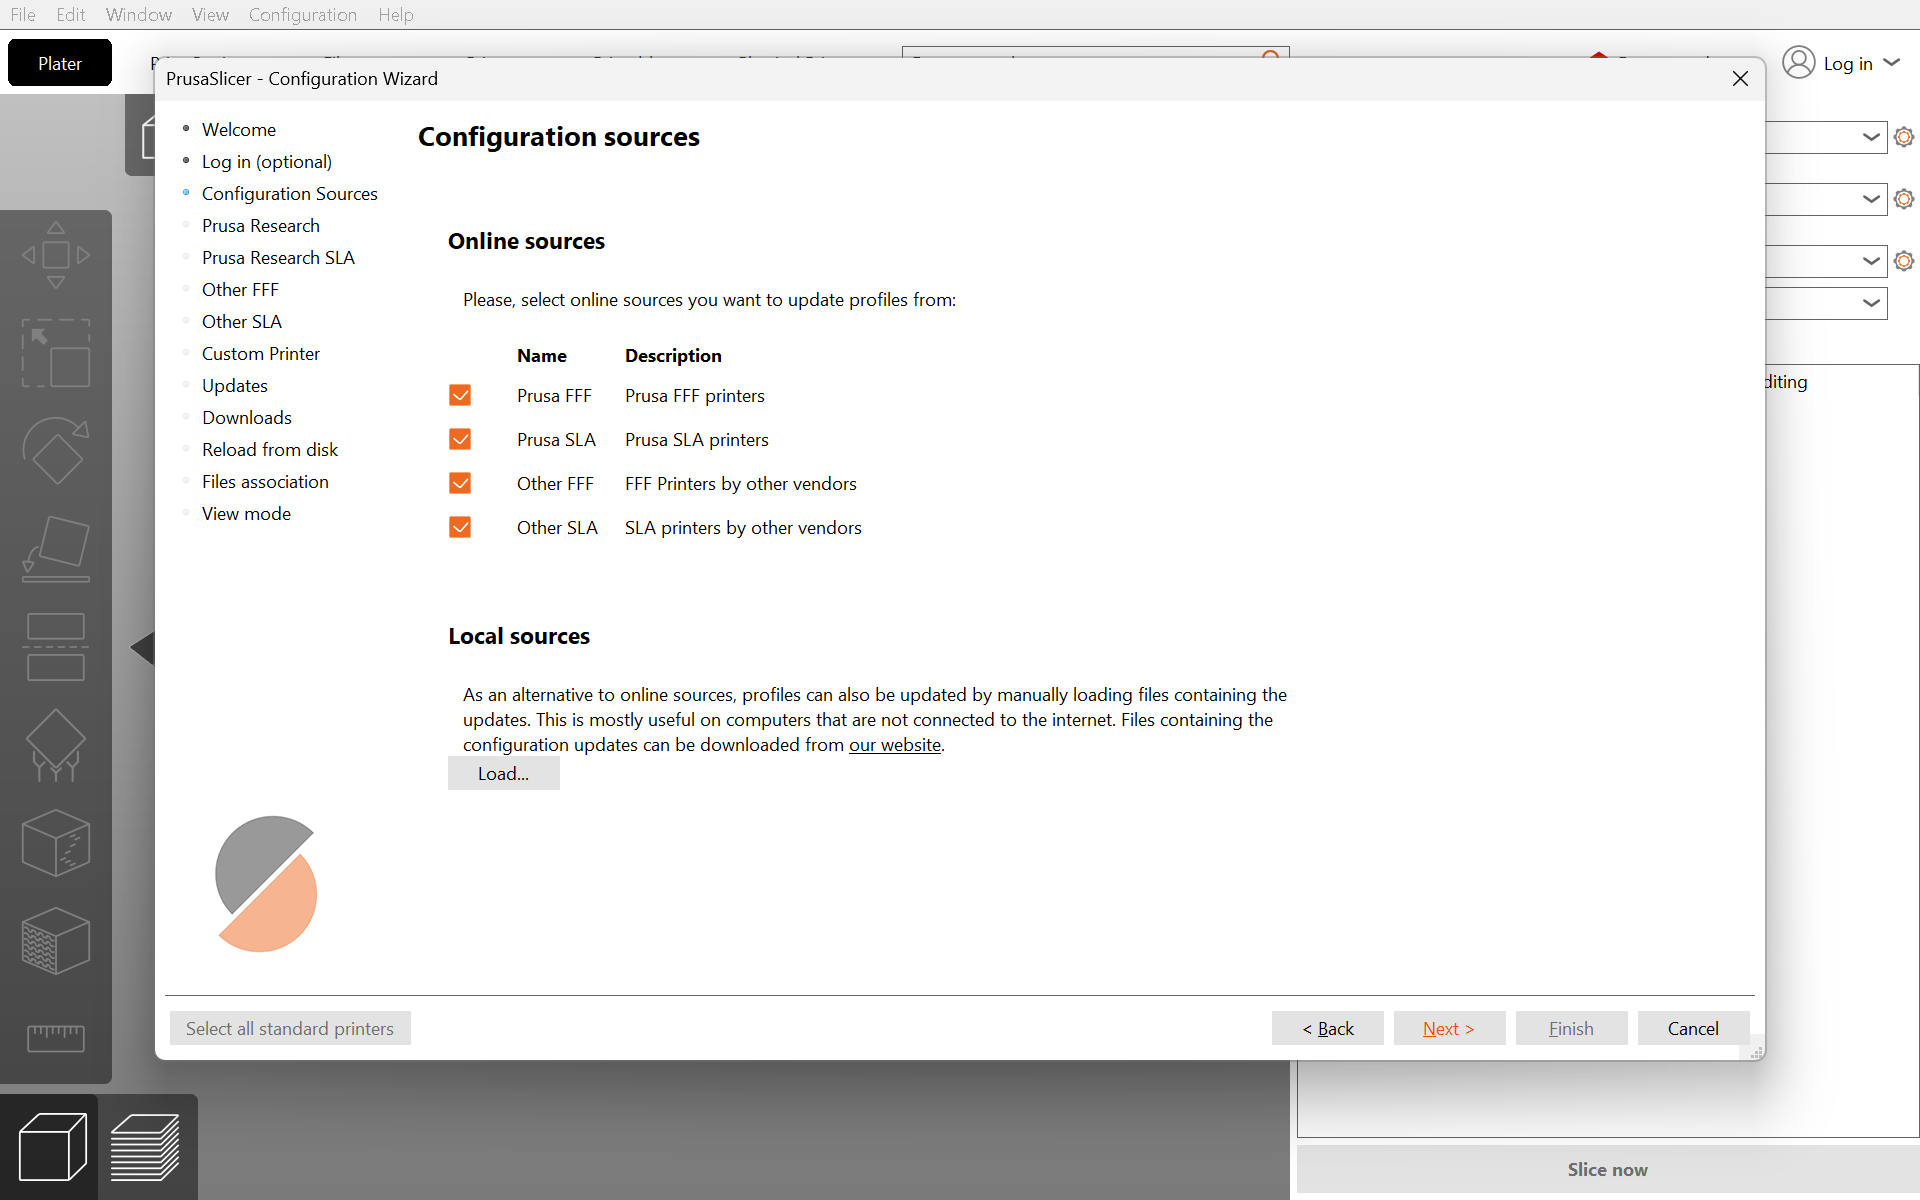
- Go to the Configuration Sources page. This page is used to add the local configuration source.

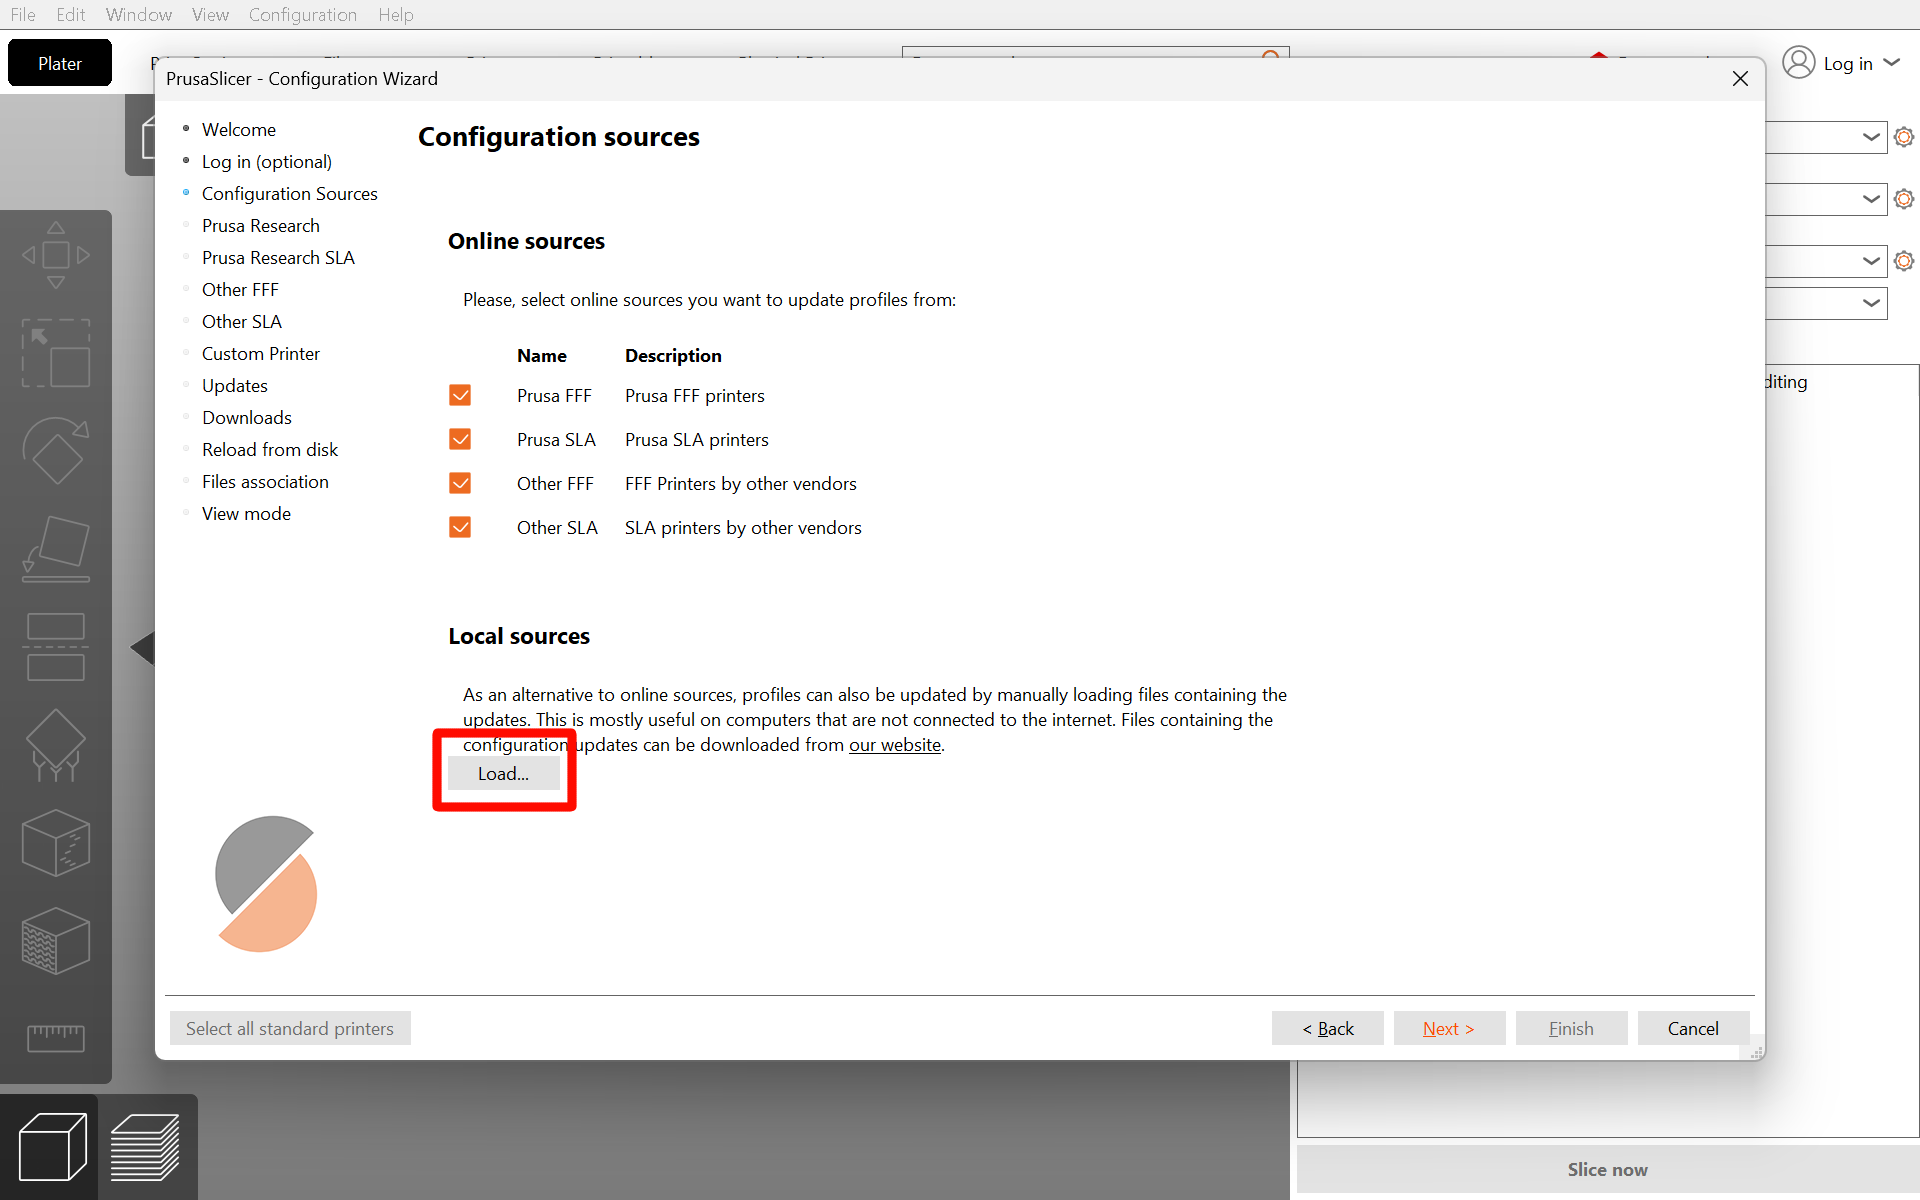
- Add a local or offline archive source. Click the button for adding/loading a local archive. The exact button label can vary by PrusaSlicer version.
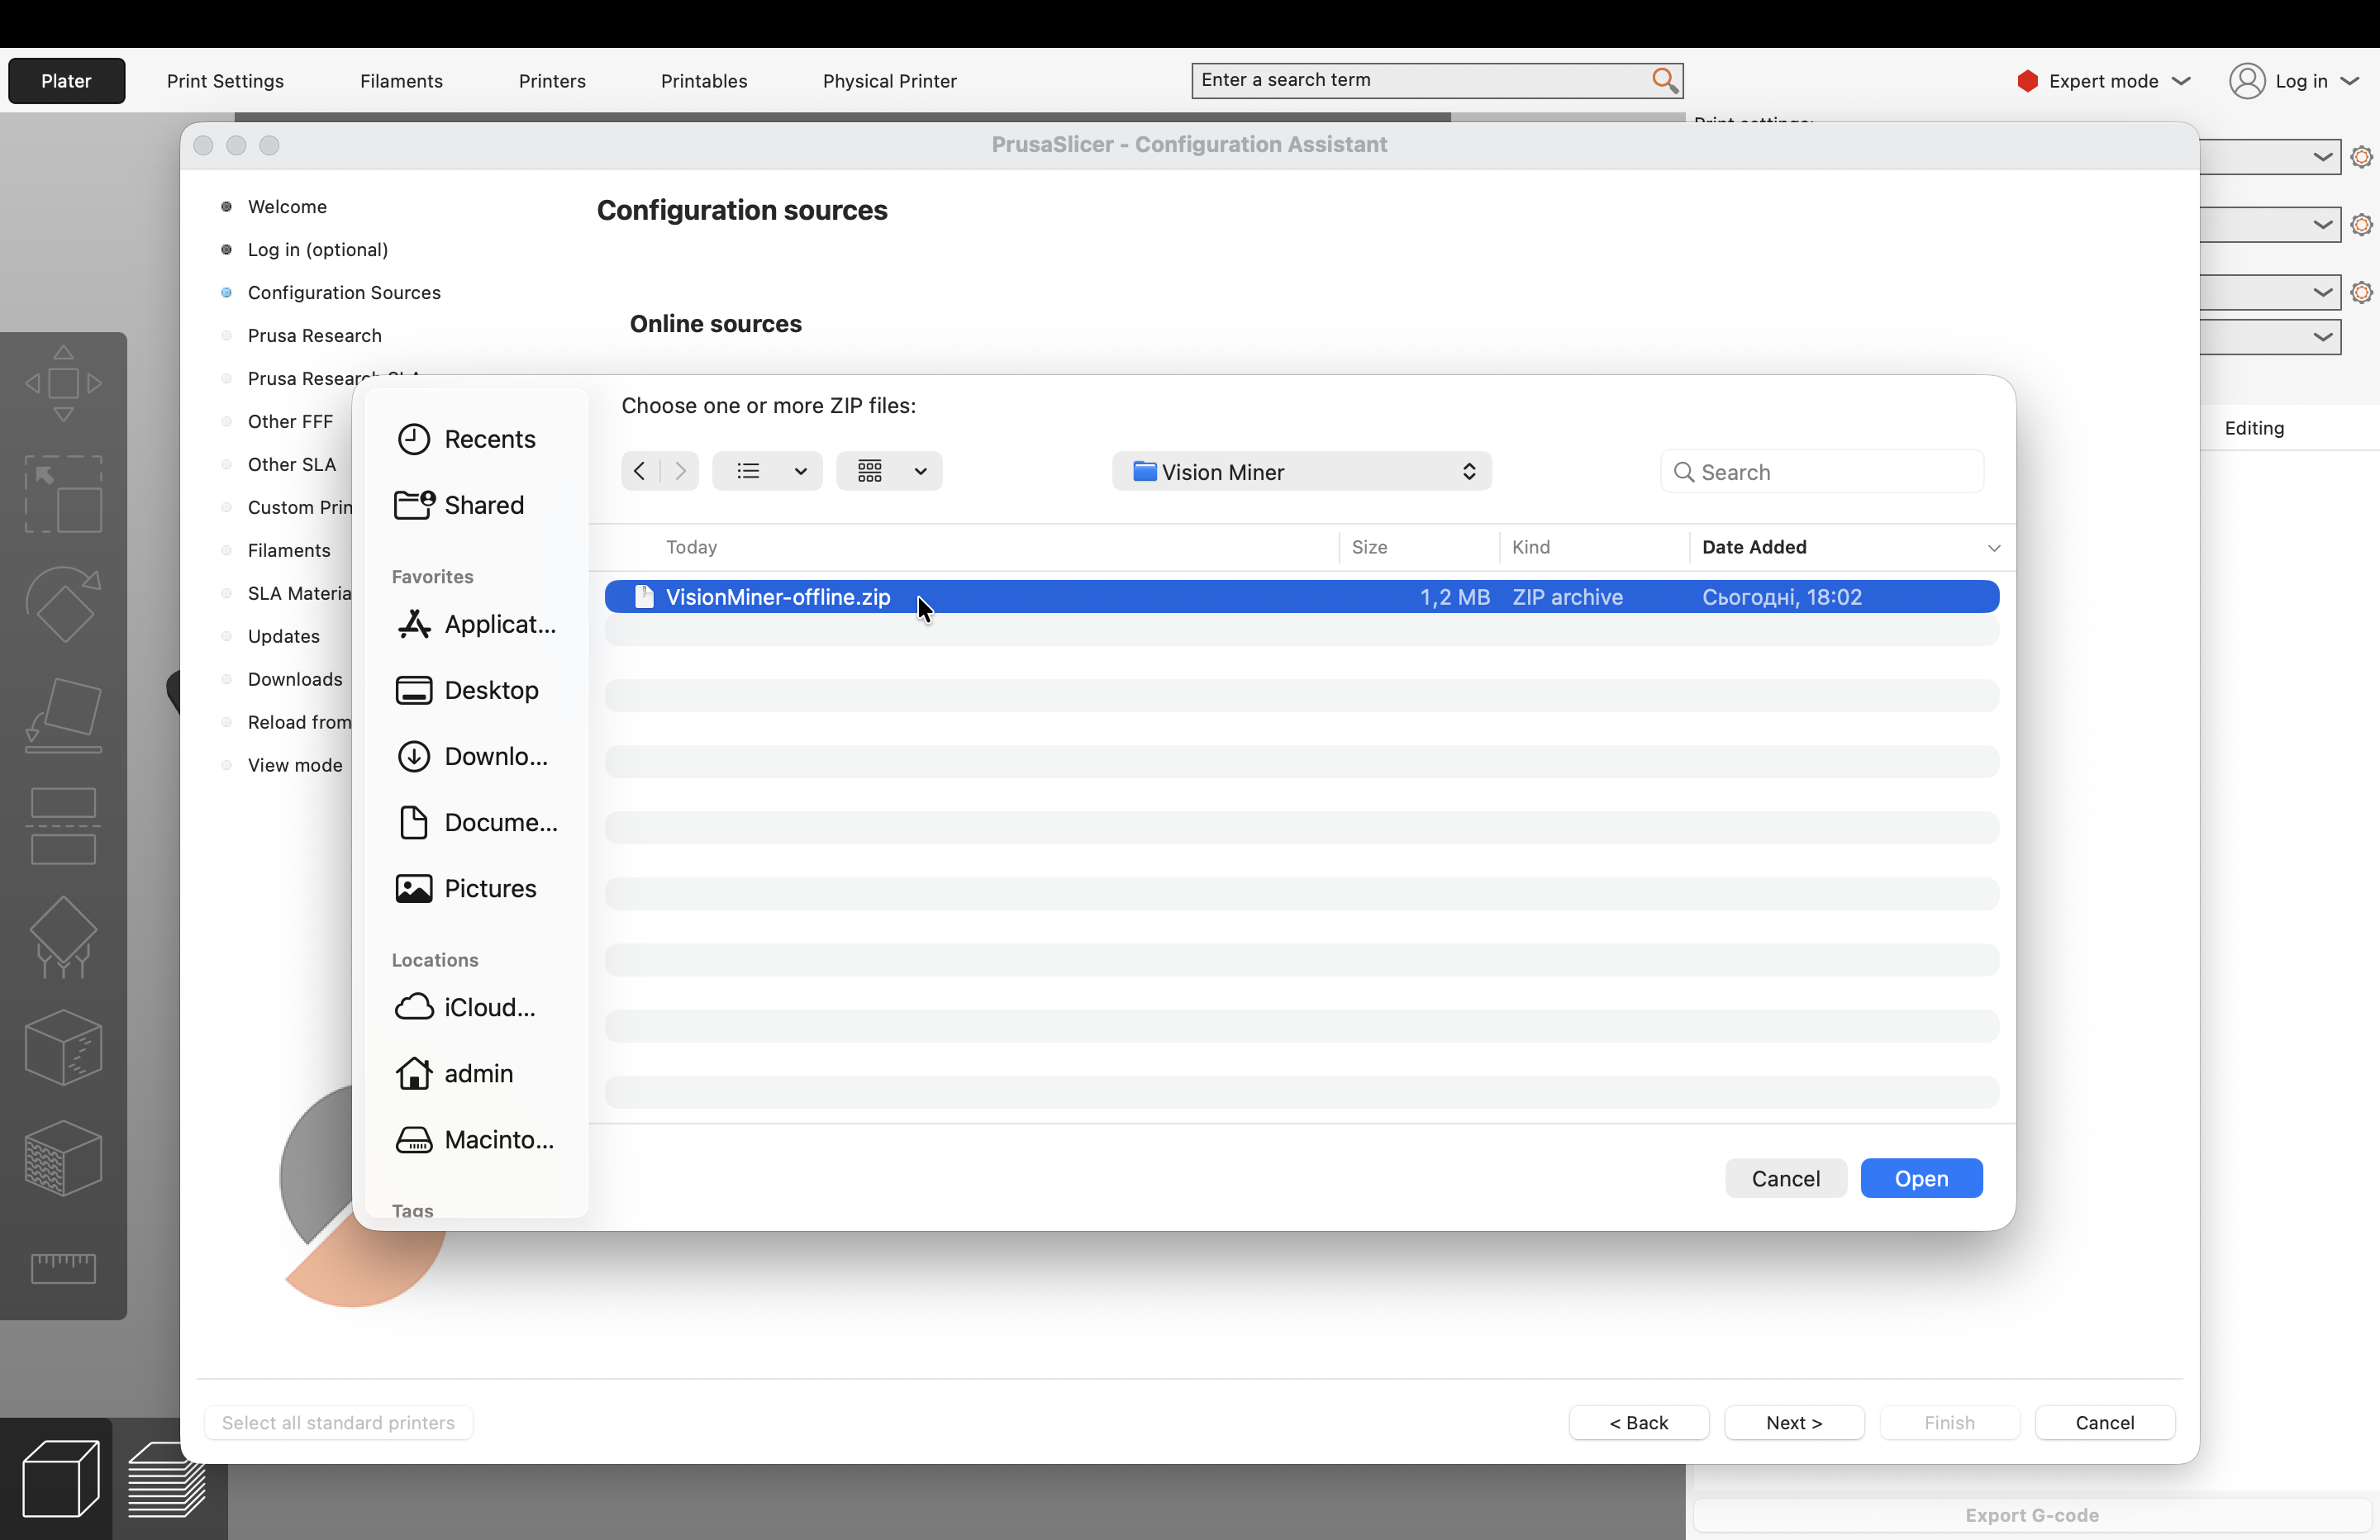
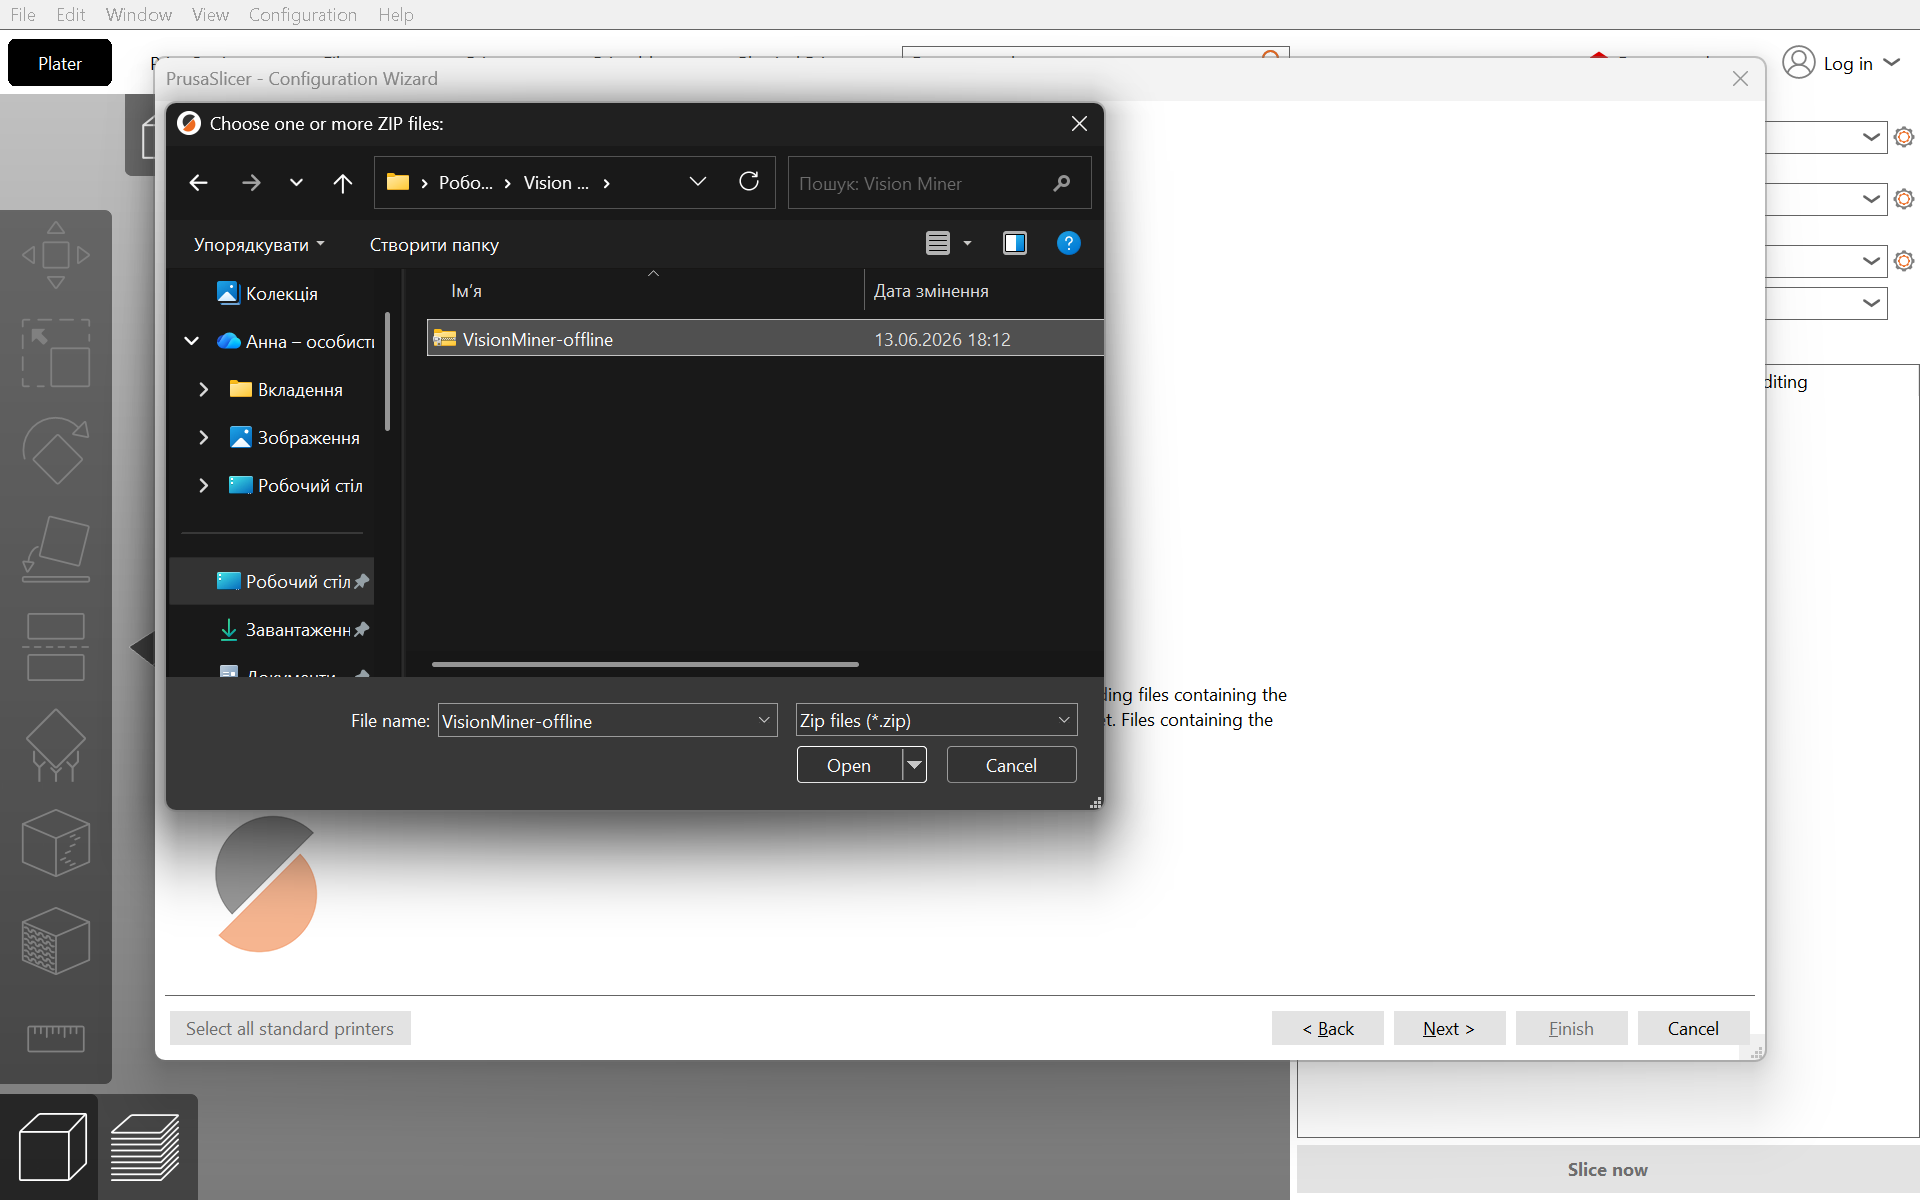
- Select VisionMiner-offline.zip. Find VisionMiner-offline.zip wherever you saved it, and select the ZIP archive itself.

- Confirm that Vision Miner was added to the source list. After selecting the archive, PrusaSlicer should show the Vision Miner / 22 IDEX source.
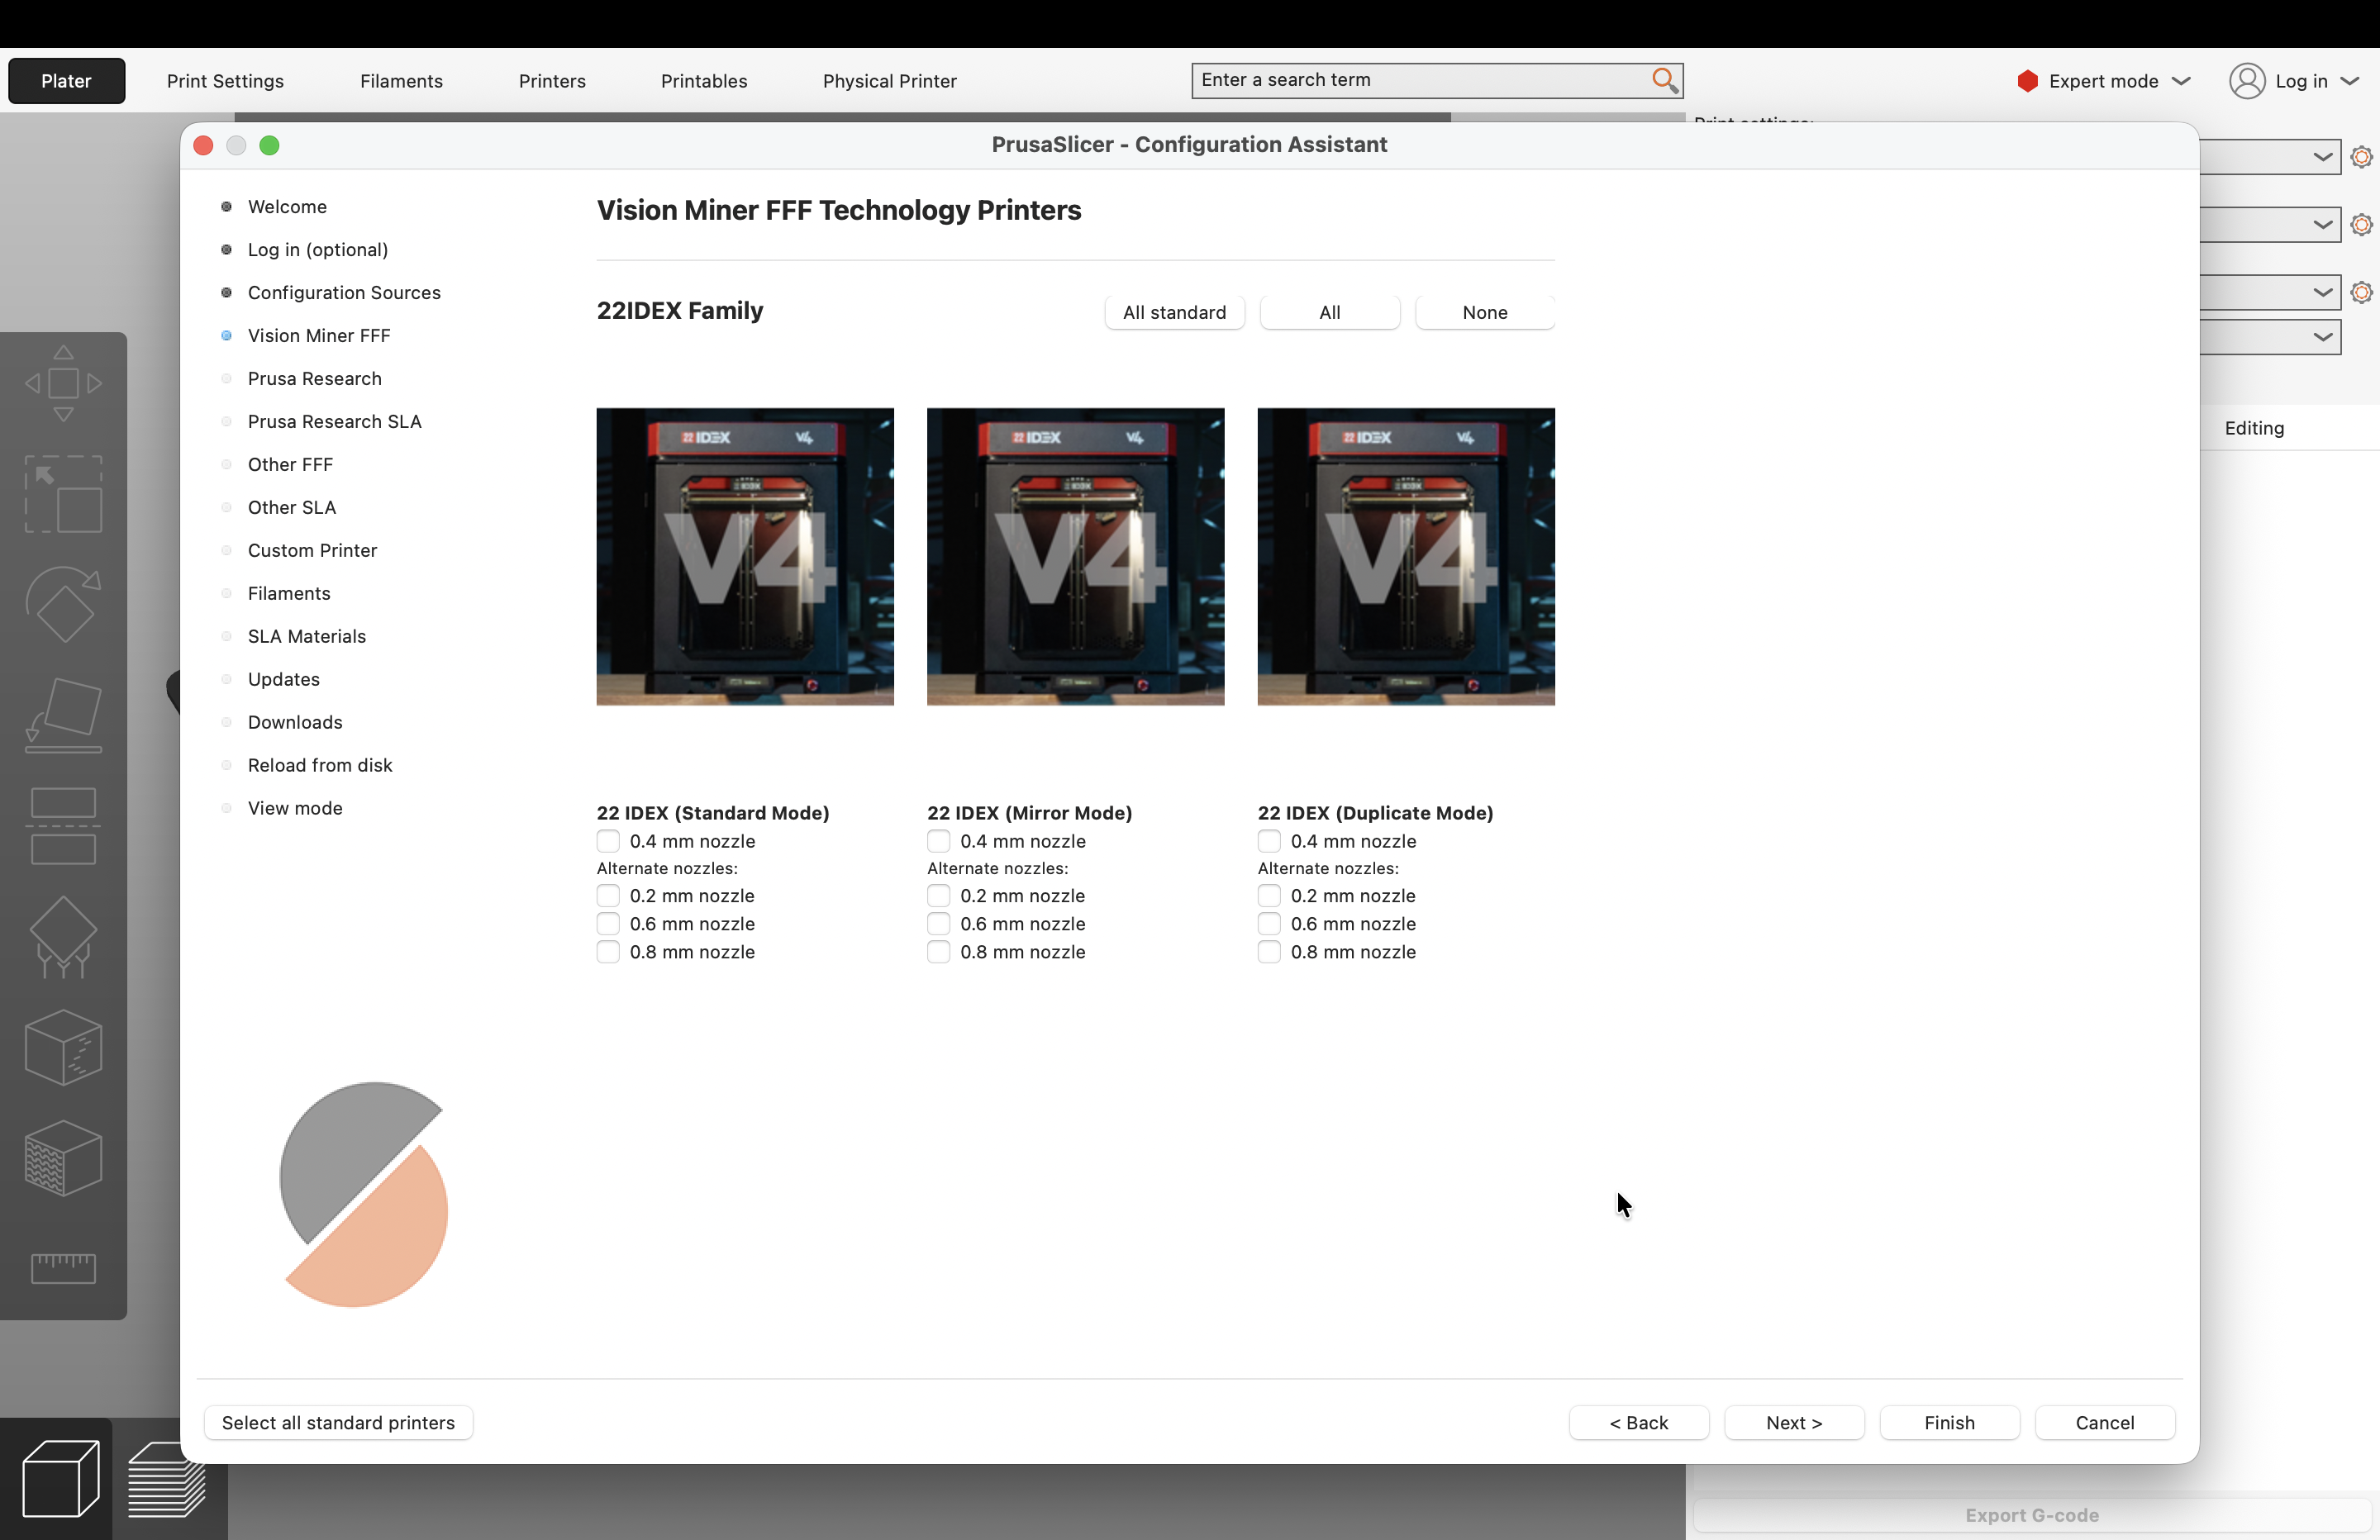
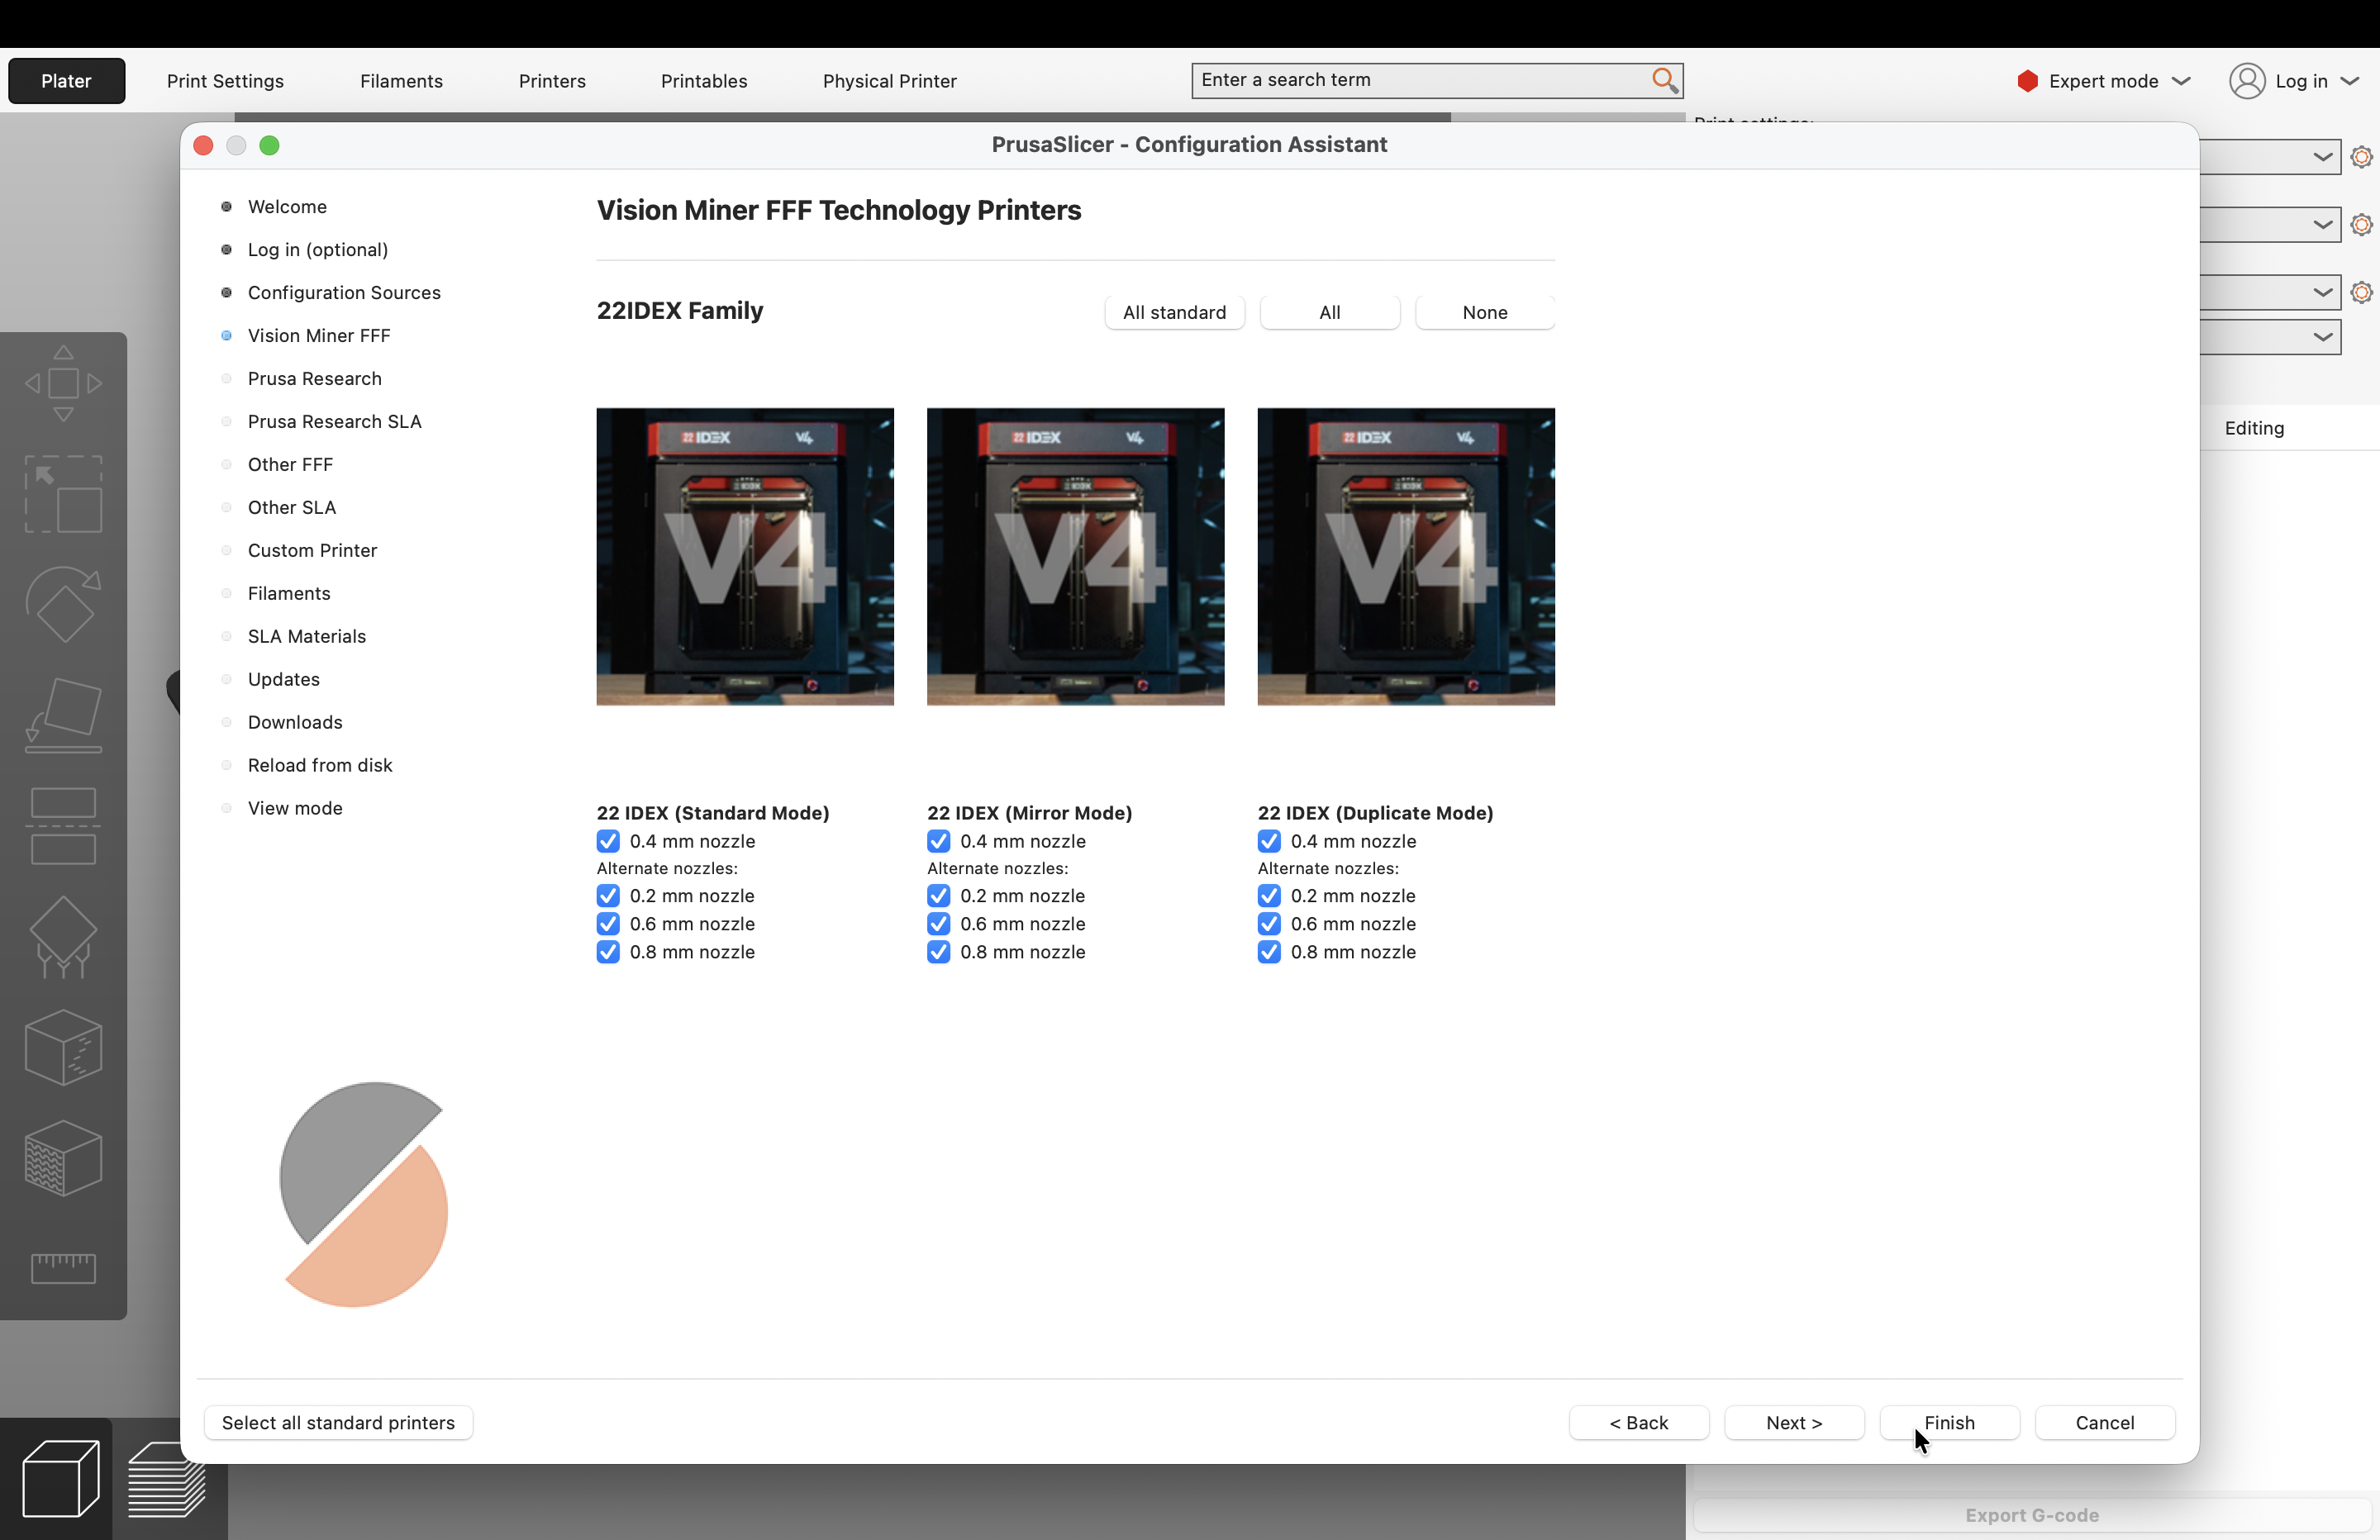
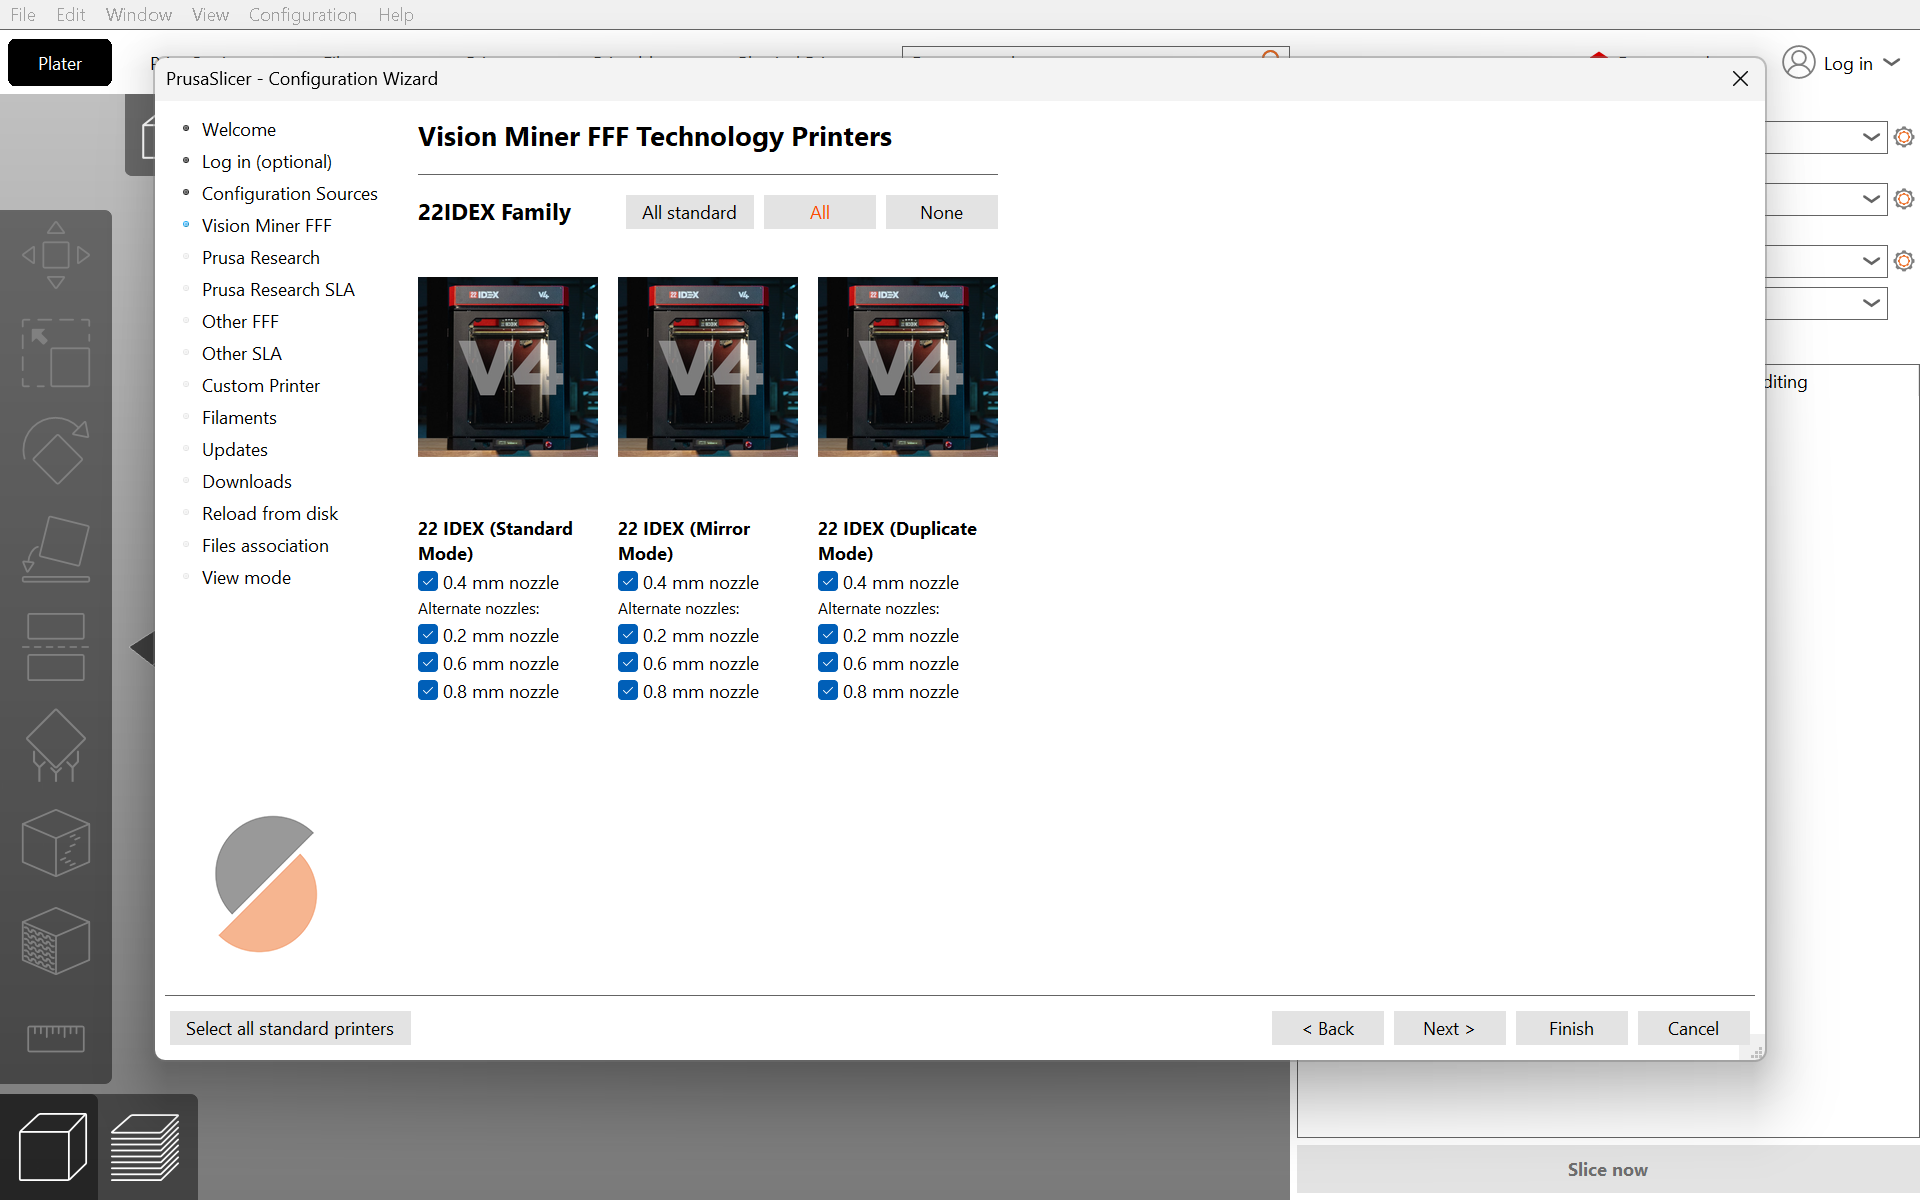
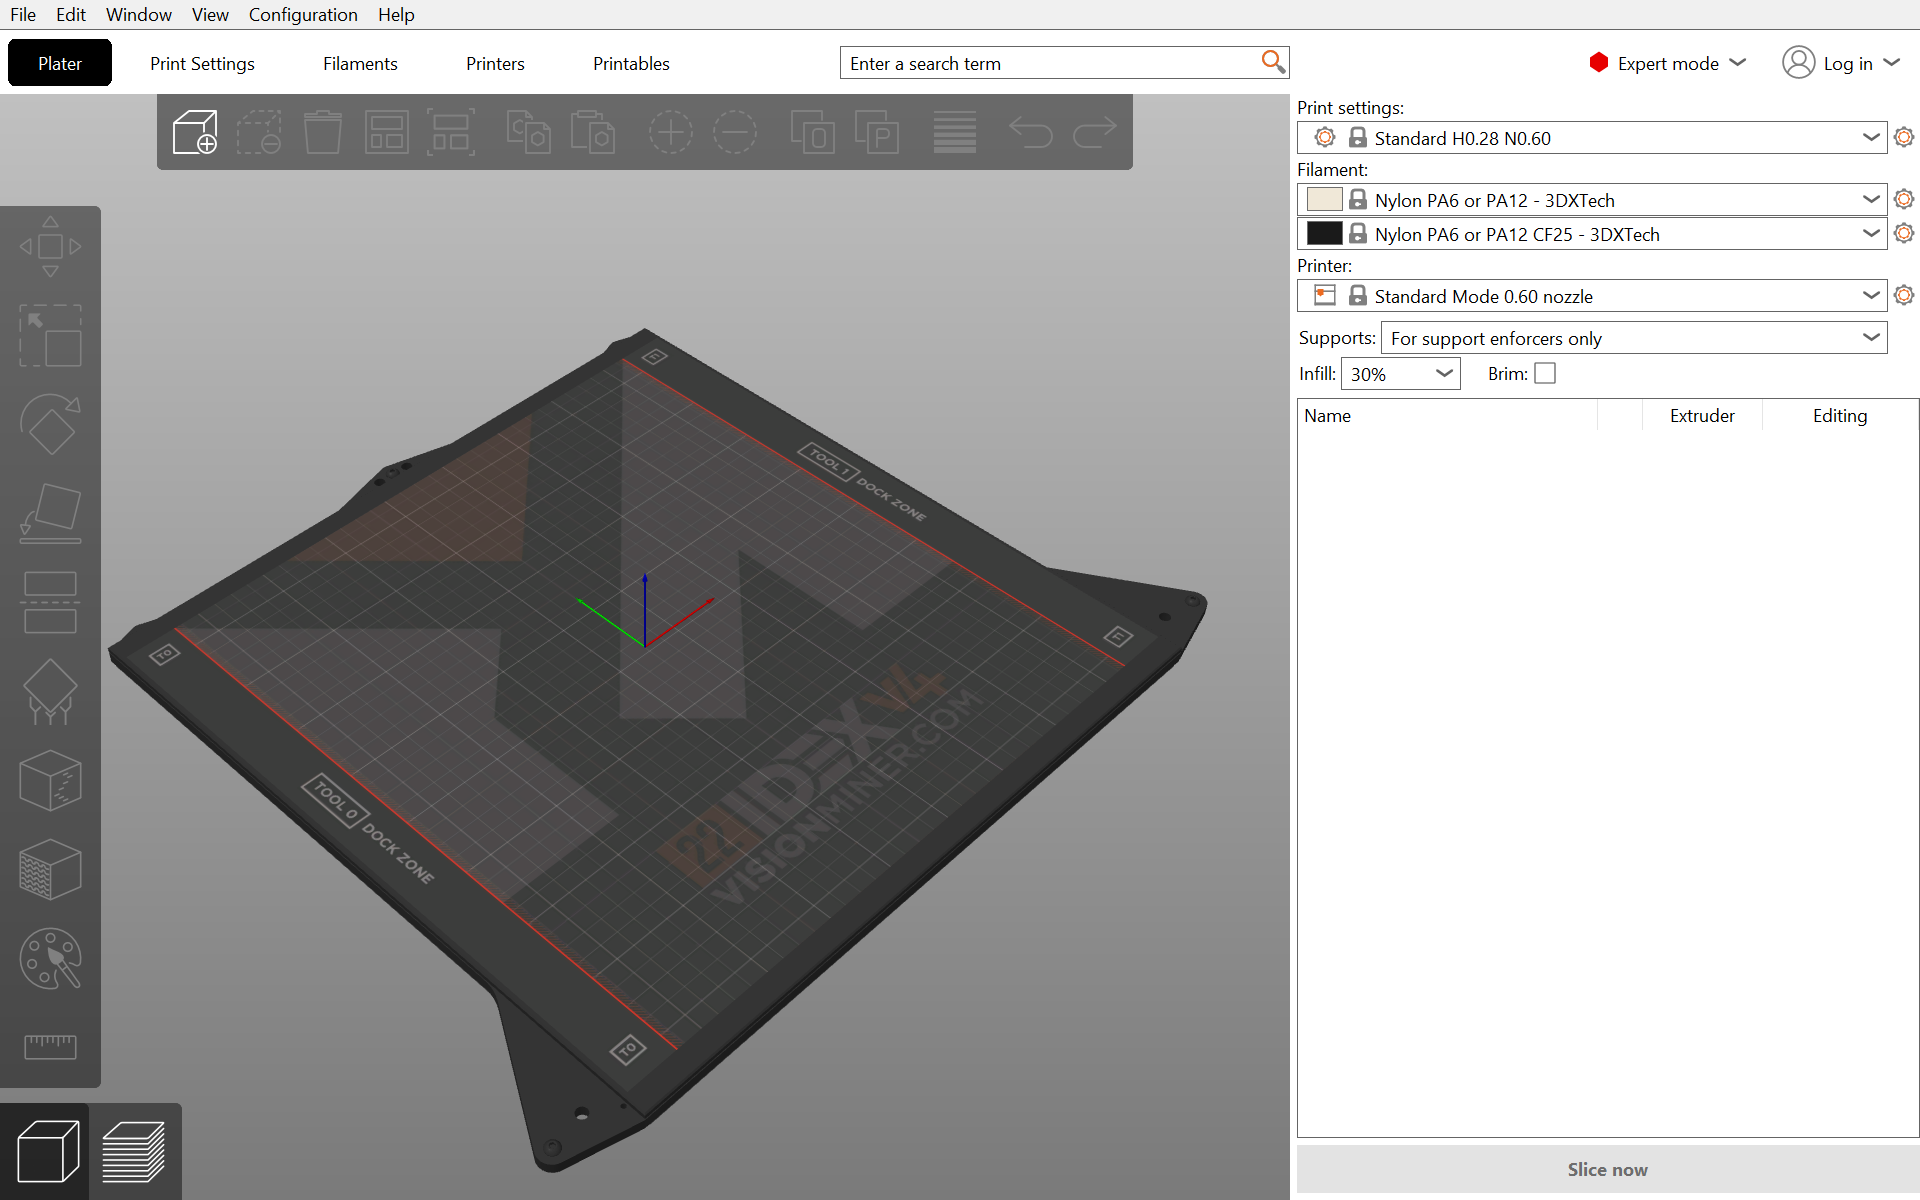
- Continue through the profile wizard pages. Keep the Vision Miner / 22 IDEX printers with the required nozzle diameters selected.

- Click Finish to install the new configuration. PrusaSlicer installs the new profiles from VisionMiner-offline.zip.
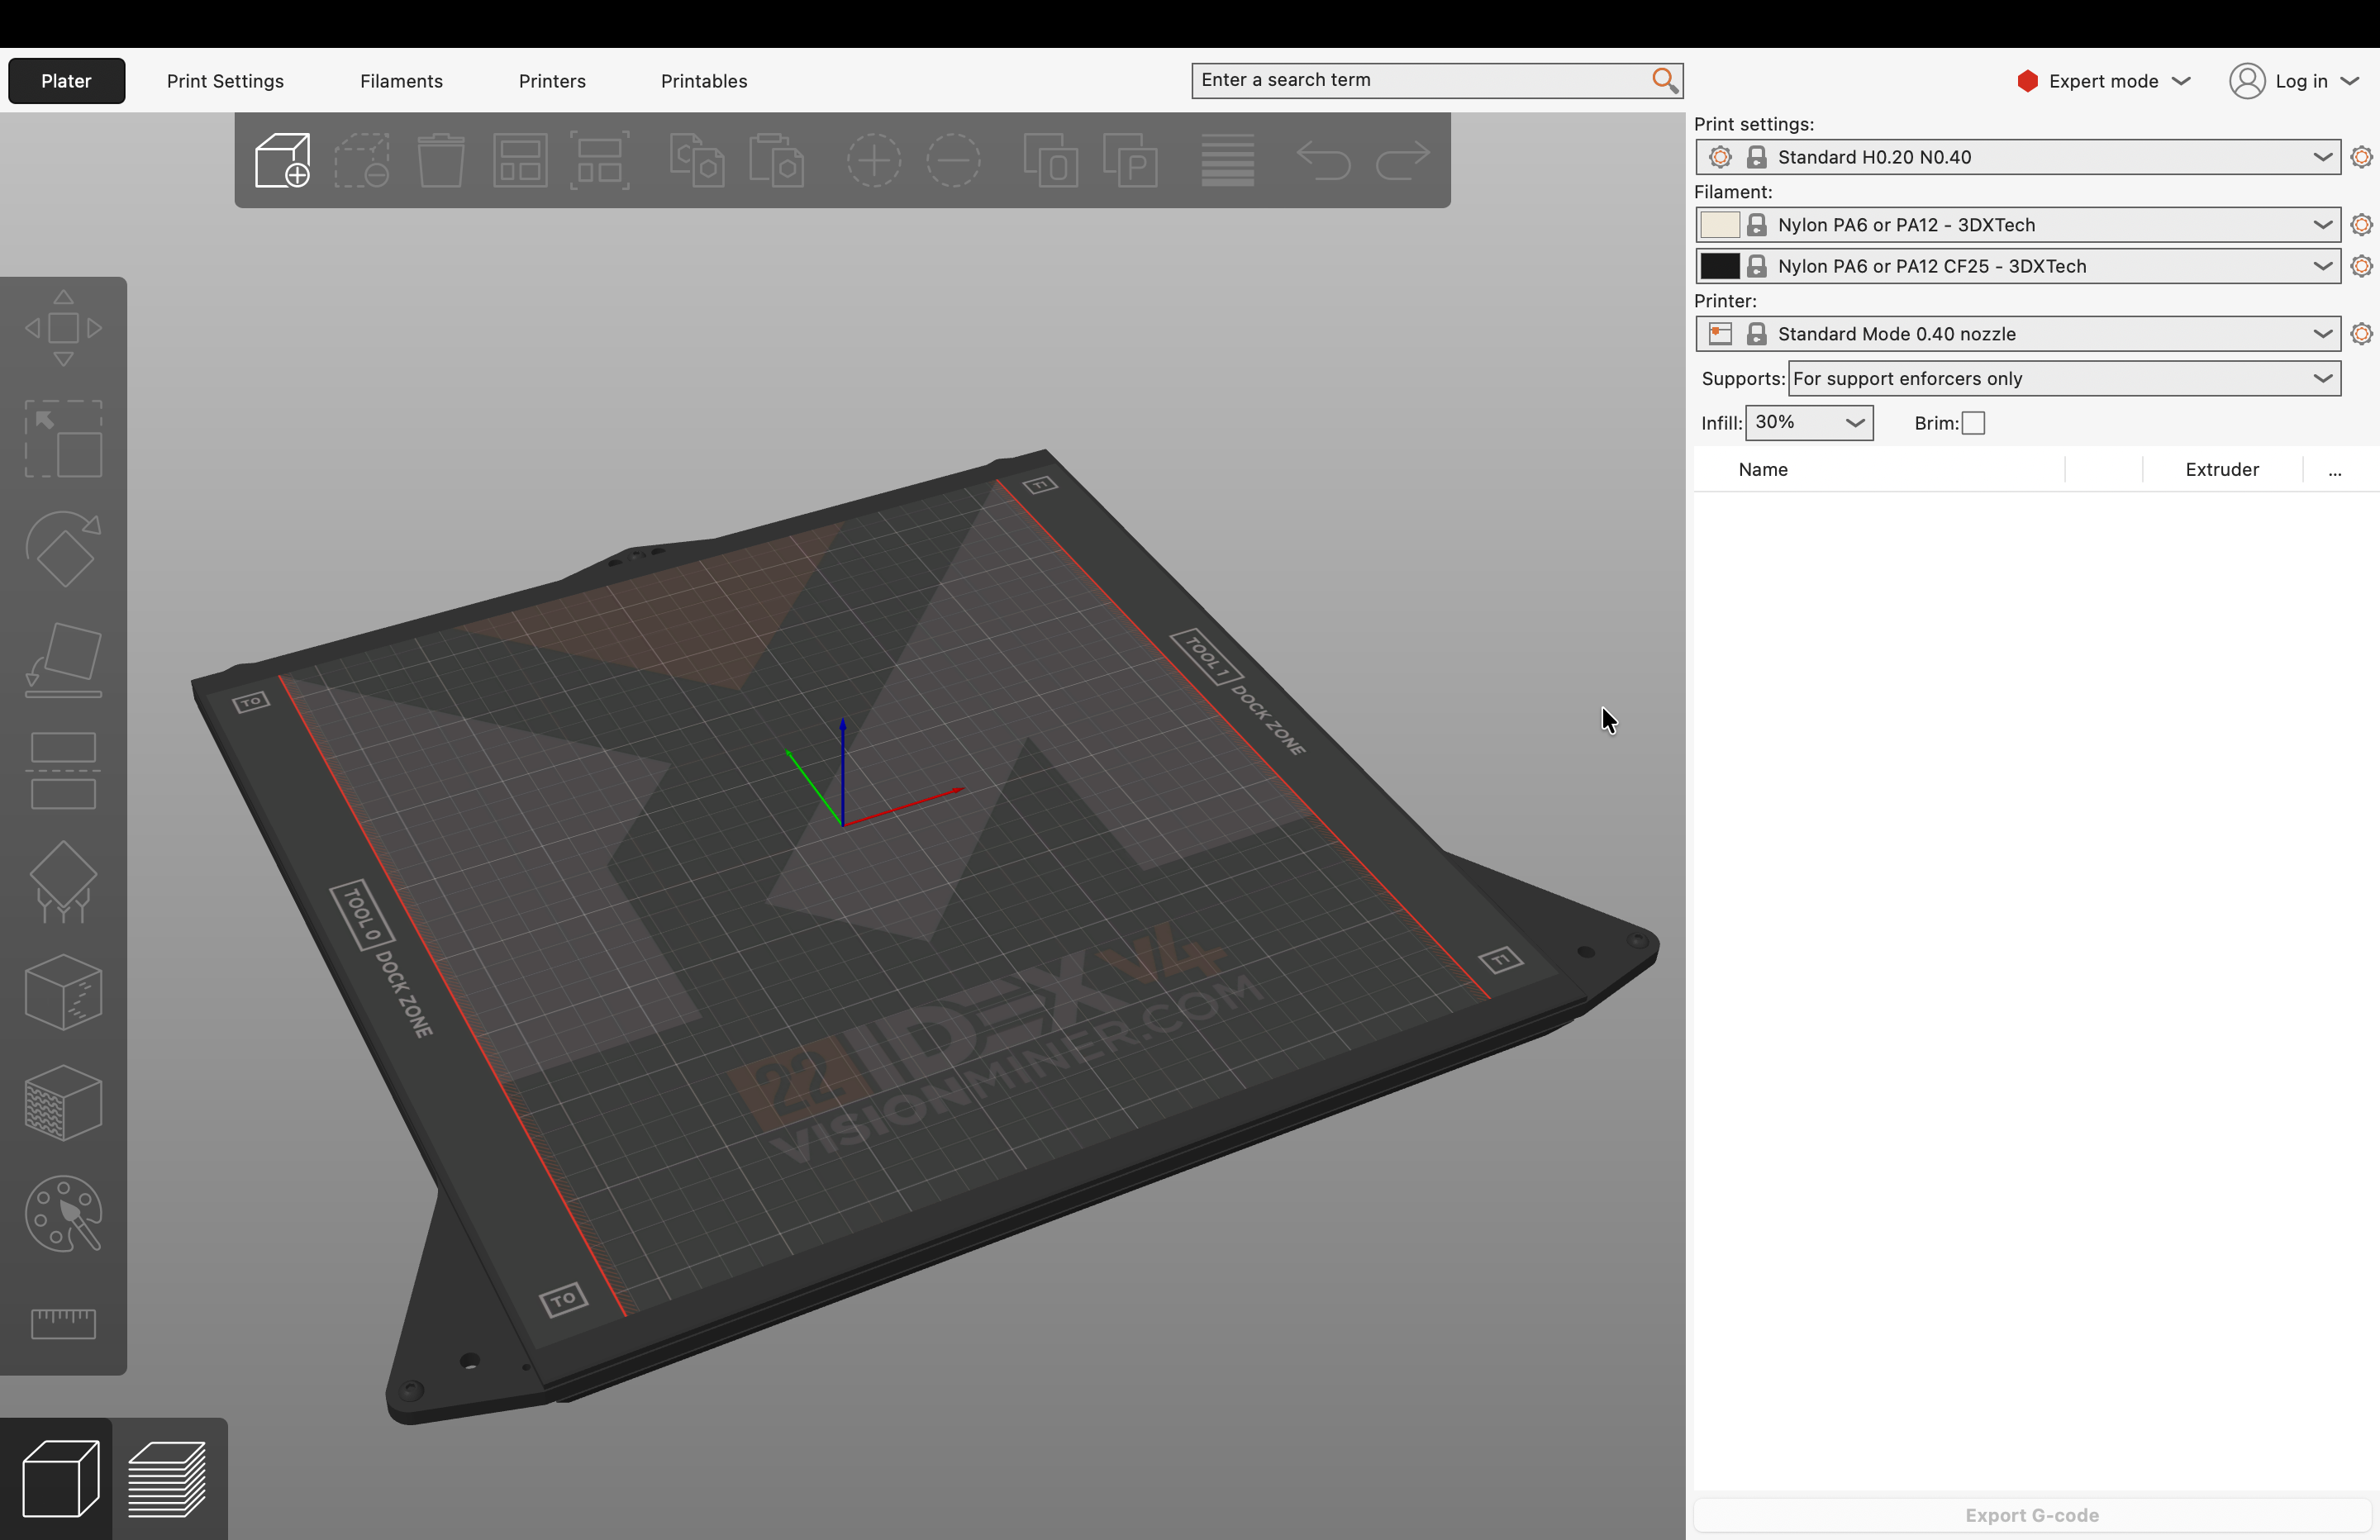
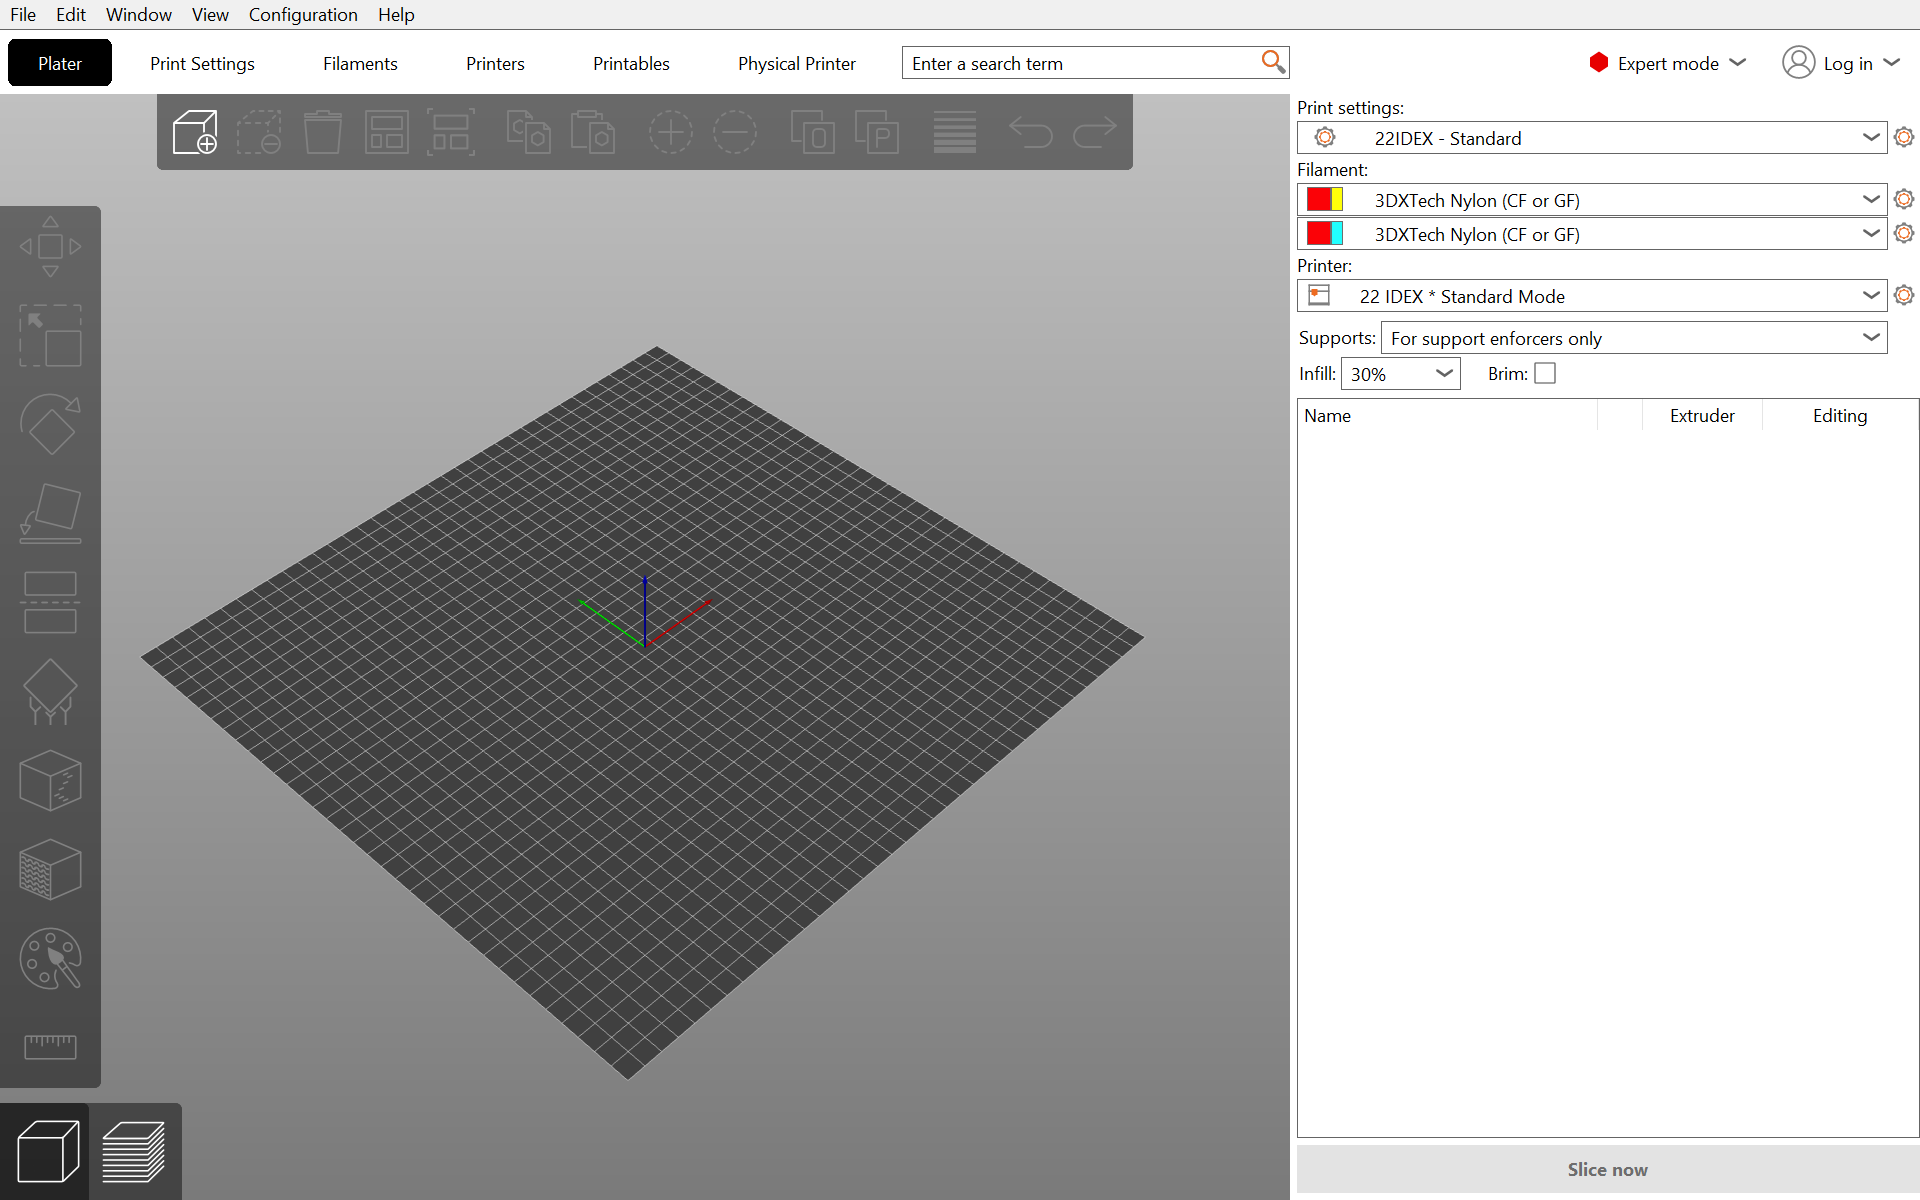
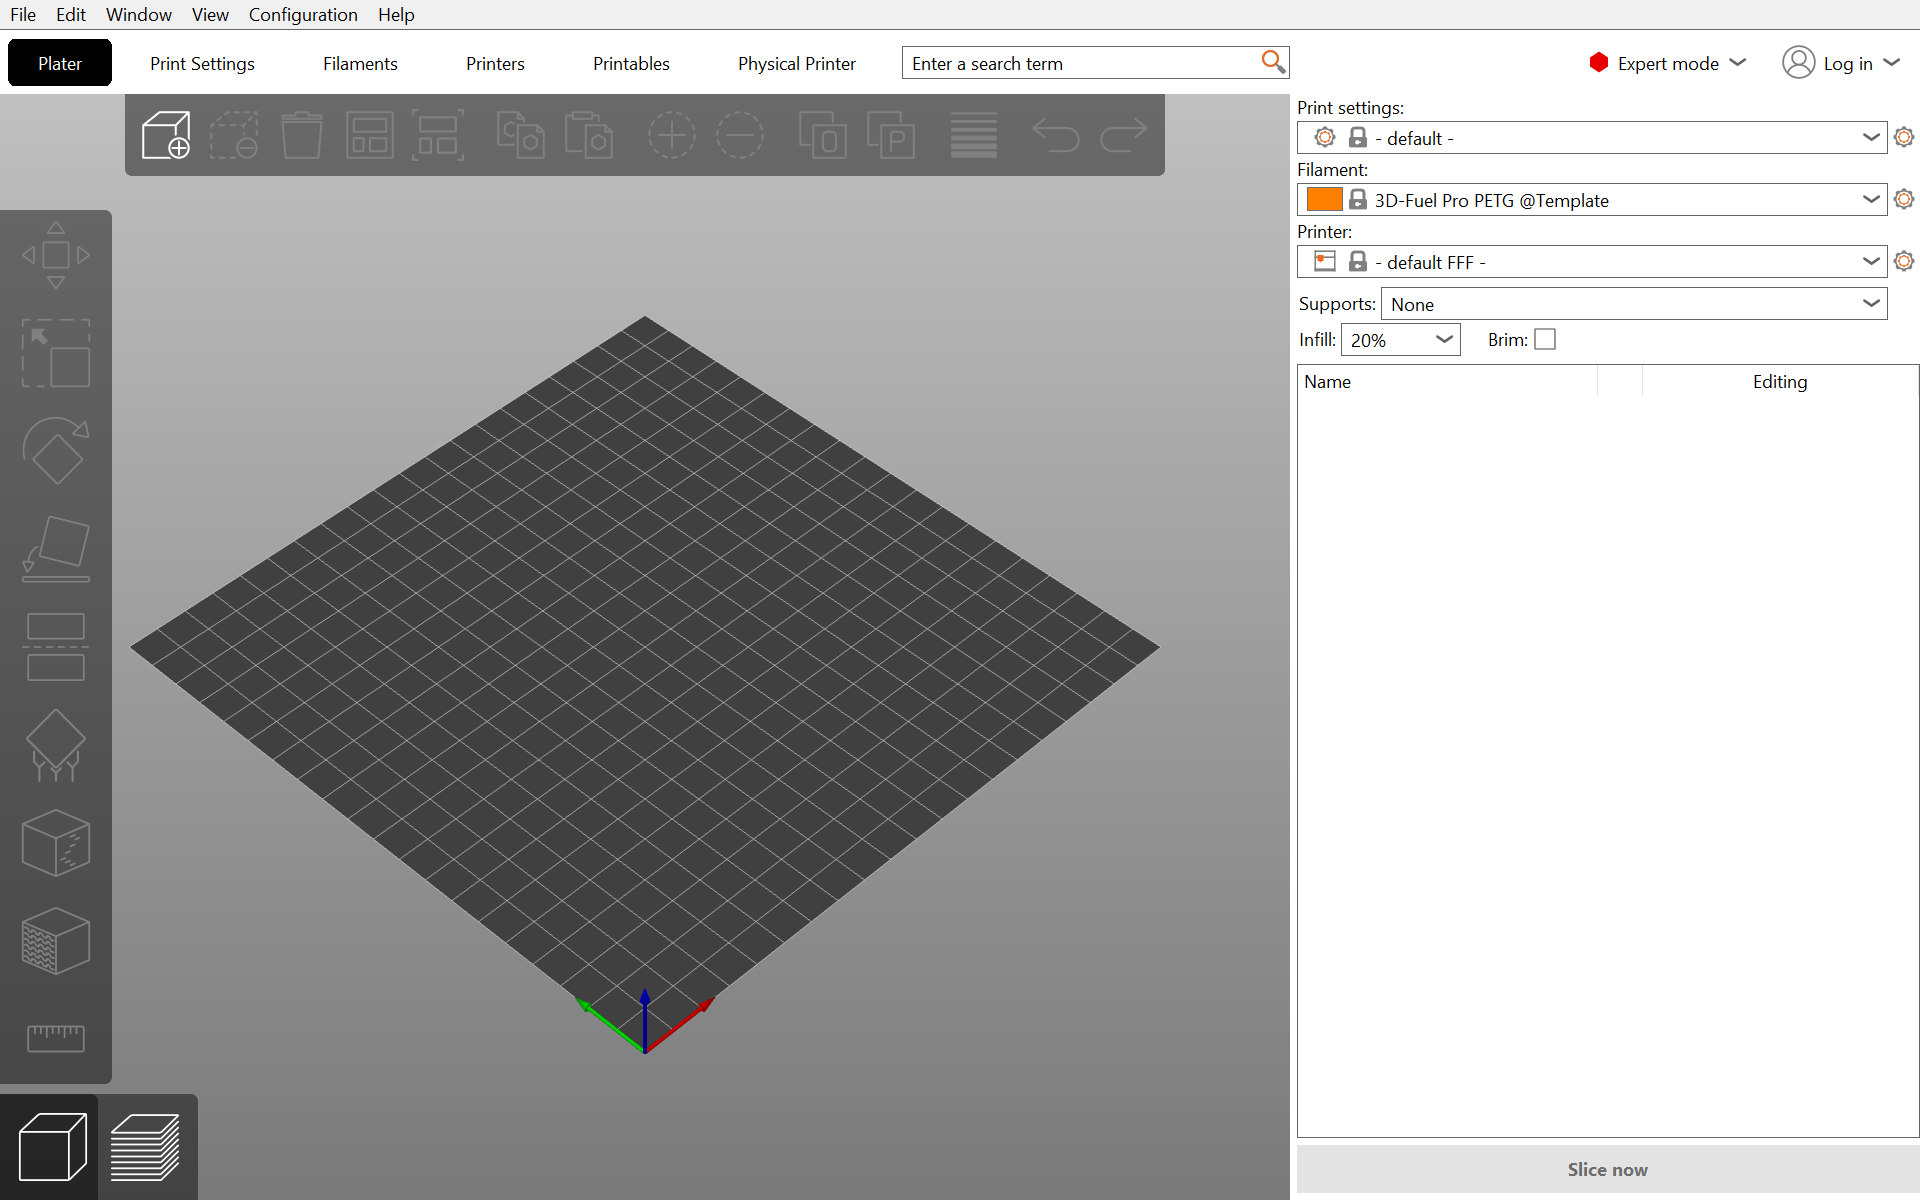
- Verify the result. Confirm that the new Vision Miner / 22 IDEX profiles are available and old duplicate profiles are no longer shown.
Windows - Upgrading
If you previously installed Vision Miner profiles (any version before 5.0.0), follow this process to reset the old configuration and install the new one.
Reset erases your custom profiles - back them up first
The reset checkbox in the Configuration Assistant removes all existing PrusaSlicer user profiles, not only the Vision Miner ones. If you have personal print, filament, or printer profiles to keep, export them first with File > Export > Export Config Bundle....
- Open PrusaSlicer. Launch PrusaSlicer before removing the old configuration.
- Open the Configuration menu. In the top menu of PrusaSlicer for Windows, click Configuration.
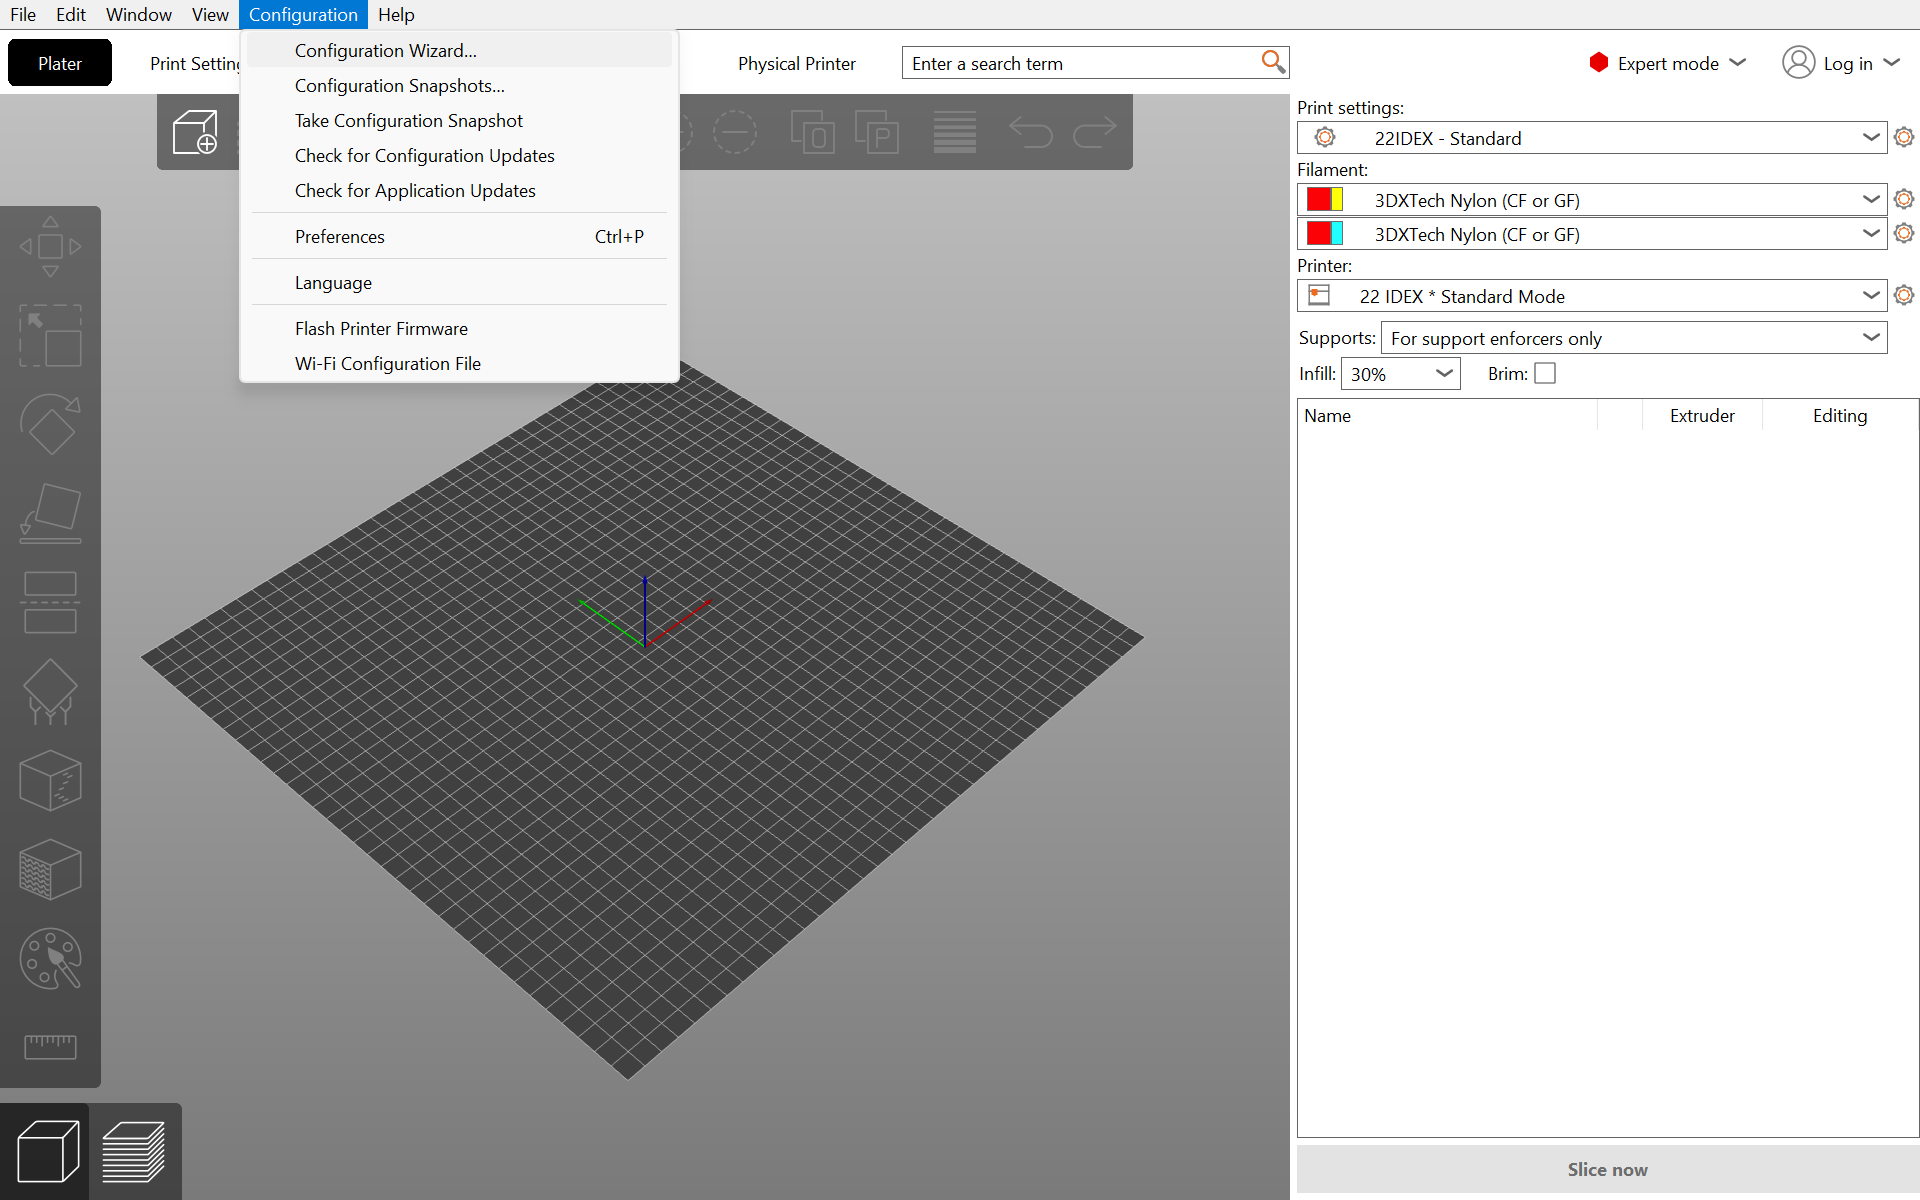
- Start Configuration Wizard. Depending on the PrusaSlicer version, the menu item may be named Configuration Wizard.
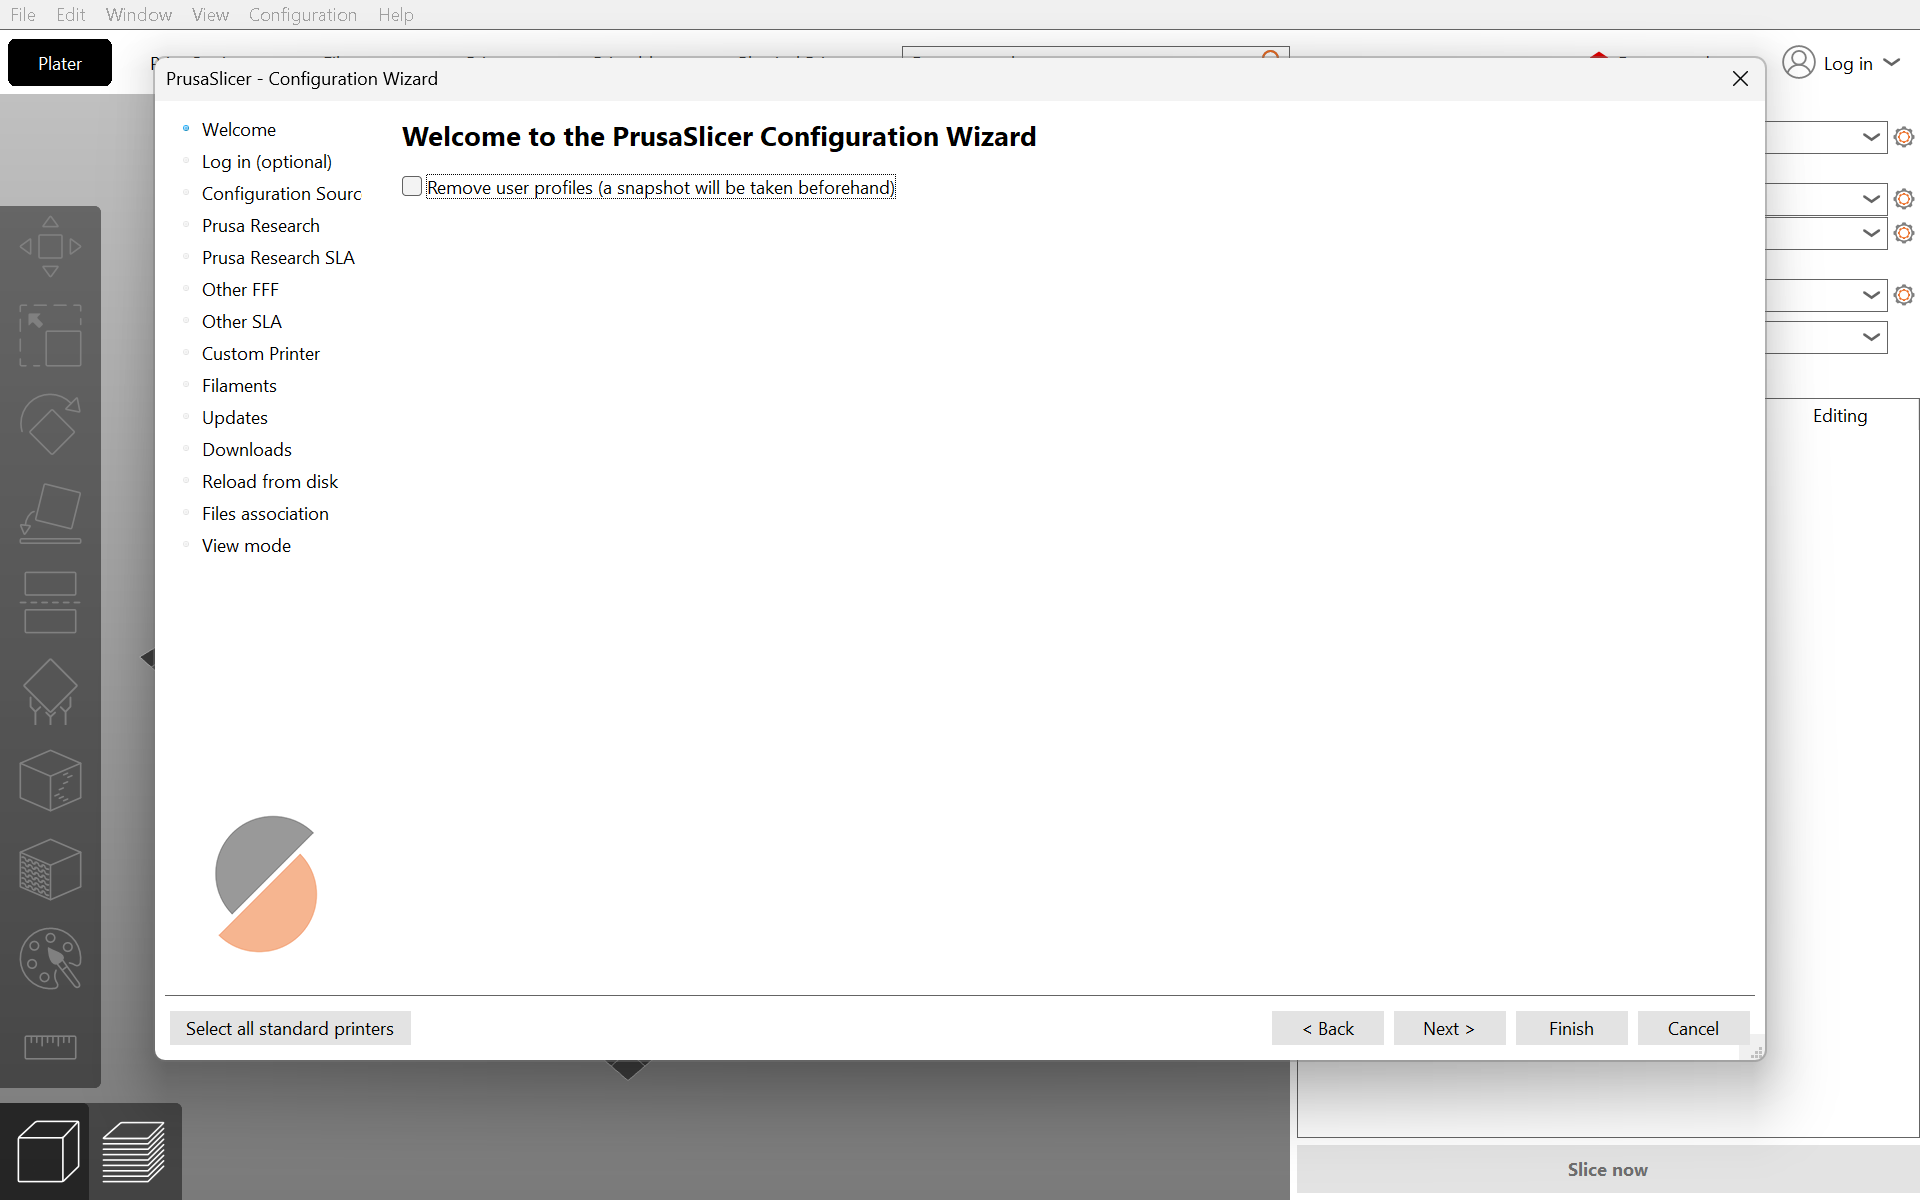
- Enable the first checkbox on the first page. Check the first option. This option removes/resets the old PrusaSlicer configuration through the application interface.
- Click Finish. After clicking Finish, PrusaSlicer applies the configuration reset.
- Wait for the reset to complete. If PrusaSlicer asks to restart, close the application and open it again.
- Open Configuration Assistant / Wizard again. After cleanup, open the wizard again to install the new configuration. If this is your first time installing Vision Miner profiles (you skipped steps 18-23), open the Configuration Wizard from Configuration > Configuration Wizard in the top menu.

- Go to the Configuration Sources page. This page is used to add the local configuration source.
- Click the option to add a local source. Choose the option for adding a local/offline archive source.
- Select VisionMiner-offline.zip. Do not manually unzip the archive. Select the VisionMiner-offline.zip file itself.
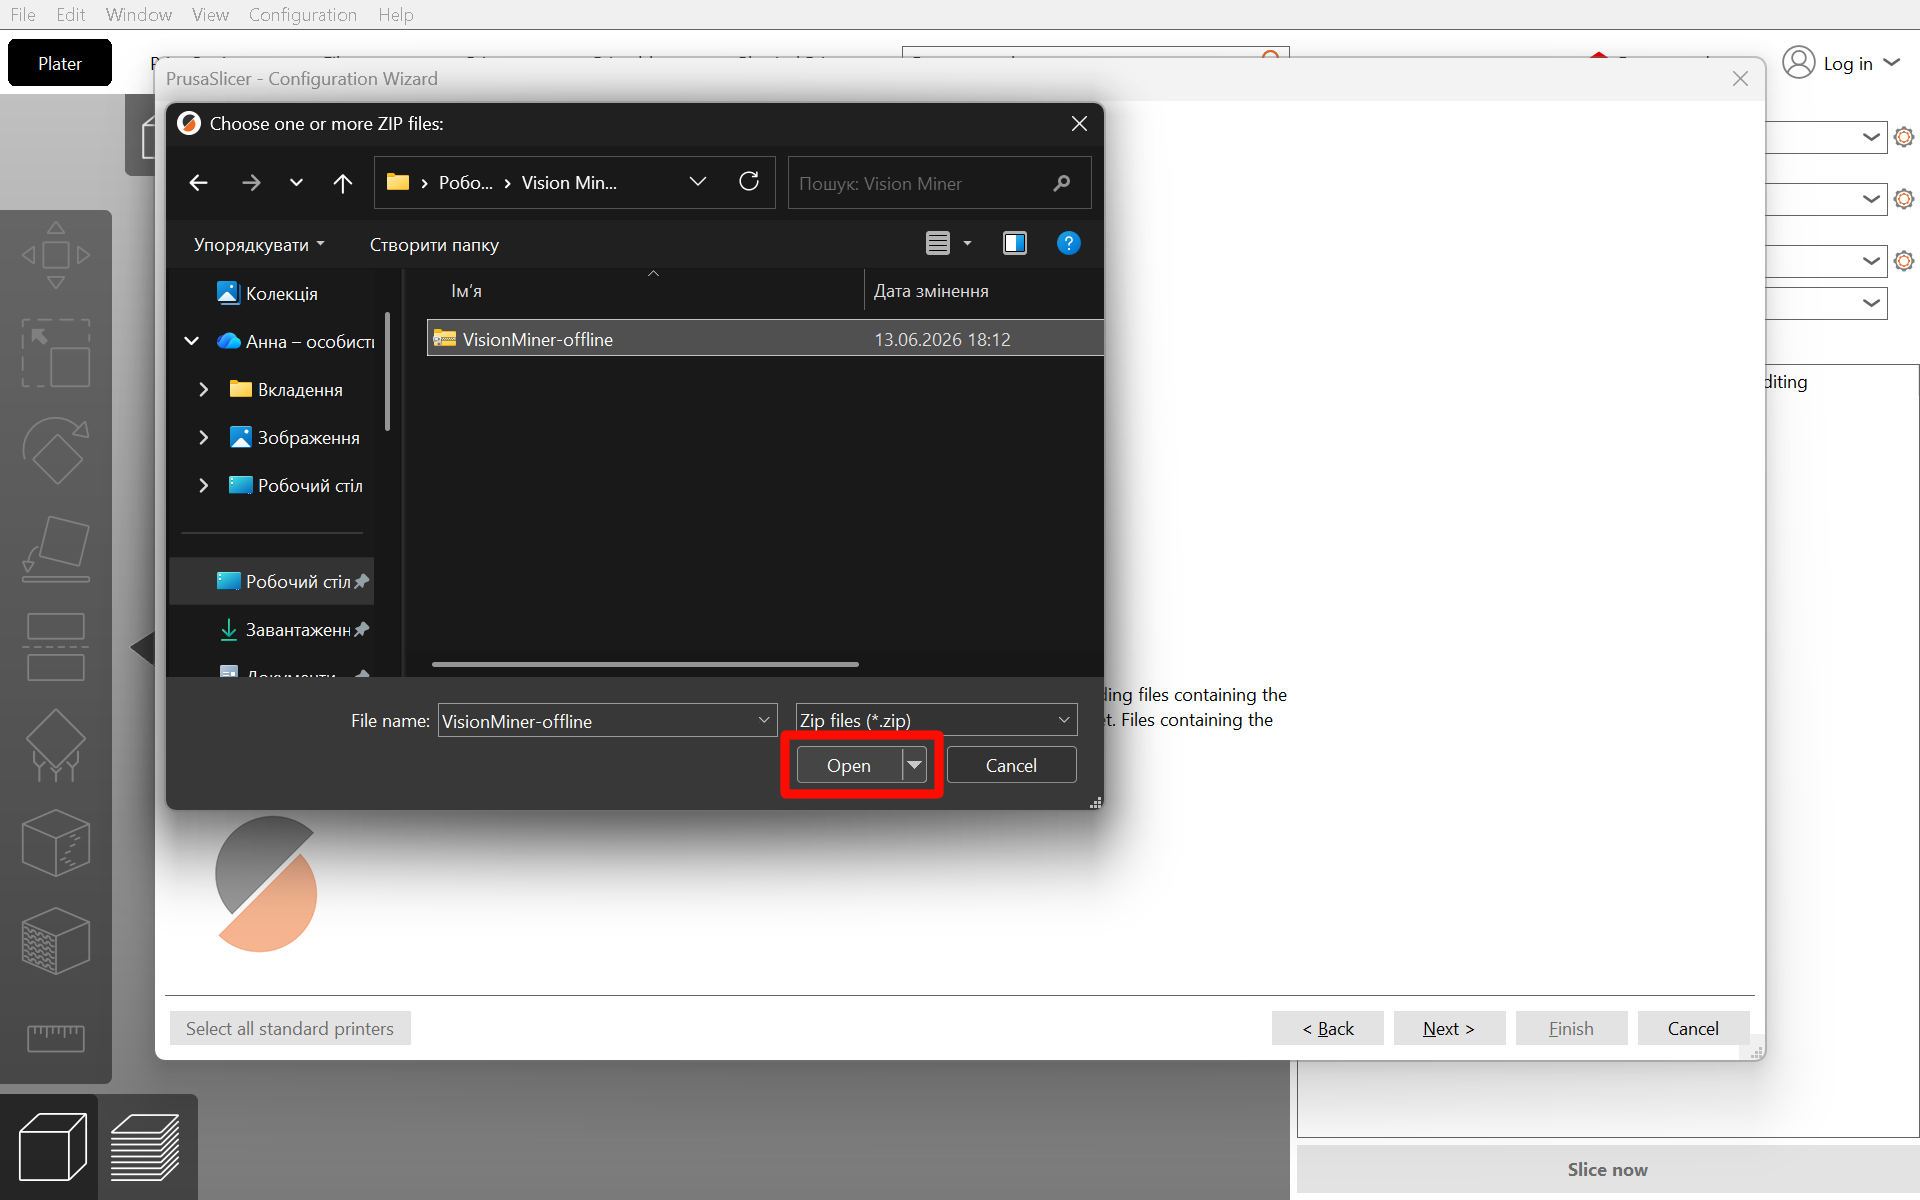
- Confirm the selection with Open. Click Open so PrusaSlicer loads the selected ZIP archive.
- Click Next in the Configuration Wizard. After successfully selecting the configuration file, click Next to proceed.
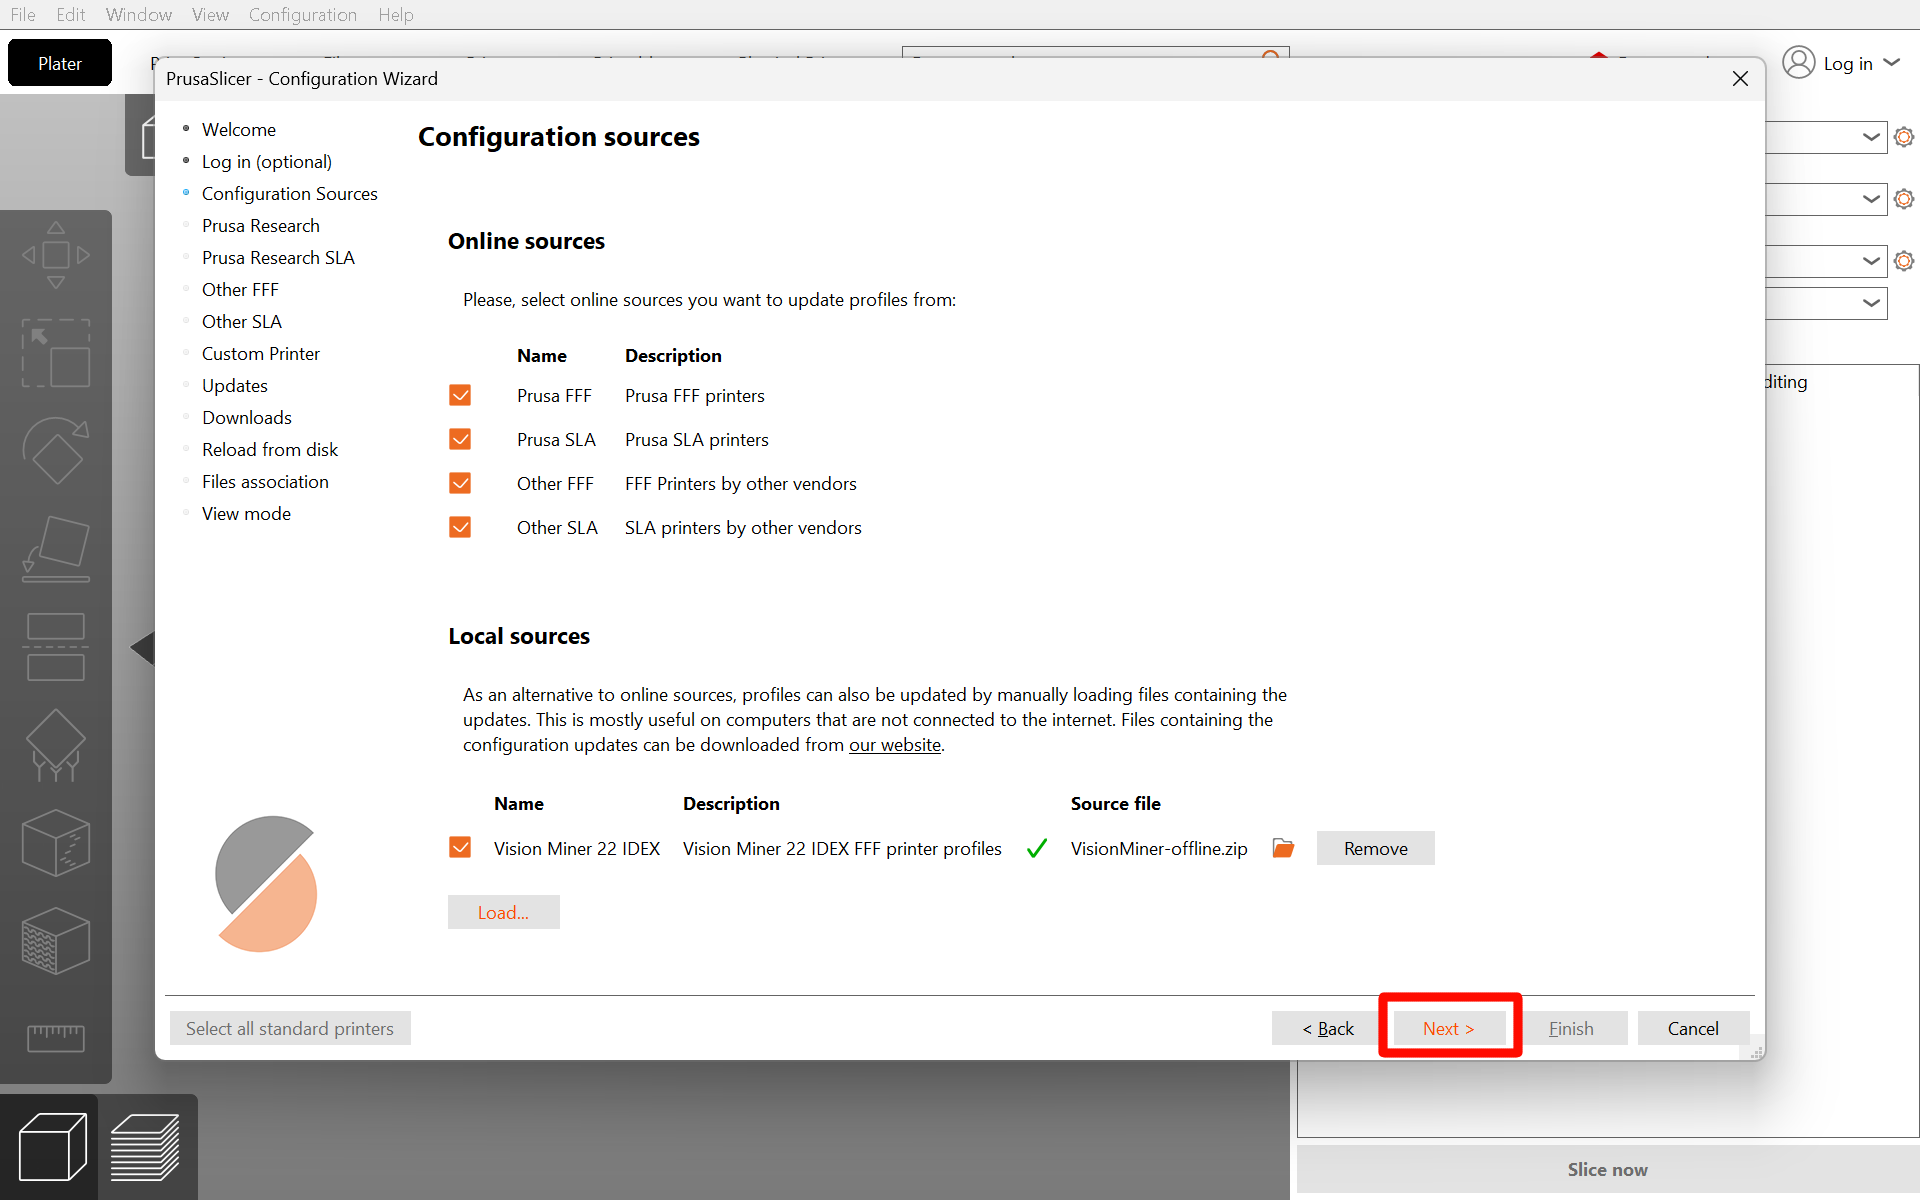
- Confirm that Vision Miner was added to the source list. After selecting the archive, PrusaSlicer should show the Vision Miner / 22 IDEX source.
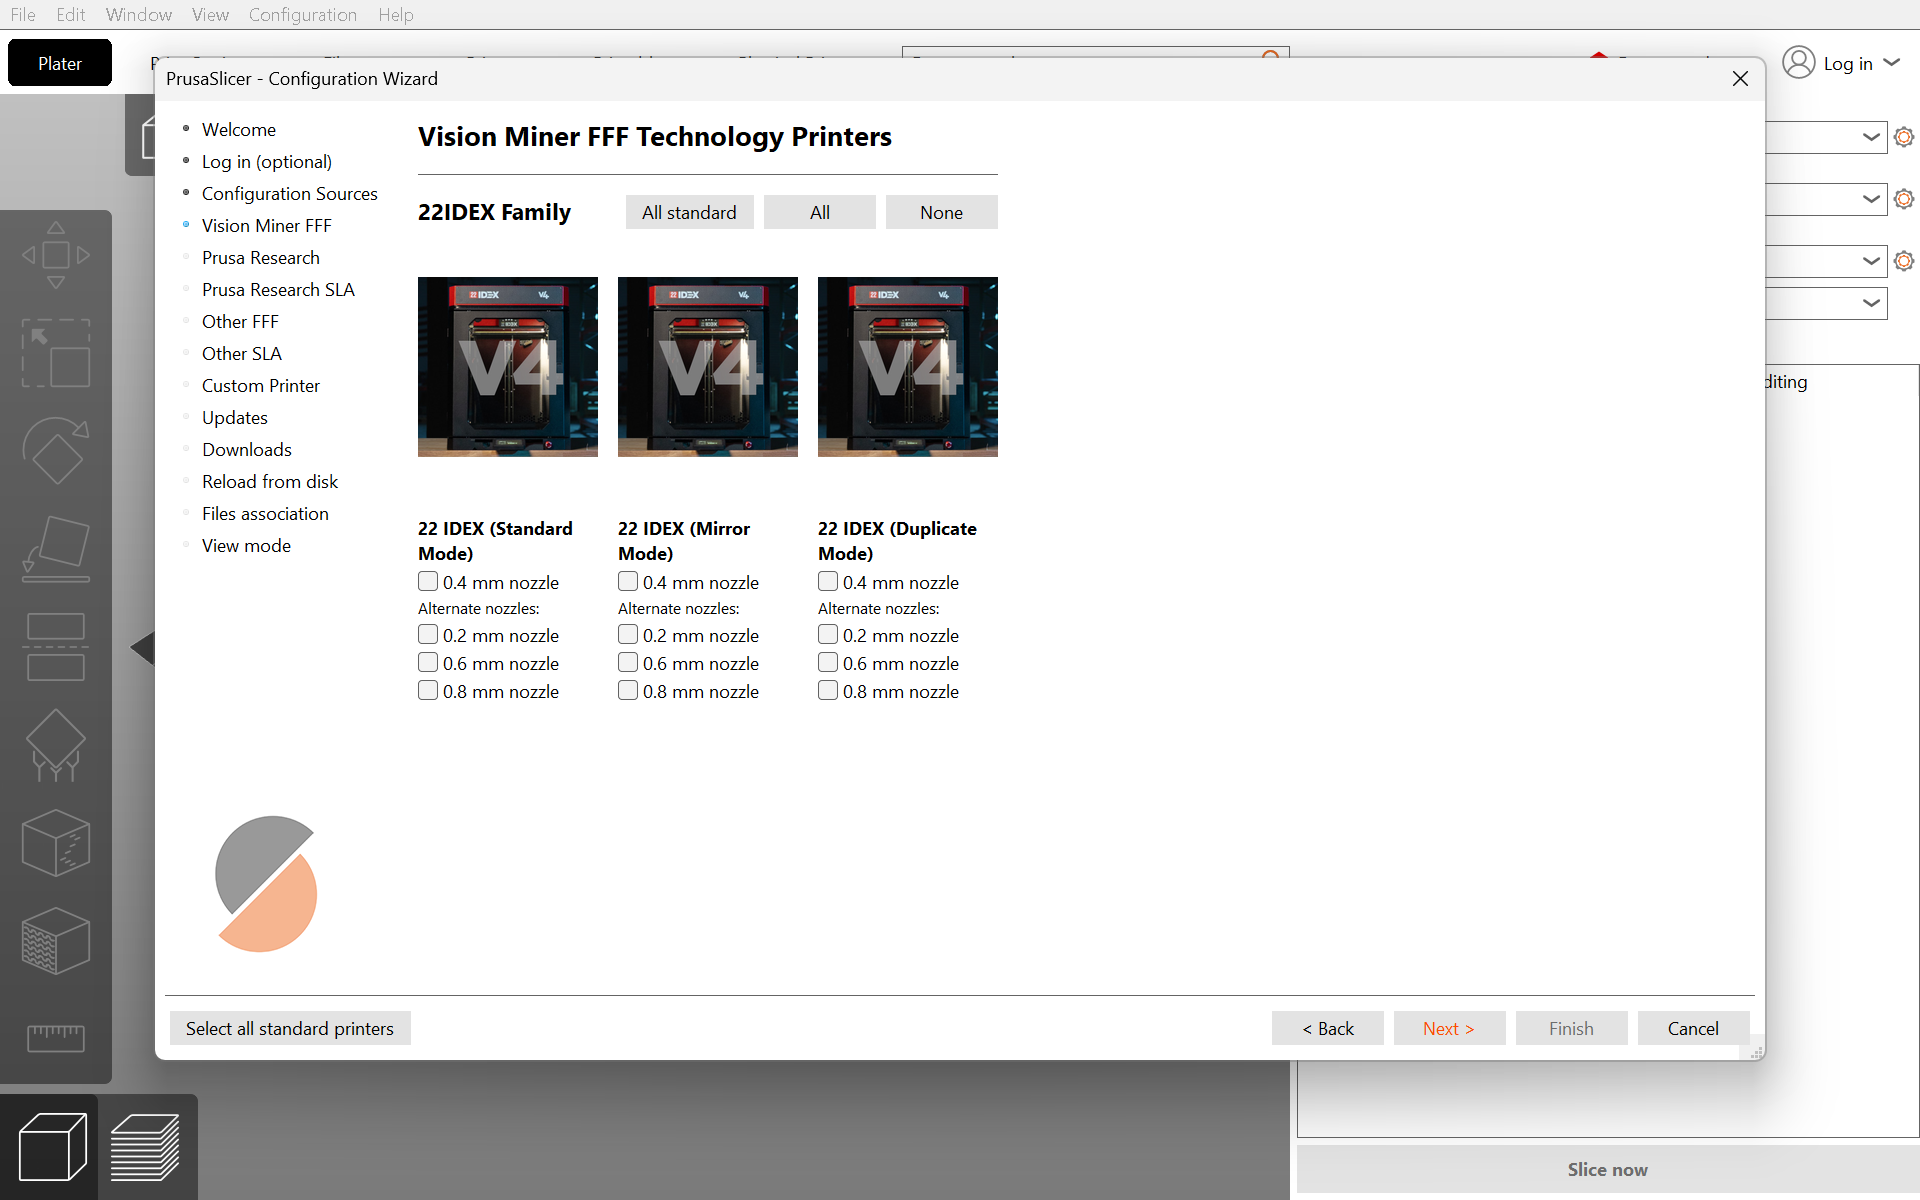
- Continue through the profile wizard pages. Keep the Vision Miner / 22 IDEX printers with the required nozzle diameters selected.
- Click Finish to install the new configuration. PrusaSlicer installs the new profiles from VisionMiner-offline.zip.
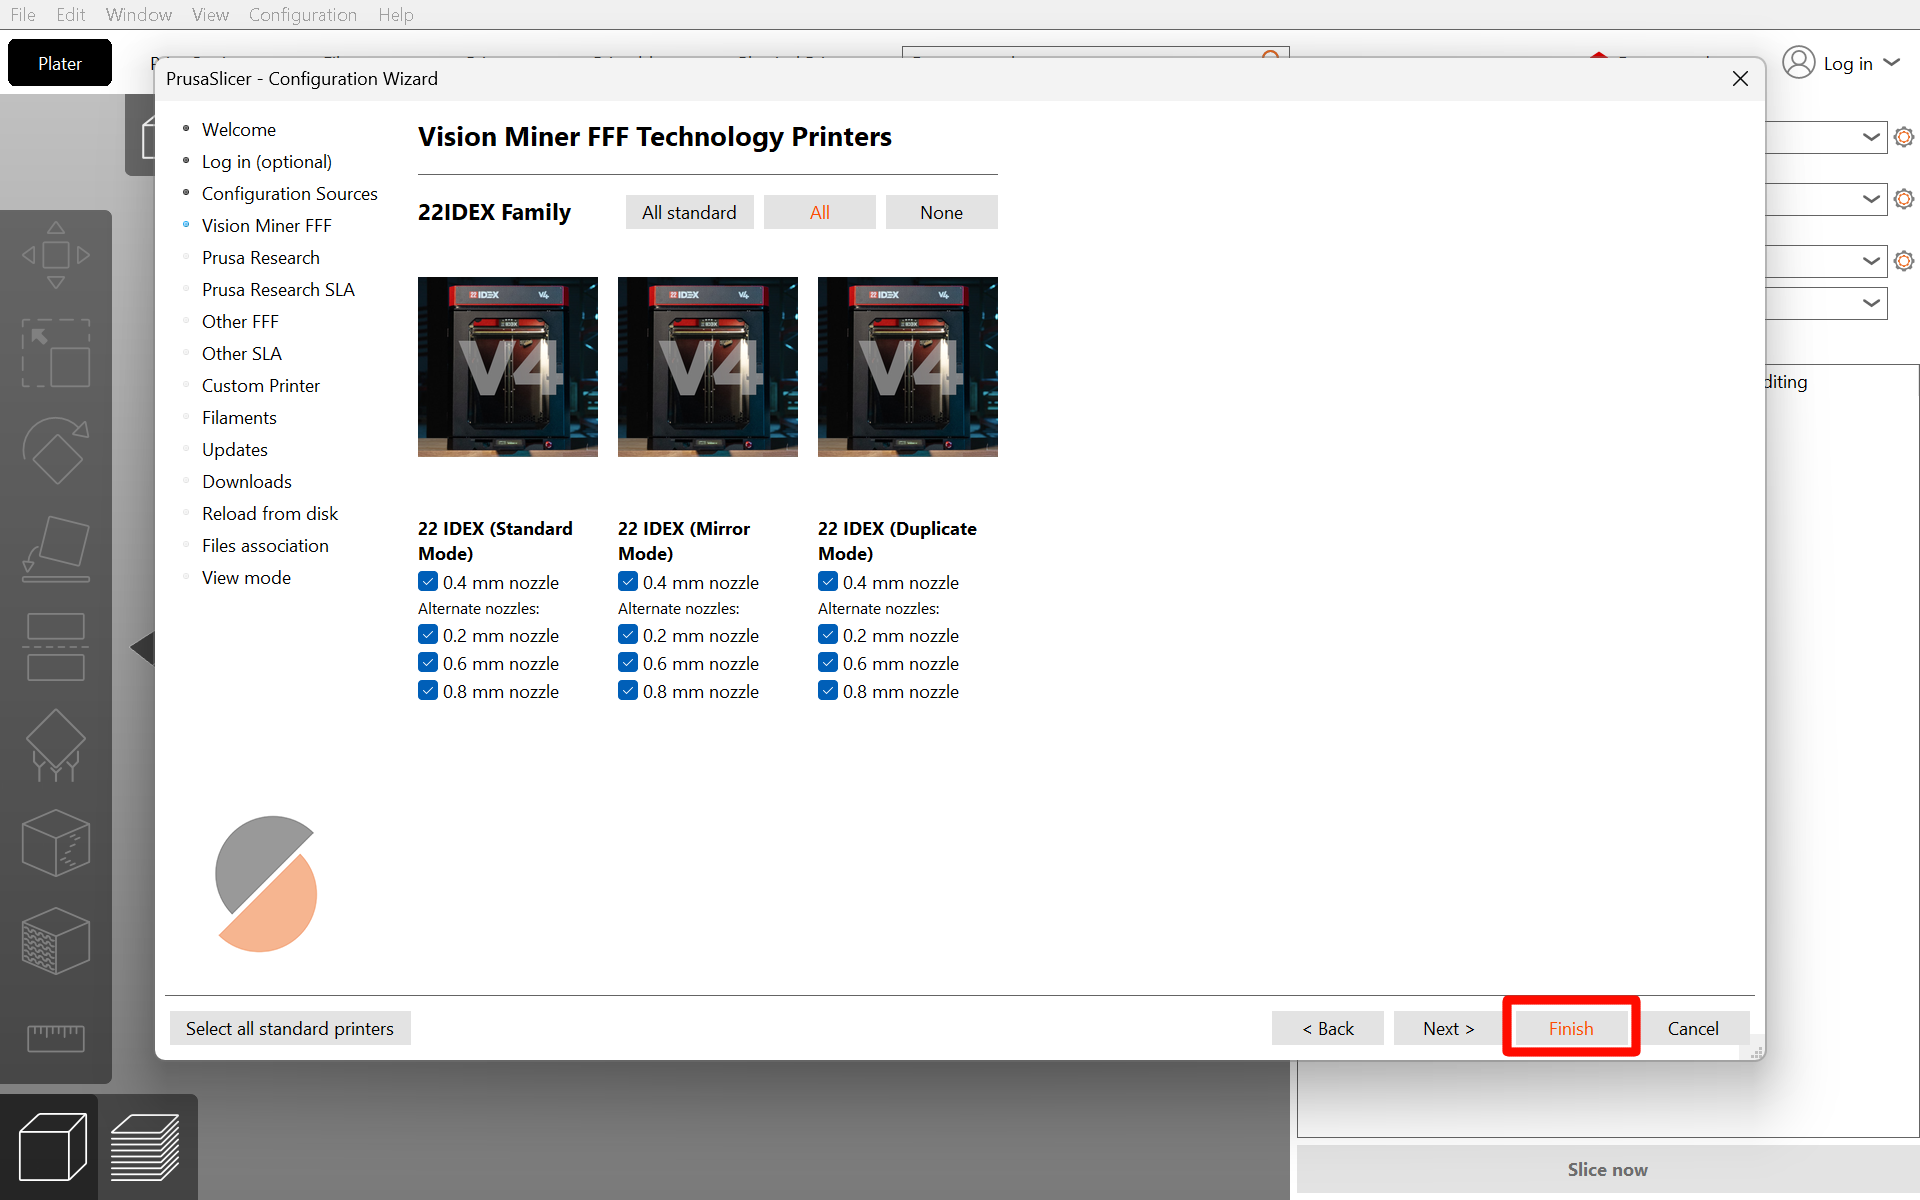
- Verify the result. Confirm that the new Vision Miner / 22 IDEX profiles are available and old duplicate profiles are no longer shown.
5. Import Physical Printer configuration
After installing the Vision Miner profiles, import the Physical Printer configuration file to define the 22 IDEX printer with the printer's hostname or IP address and API key. This enables the Send G-code feature and automatic connection.
-
Download 22_IDEX_Physical_Printer.ini from the link in the table above if you have not already done so.
-
Open the Import menu. In PrusaSlicer, go to File → Import → Import Config Bundle....
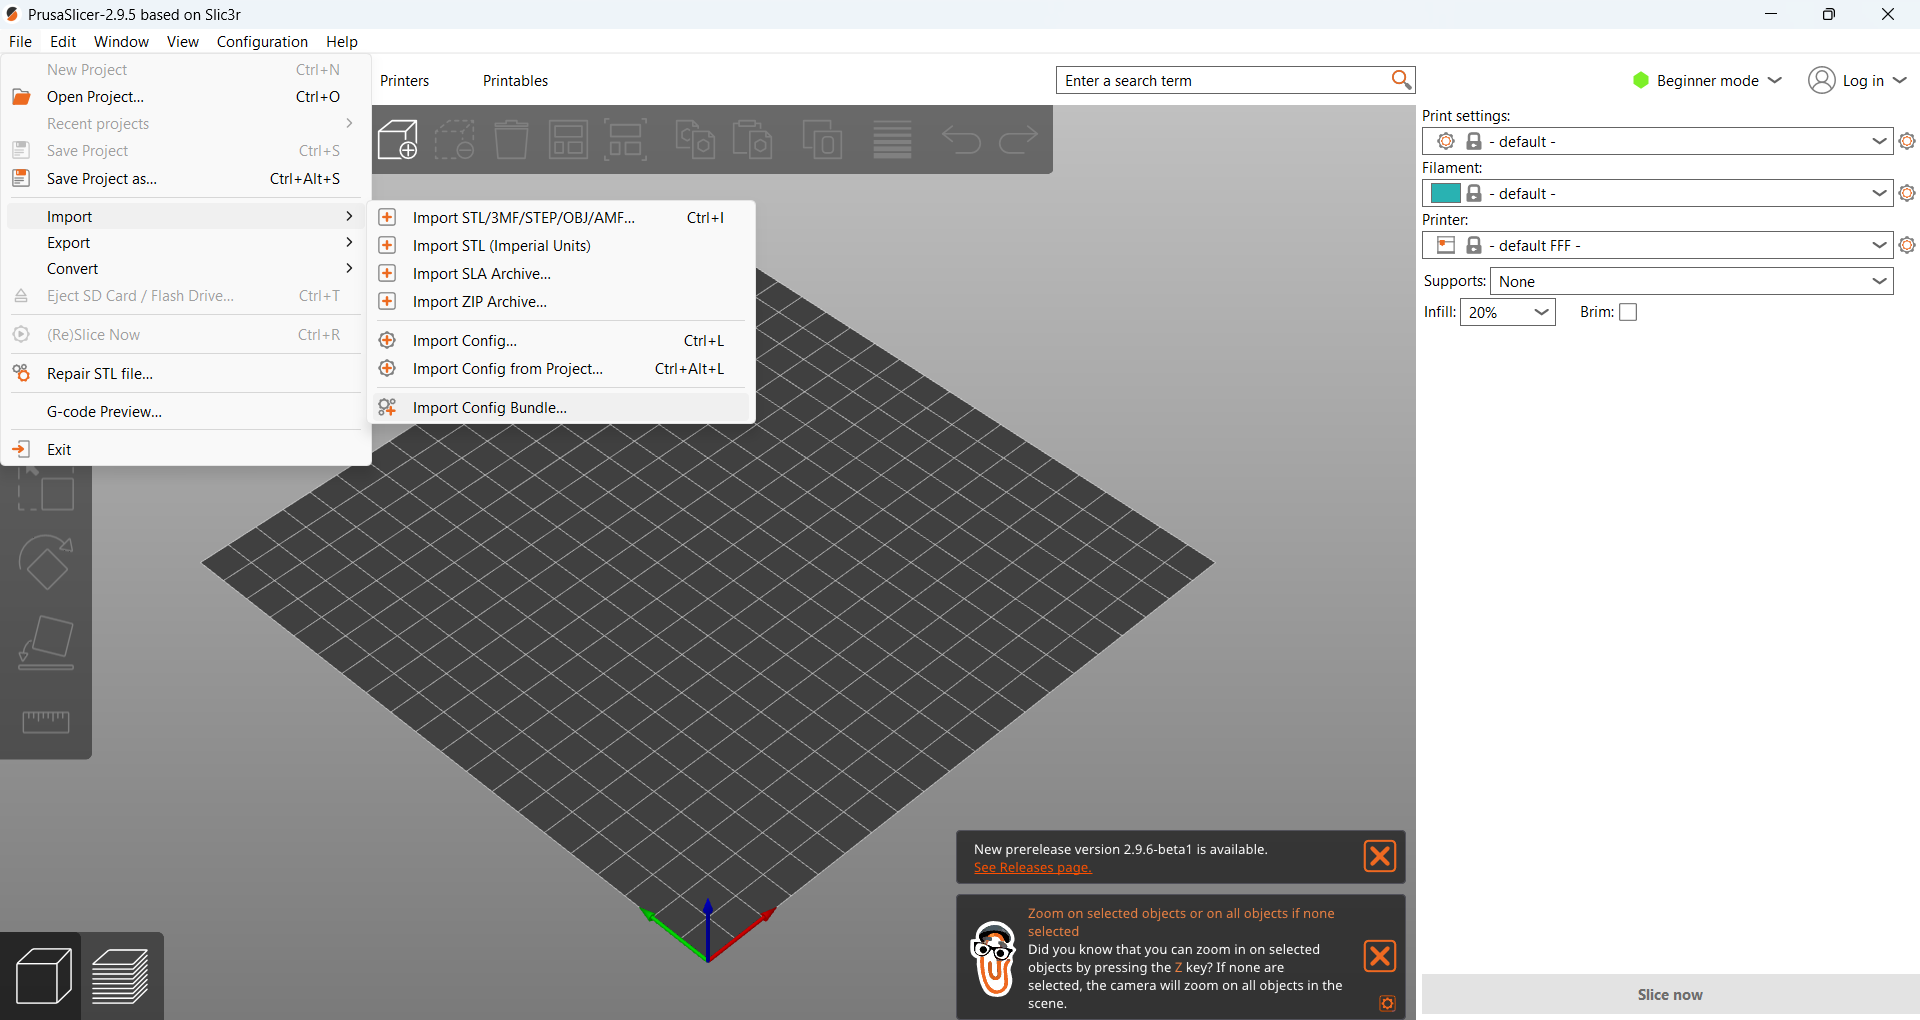
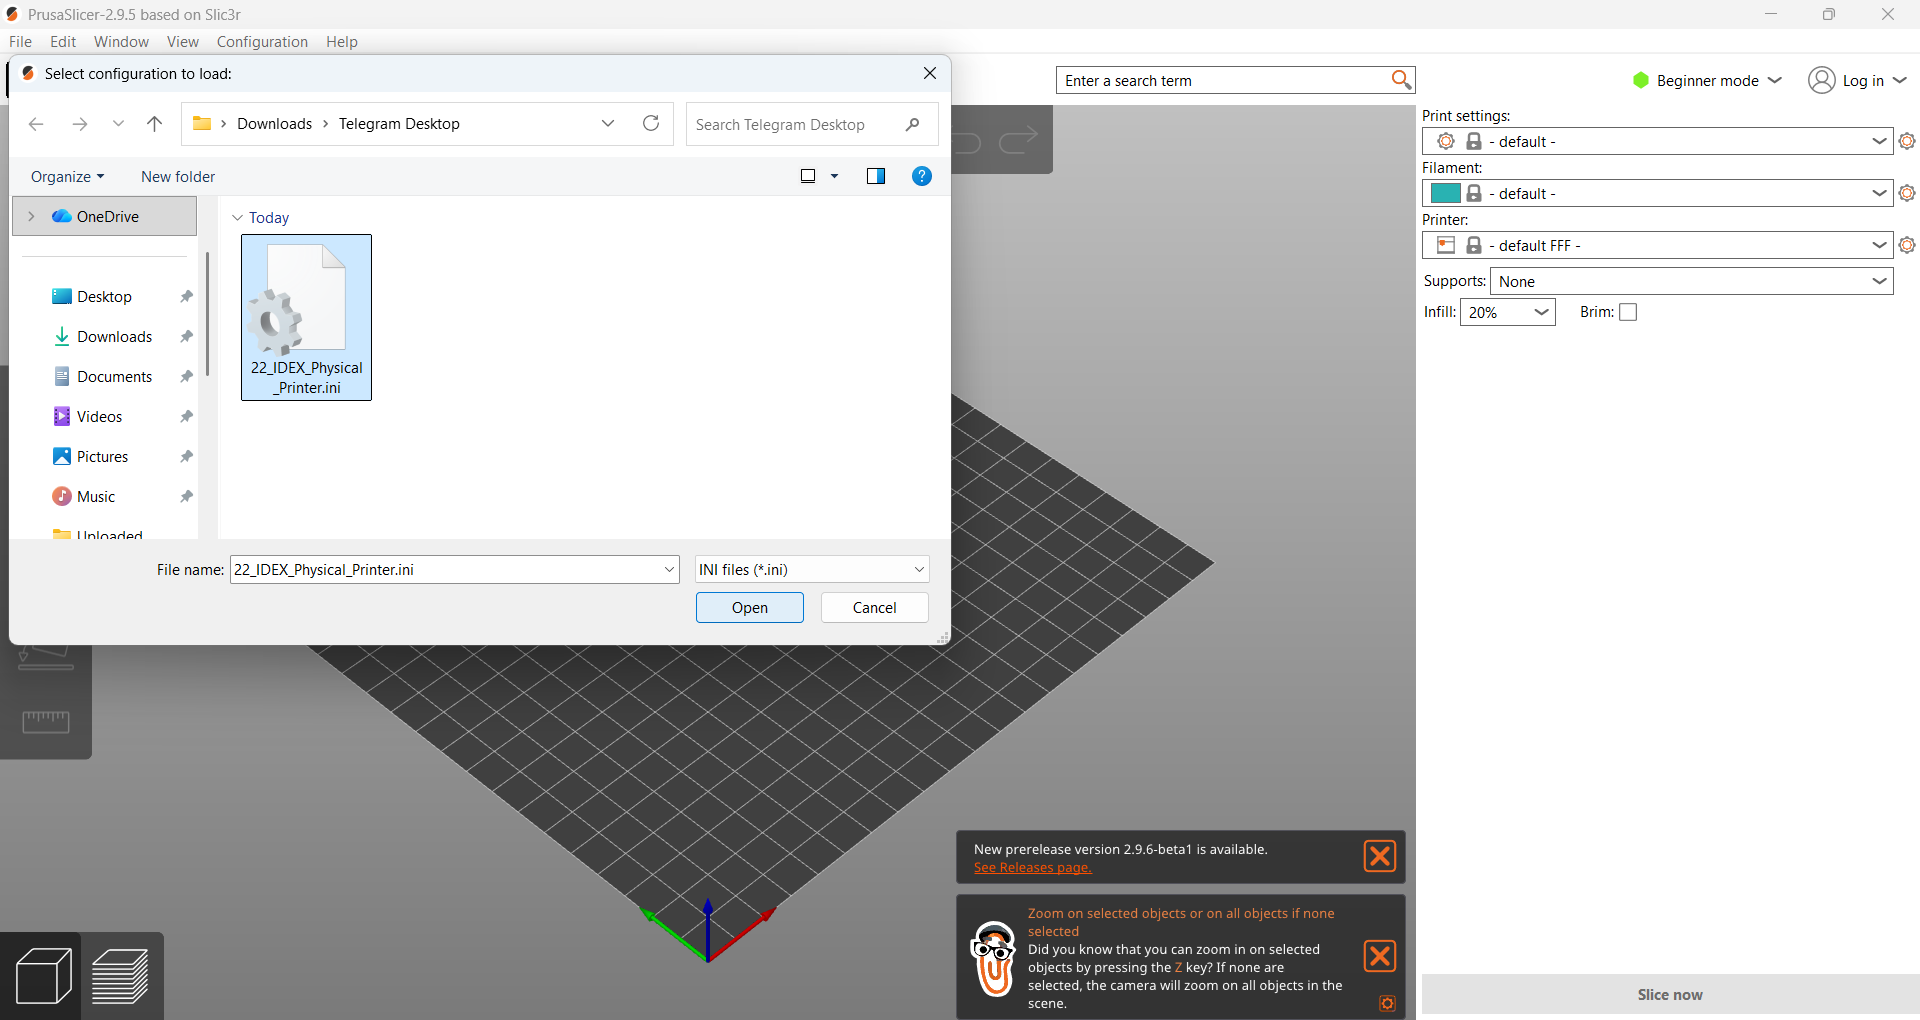
- Select the INI file. Navigate to where you saved 22_IDEX_Physical_Printer.ini and select it.
- Import confirmation. PrusaSlicer displays the number of presets successfully imported. Click OK to finish.
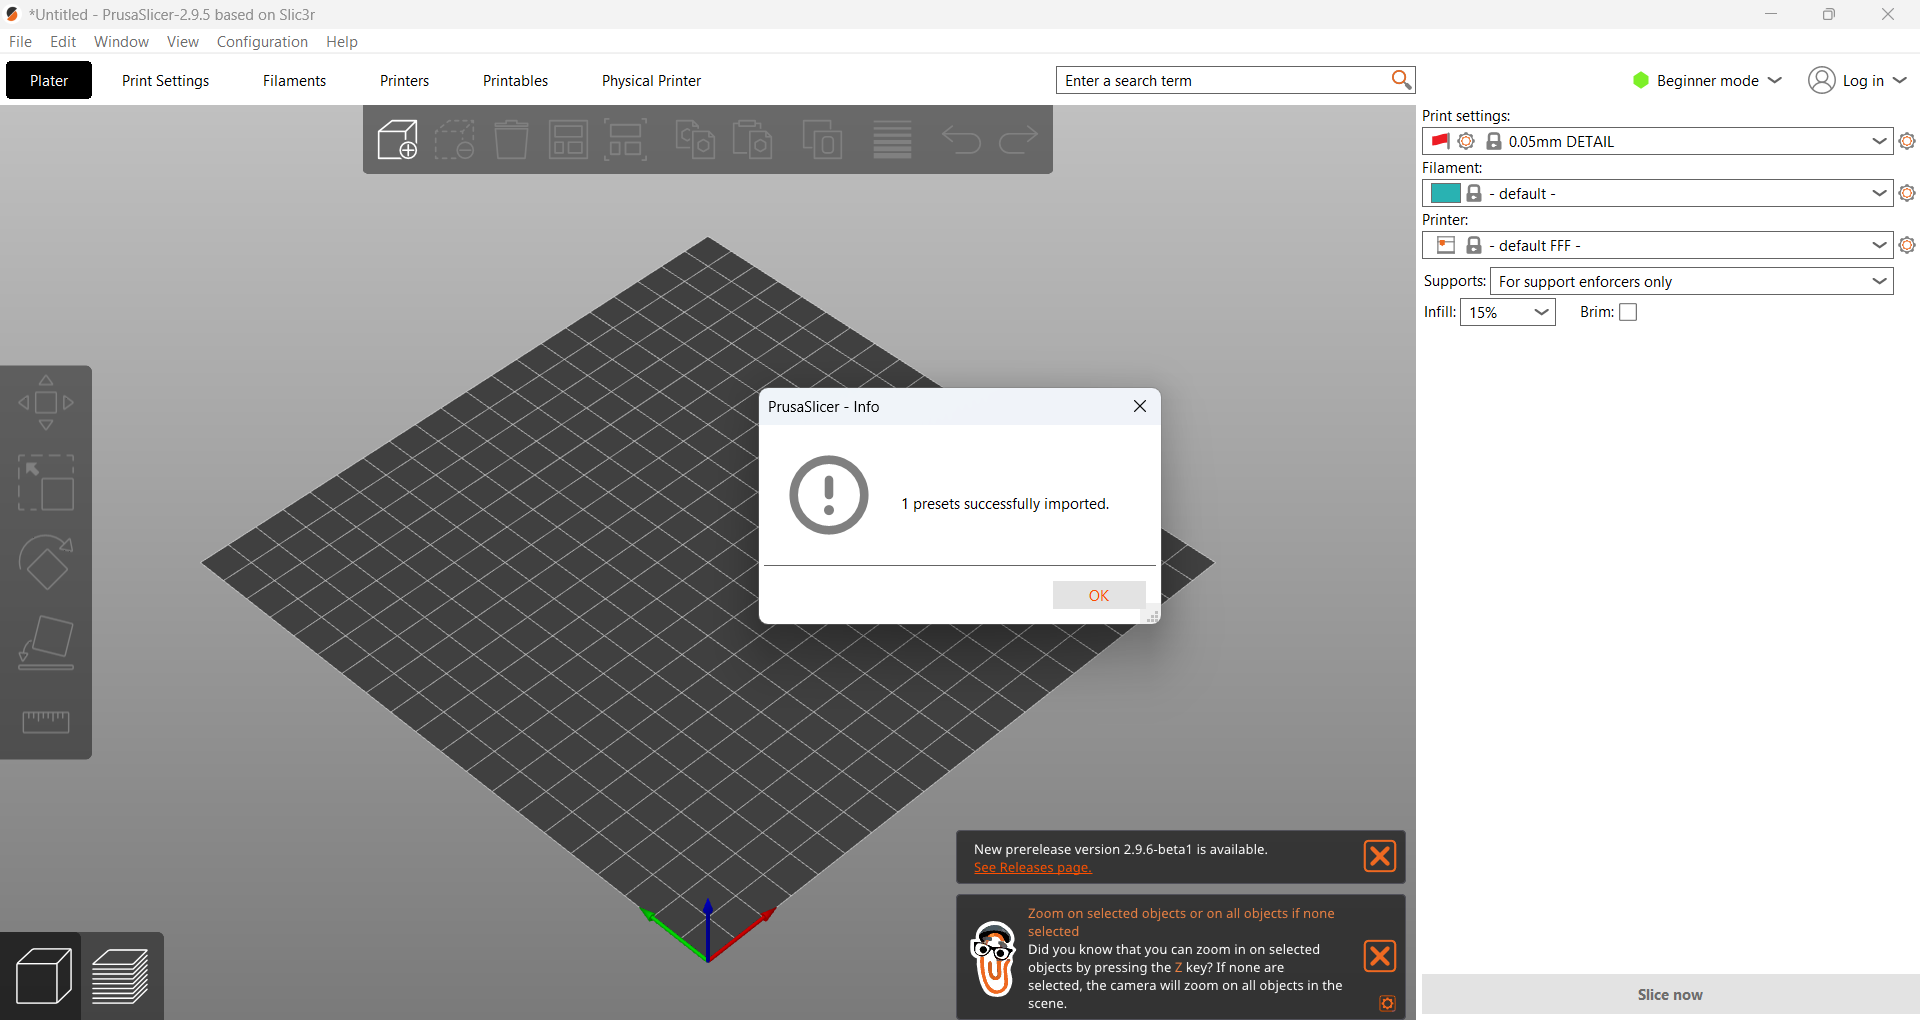
- Verify the physical printer. You can confirm the 22 IDEX physical printer was created under Configuration > Physical Printers.
FAQ
Support
If you could not find an answer here, reach out to our support team.