NPA Application
NPA Application covers how to apply, maintain, and remove Vision Miner High Temperature Nano Polymer Adhesive on the build plate. NPA provides bed adhesion for high-performance materials like PEEK, PEKK, ULTEM, and others.
Before you begin - safety and risk
Read the Safety - Before You Begin article before working on your printer. It covers electrical hazards, hot surfaces, moving parts, and other risks that could cause injury or equipment damage.
Clean plate is critical
A clean build plate is the most important factor for good adhesion. Oils from fingers, dust, and leftover residue all reduce adhesion. Clean thoroughly before every application.
Tools and Materials
- Vision Miner High Temperature Nano Polymer Adhesive (NPA)
- Isopropyl alcohol (IPA)
- Windex or similar glass cleaner
- Lint-free cloths
- Adhesive brush (included with printer)
- Scraper (included with printer)
- Brand new razor blade (for deep cleaning only)
- Small glass jar with lid (for diluted NPA method)
- Gloves and eye protection
1. Pre-Application Cleaning
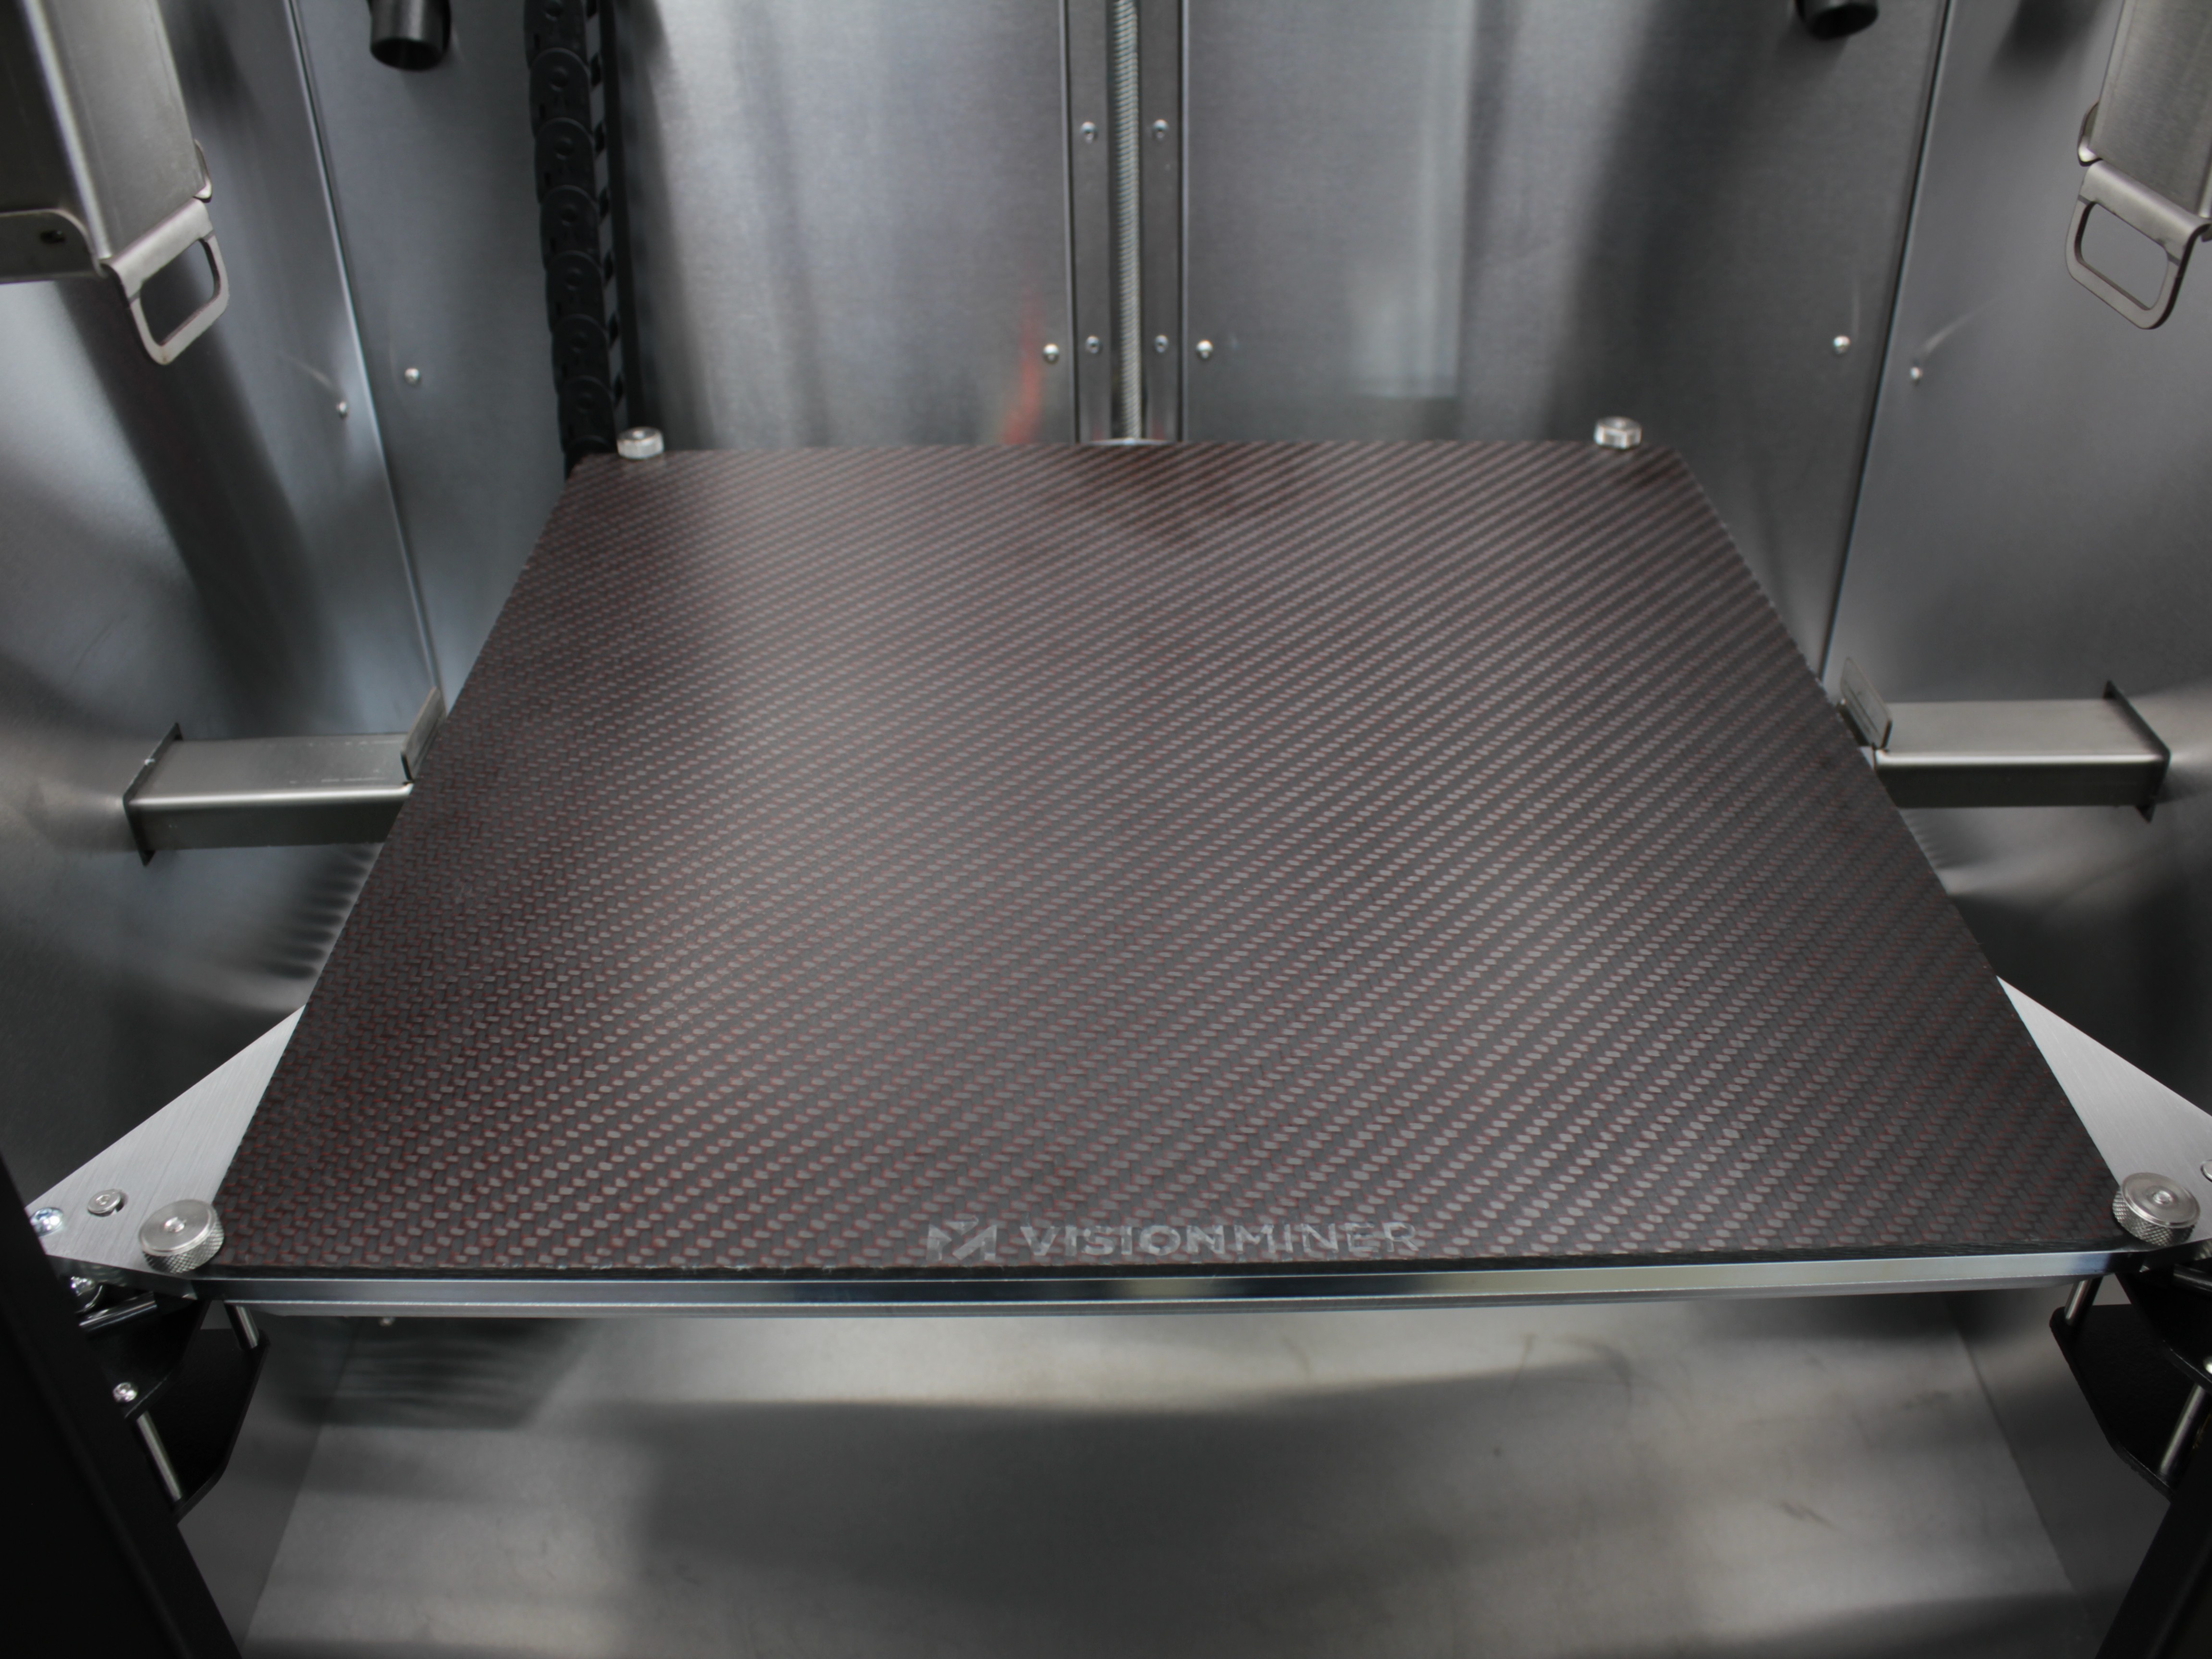
Before applying adhesive, build plate must be completely free of contaminants.
- Verify build plate is cool and removed from printer (or at room temperature if cleaning in place).
- Dampen lint-free cloth with IPA.
- Wipe entire build plate surface to remove dirt, debris, oils, and previous adhesive residue.
- Inspect surface. If residue remains, repeat wipe. Plate should be spotless before proceeding.
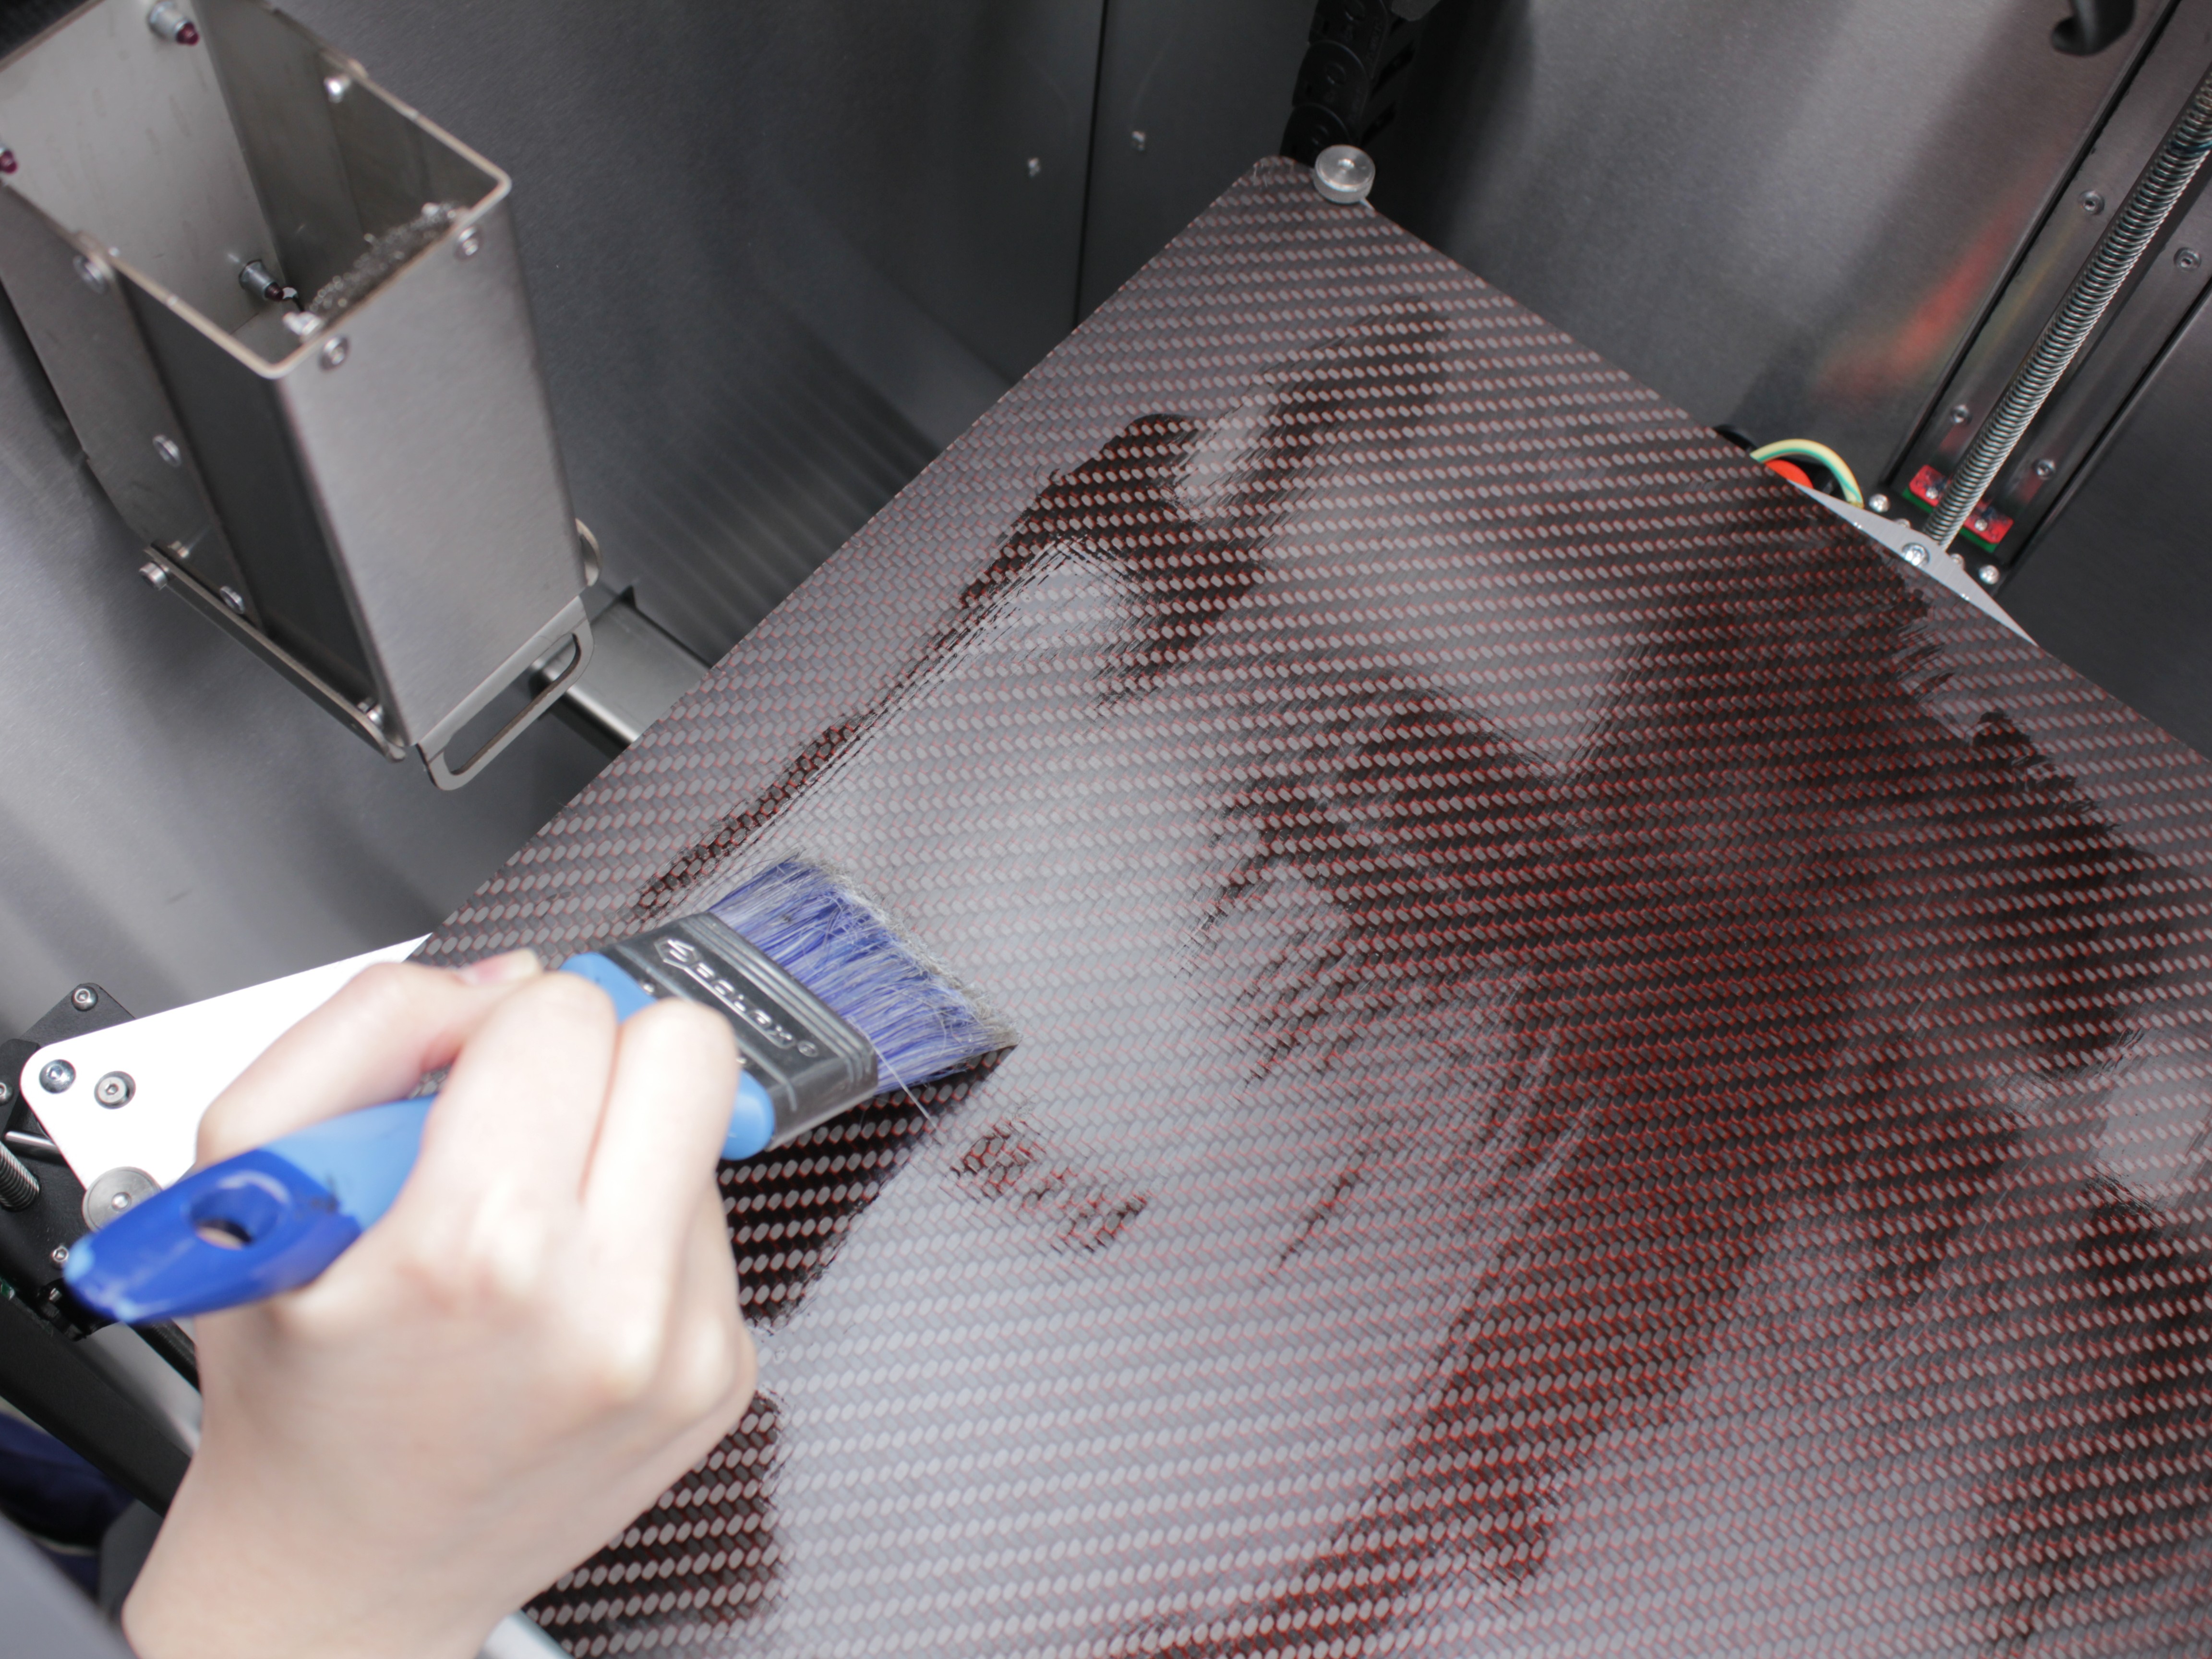
2. Standard Application (Cold Build Plate)
Primary method - apply NPA to cold, clean build plate.
- Verify build plate is cold and completely clean (see section above).
- Hold NPA bottle like pen. Gently squeeze to draw parallel lines across build plate, spacing them about 25 mm (≈ 1 in.) apart.
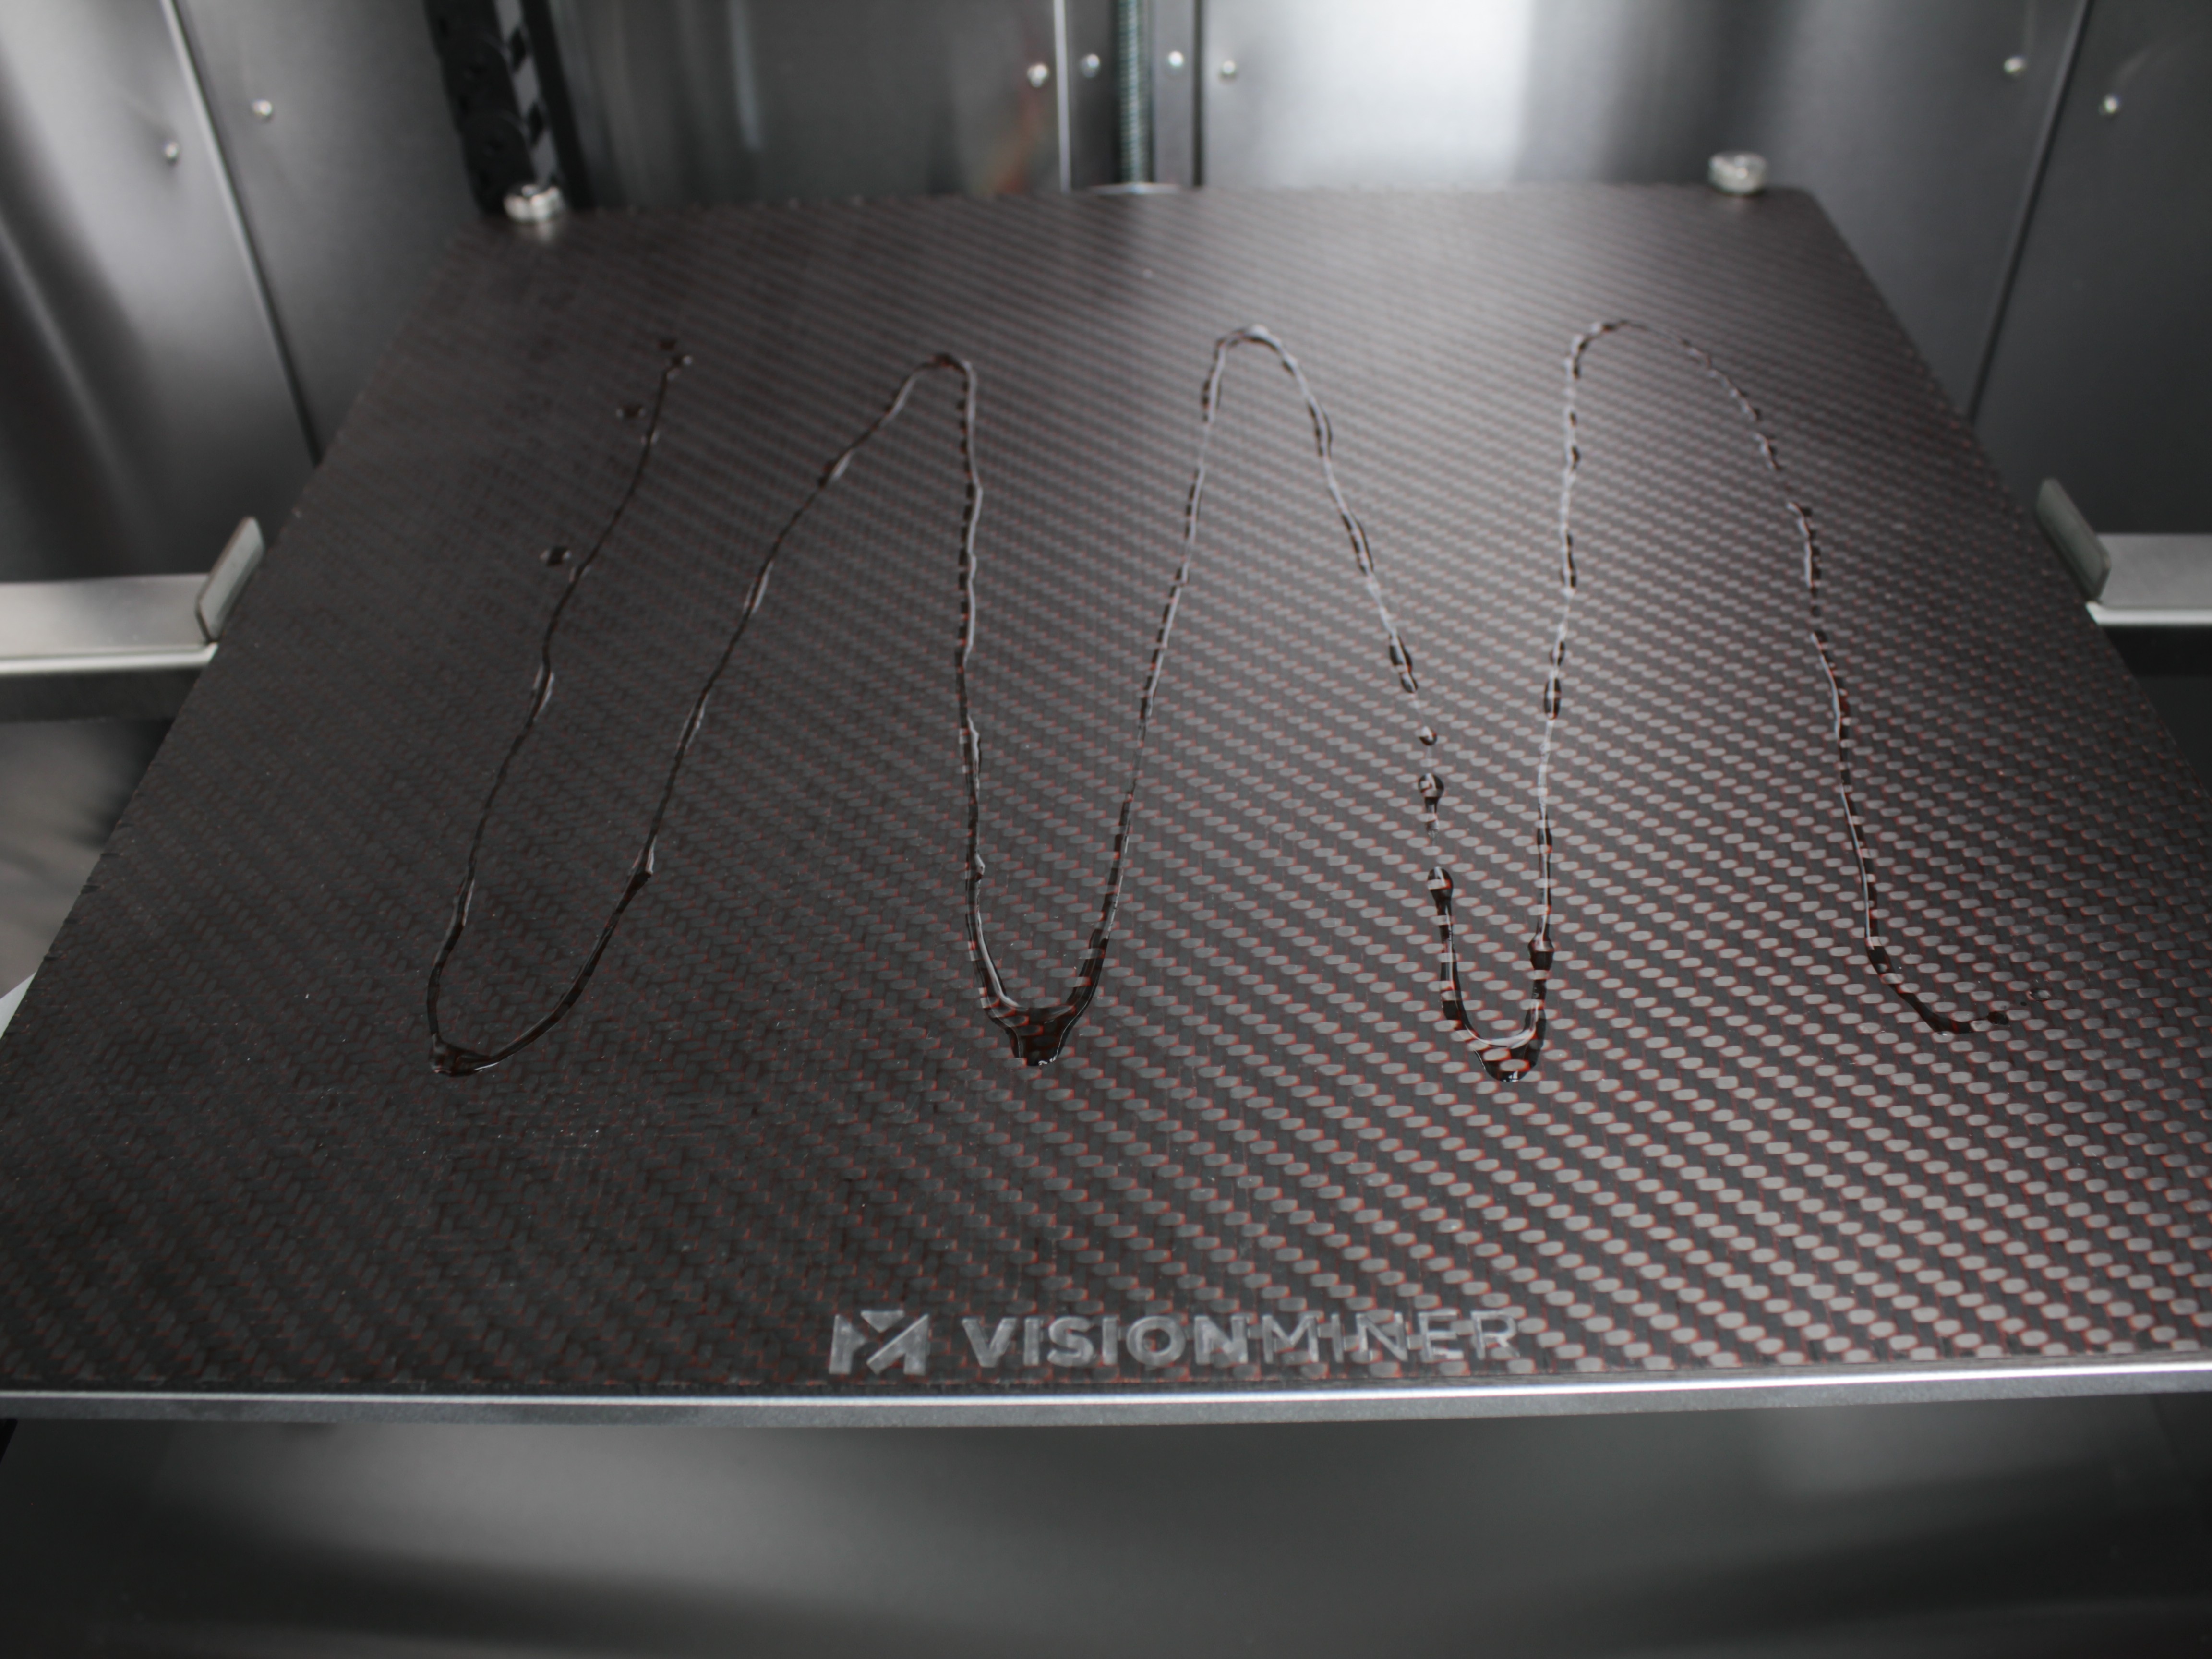
Even distribution extends coating life
Distribute lines evenly across entire build area. Don't concentrate adhesive in center - even coverage extends coating lifespan.
- Immediately use provided brush to spread adhesive evenly. For first coat, use horizontal strokes across plate.

- For brand new build plate, apply second coat using vertical strokes once first coat has dried.
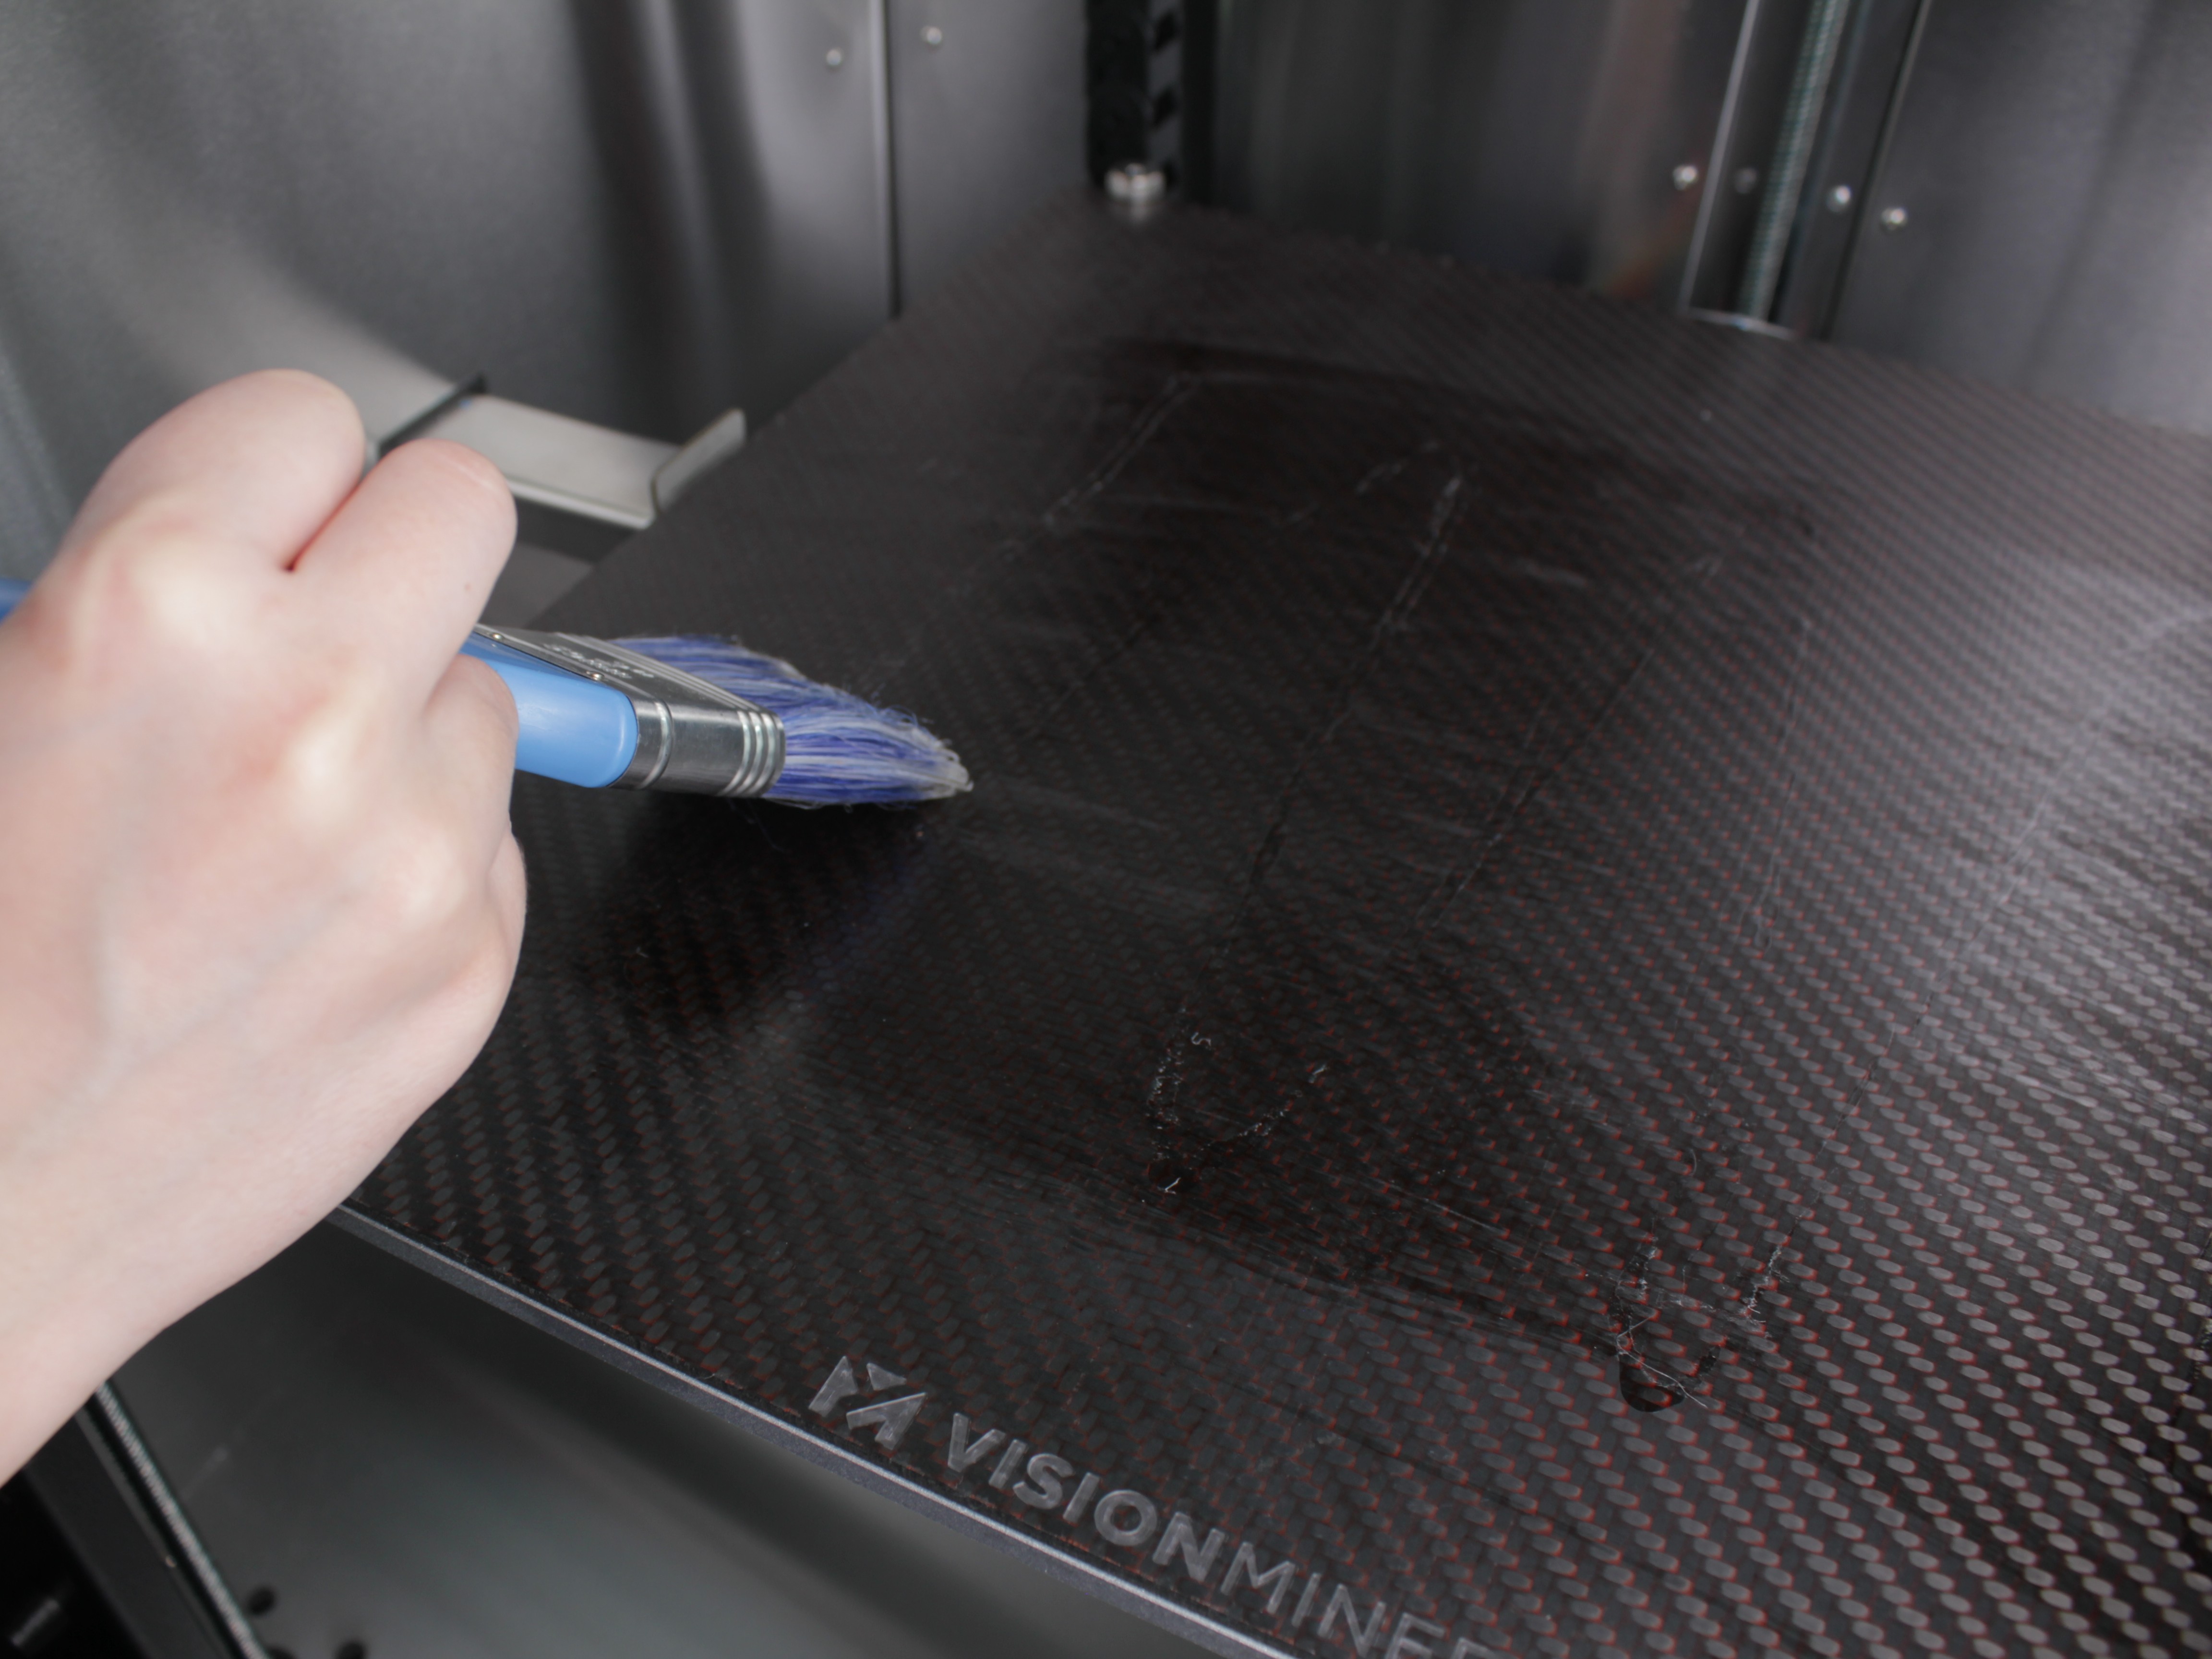
No circular motions
Do not use circular motions - they leave visible marks in drying adhesive that affect surface finish.
- Let adhesive dry completely. Build plate is ready for printing.
3. Diluted NPA Method (Advanced)
Standard NPA is thick and creates heavy film that layers up over time. Diluted method produces thinner, more even coating that is easier to apply and doesn't build up as quickly. This is the recommended method for experienced users.
Secondary method for experienced users
If applying NPA for first time, start with Standard Application above.
Preparing Diluted NPA
- Pour some NPA from the bottle into a small glass jar.
- Add equal amount of isopropyl alcohol (IPA) - ratio is 1:1 (NPA to IPA).
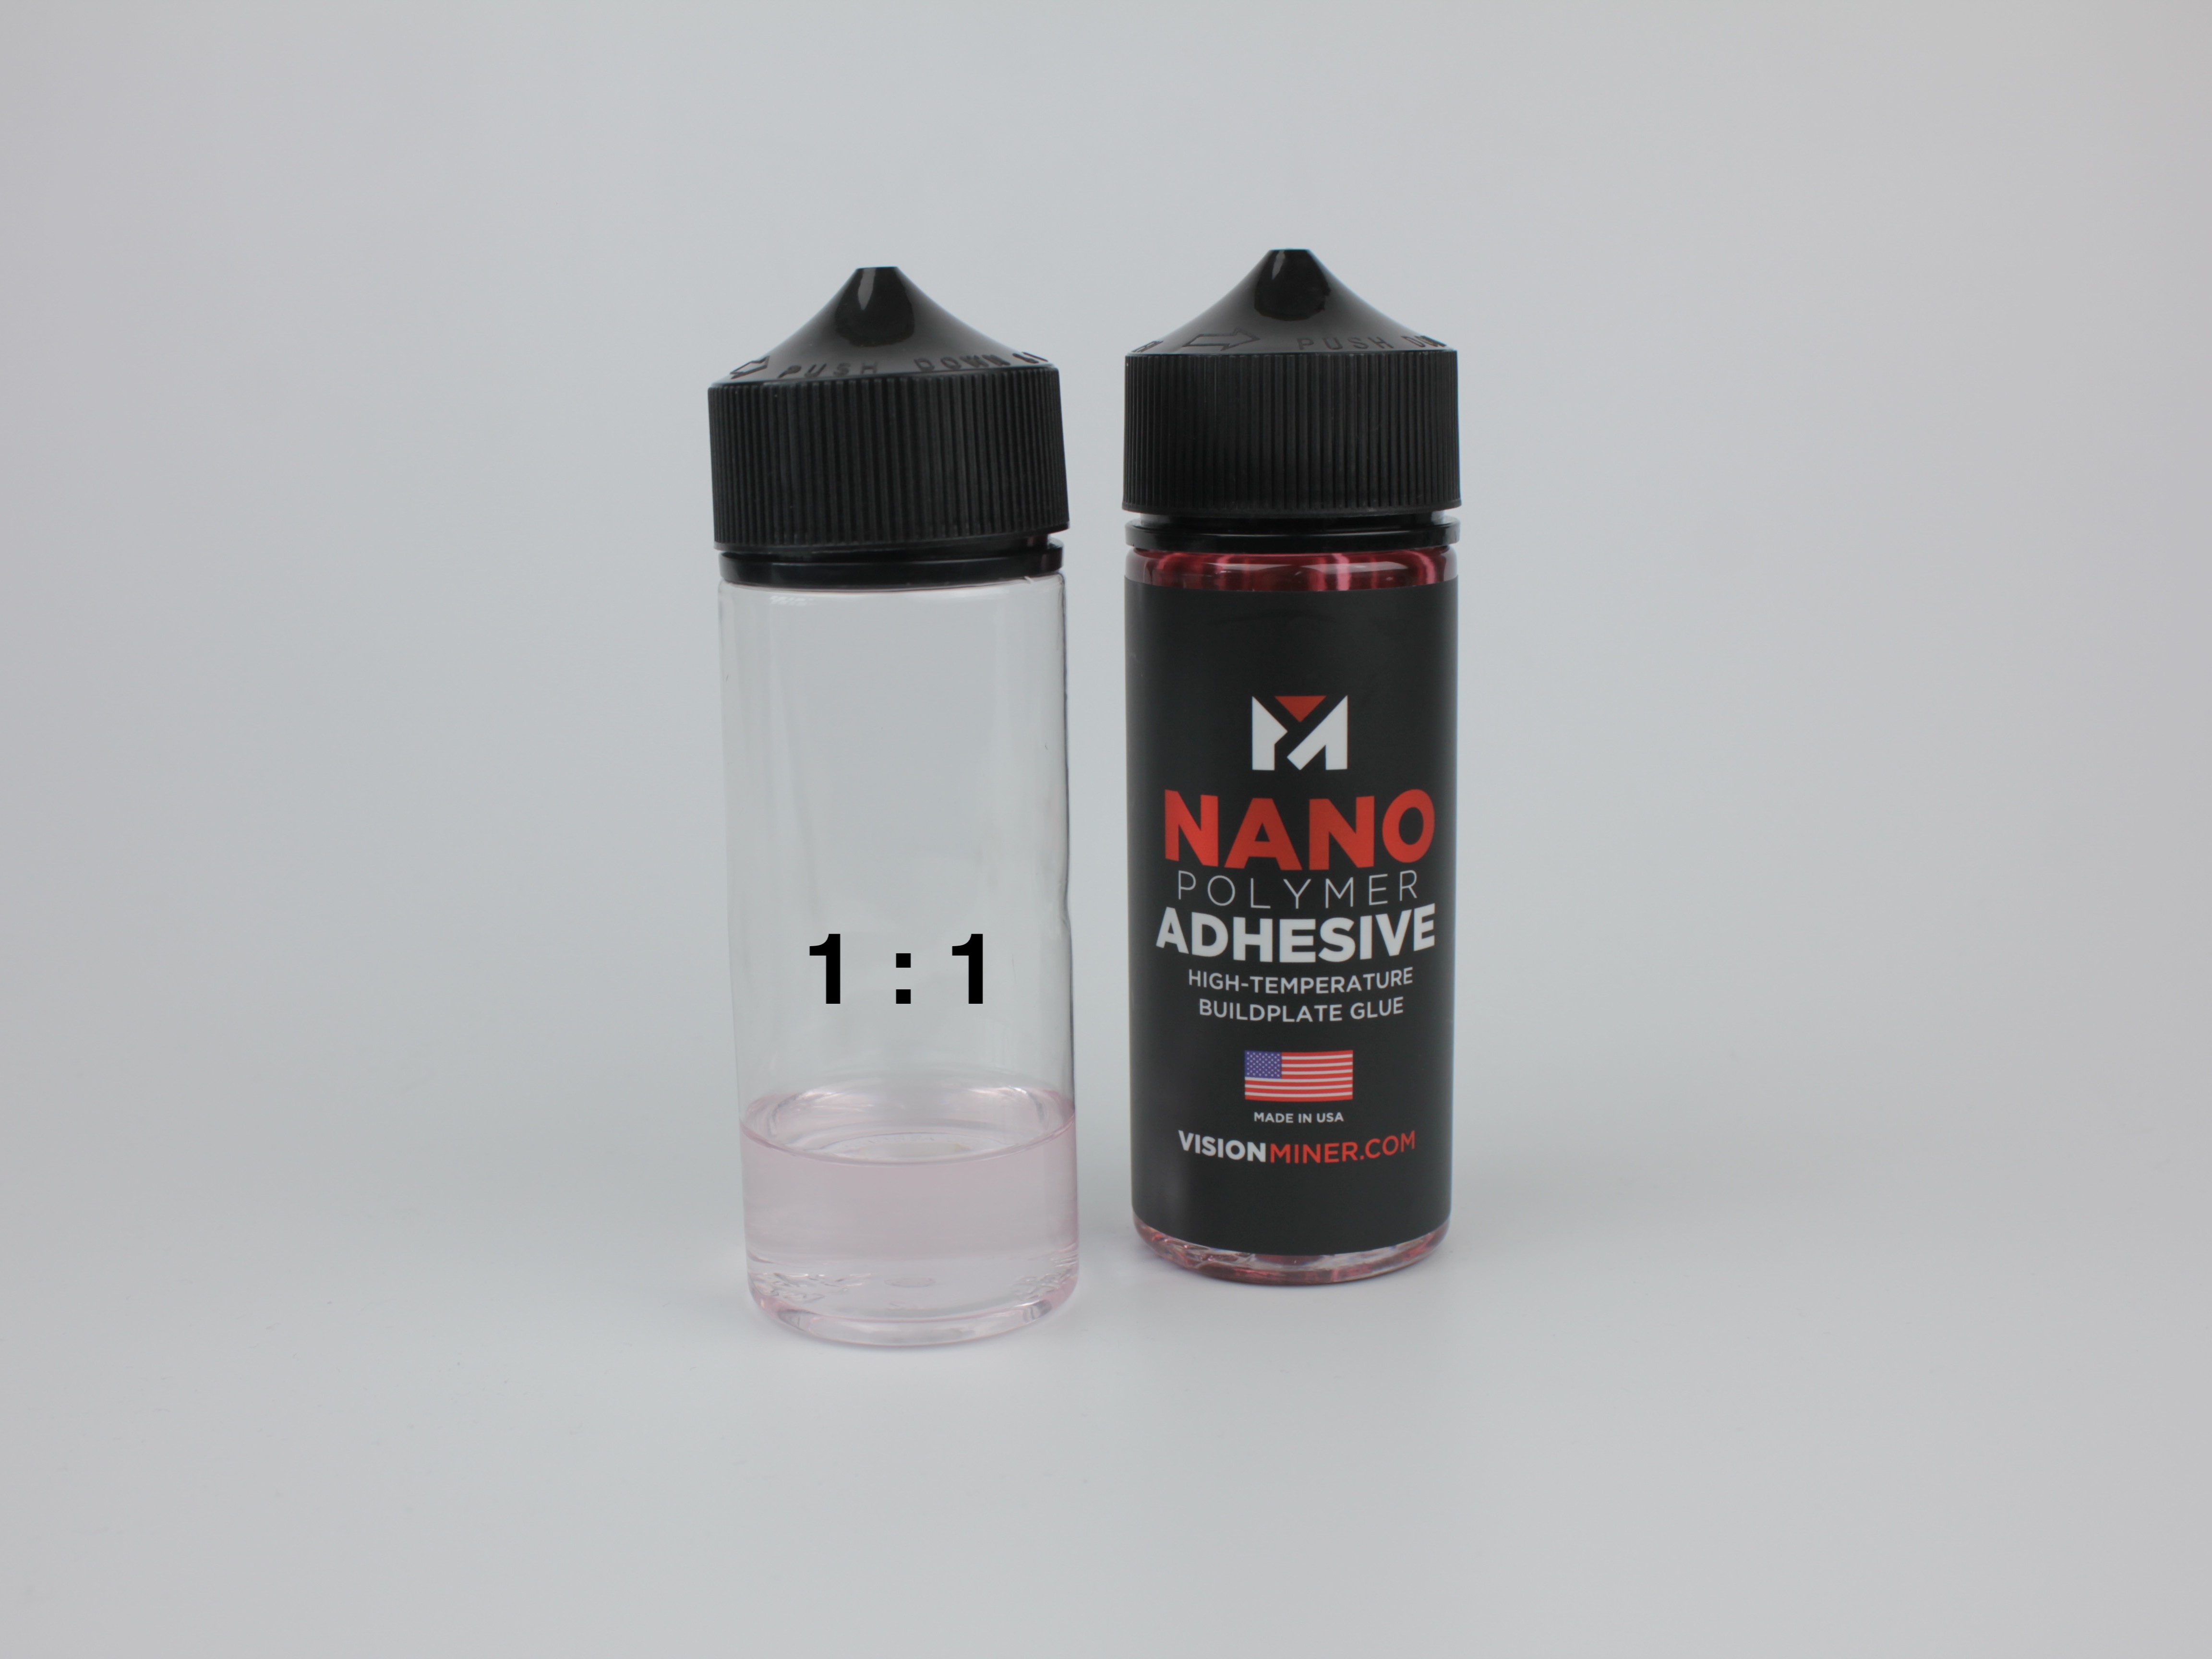
- Mix gently. Result is thinner adhesive that spreads easily and forms thinner film on build plate.
Store in sealed jar
Store diluted NPA in sealed jar. IPA evaporates quickly - if left open, mixture will thicken back to original concentration.
Applying Diluted NPA
- Verify build plate is cold and clean (see Pre-Application Cleaning above).
- Apply diluted NPA to build plate using brush. Because it's thinner, you can brush it on directly - no need to draw lines first.
- Use parallel strokes to distribute adhesive. Once you've covered the entire surface, make perpendicular strokes to the first strokes. Coating will be noticeably thinner than standard method.
- Let coating dry completely before printing.
4. Hot Application Method (For Difficult Materials)
For materials with extreme adhesion problems - part keeps detaching from bed despite proper NPA coating - hot application method can solve this. Applying diluted NPA onto heated build plate creates very strong bond. This is typically needed for exotic high-performance filaments such as PEEK, PEKK, PEI, and similar materials.
Hot surface and diluted NPA only
Hot surface: You will work near hot build plate (120-180 °C / 248-356 °F). Wear heat-resistant gloves. Do not touch bed surface.
Diluted only: Use diluted NPA for this method, not standard thick NPA. Standard NPA is too viscous when applied on hot surface and forms uneven, overly thick film.
- Prepare diluted NPA if you haven't already (see Diluted NPA Method above).
- Heat build plate through Web Interface. Start with 120 °C (248 °F) for most materials.
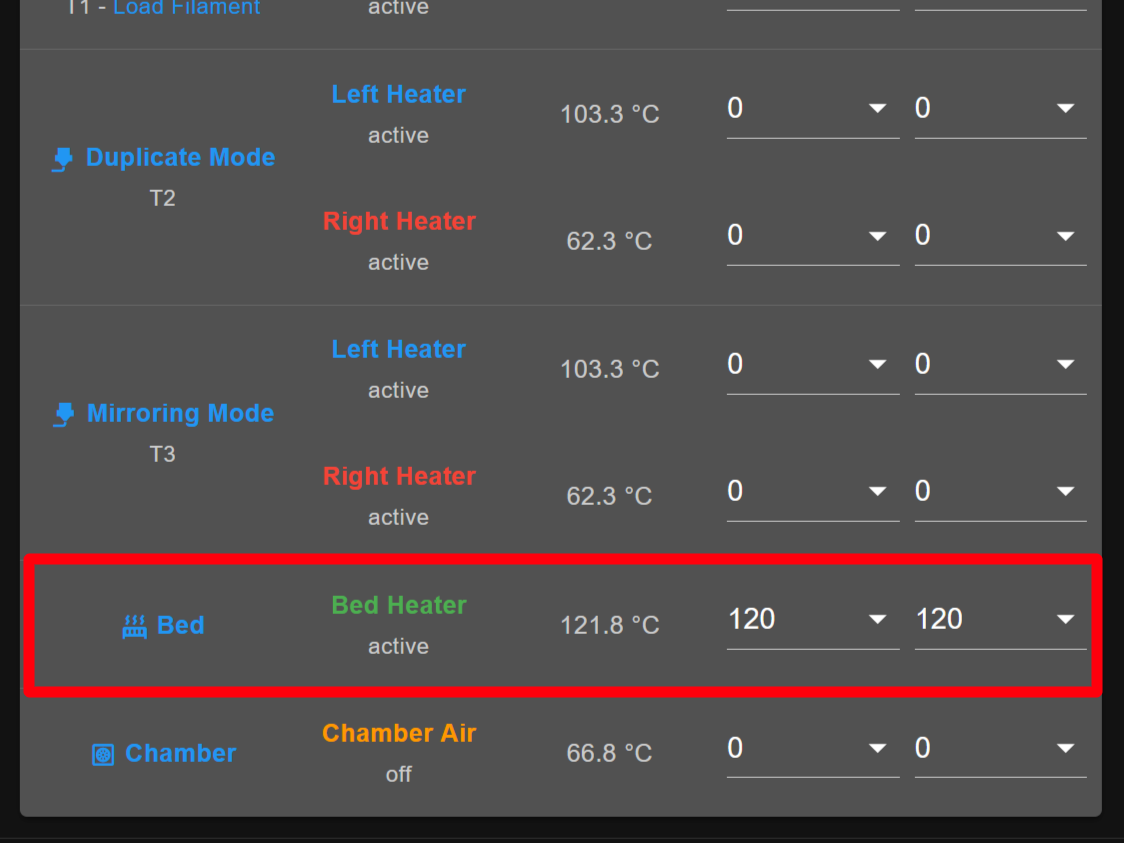
- Once bed reaches target temperature, use brush to apply diluted NPA directly onto hot surface. Work quickly - IPA evaporates fast on hot bed, leaving thin, even adhesive film.
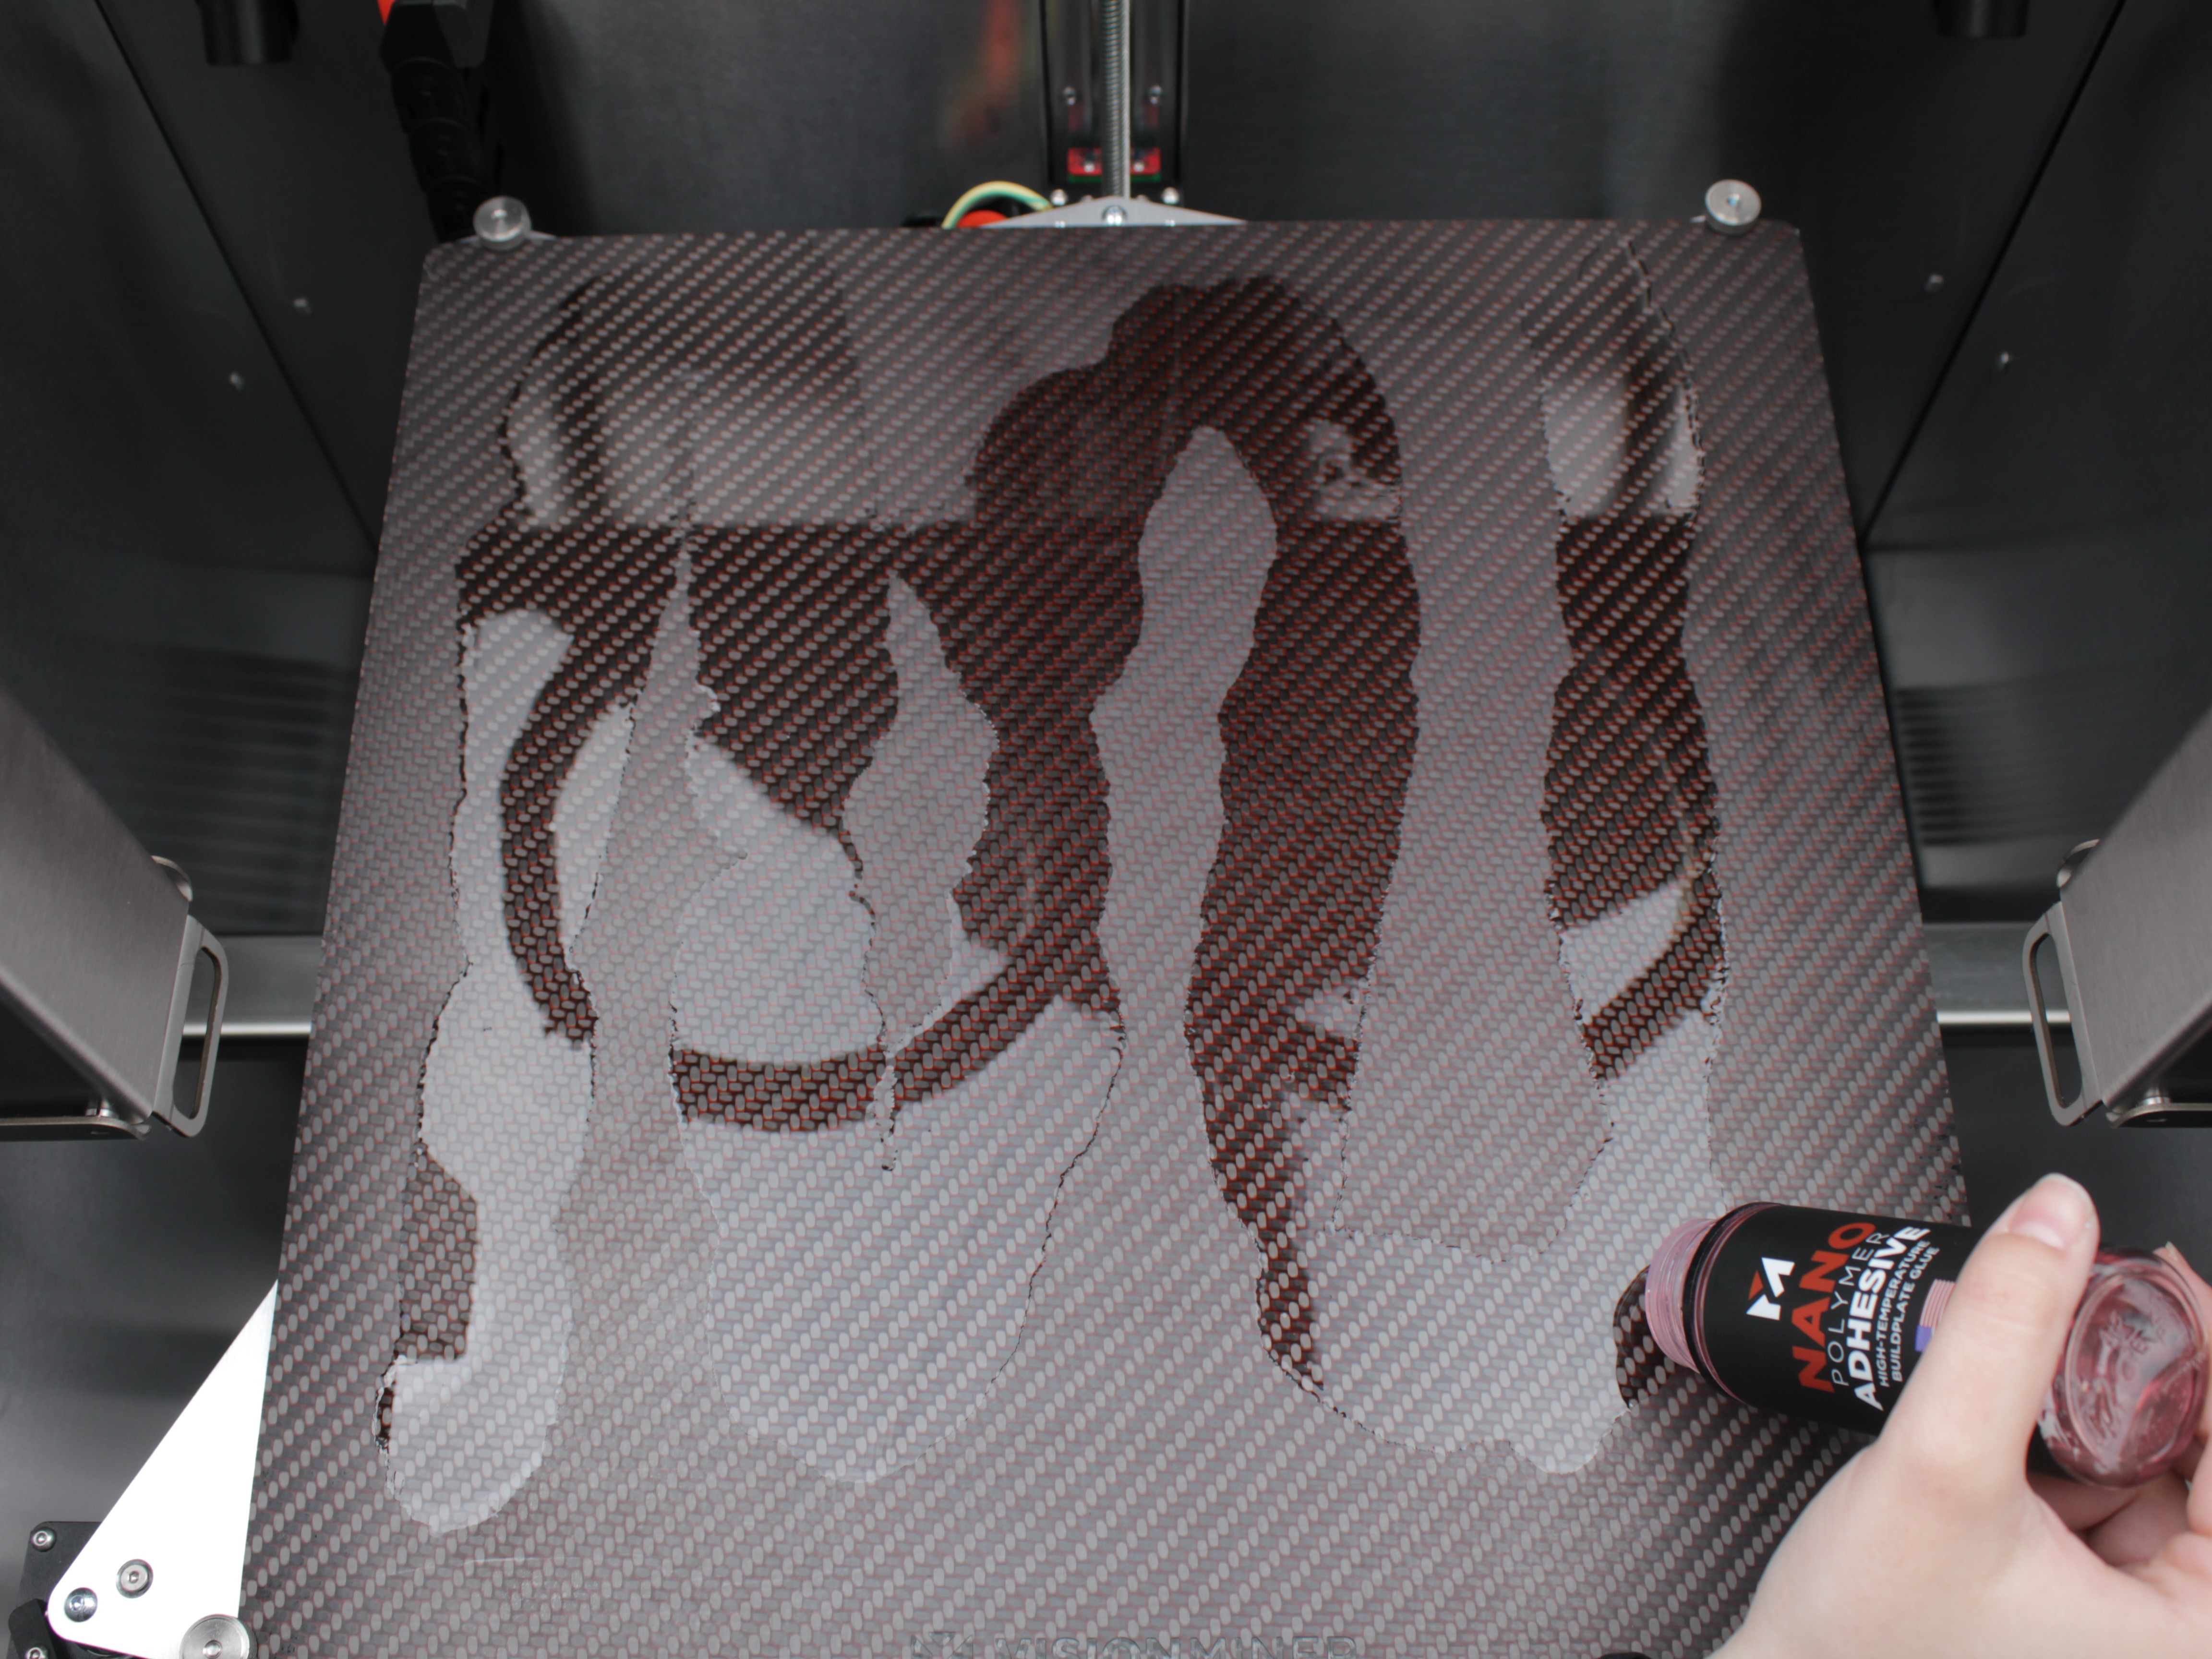
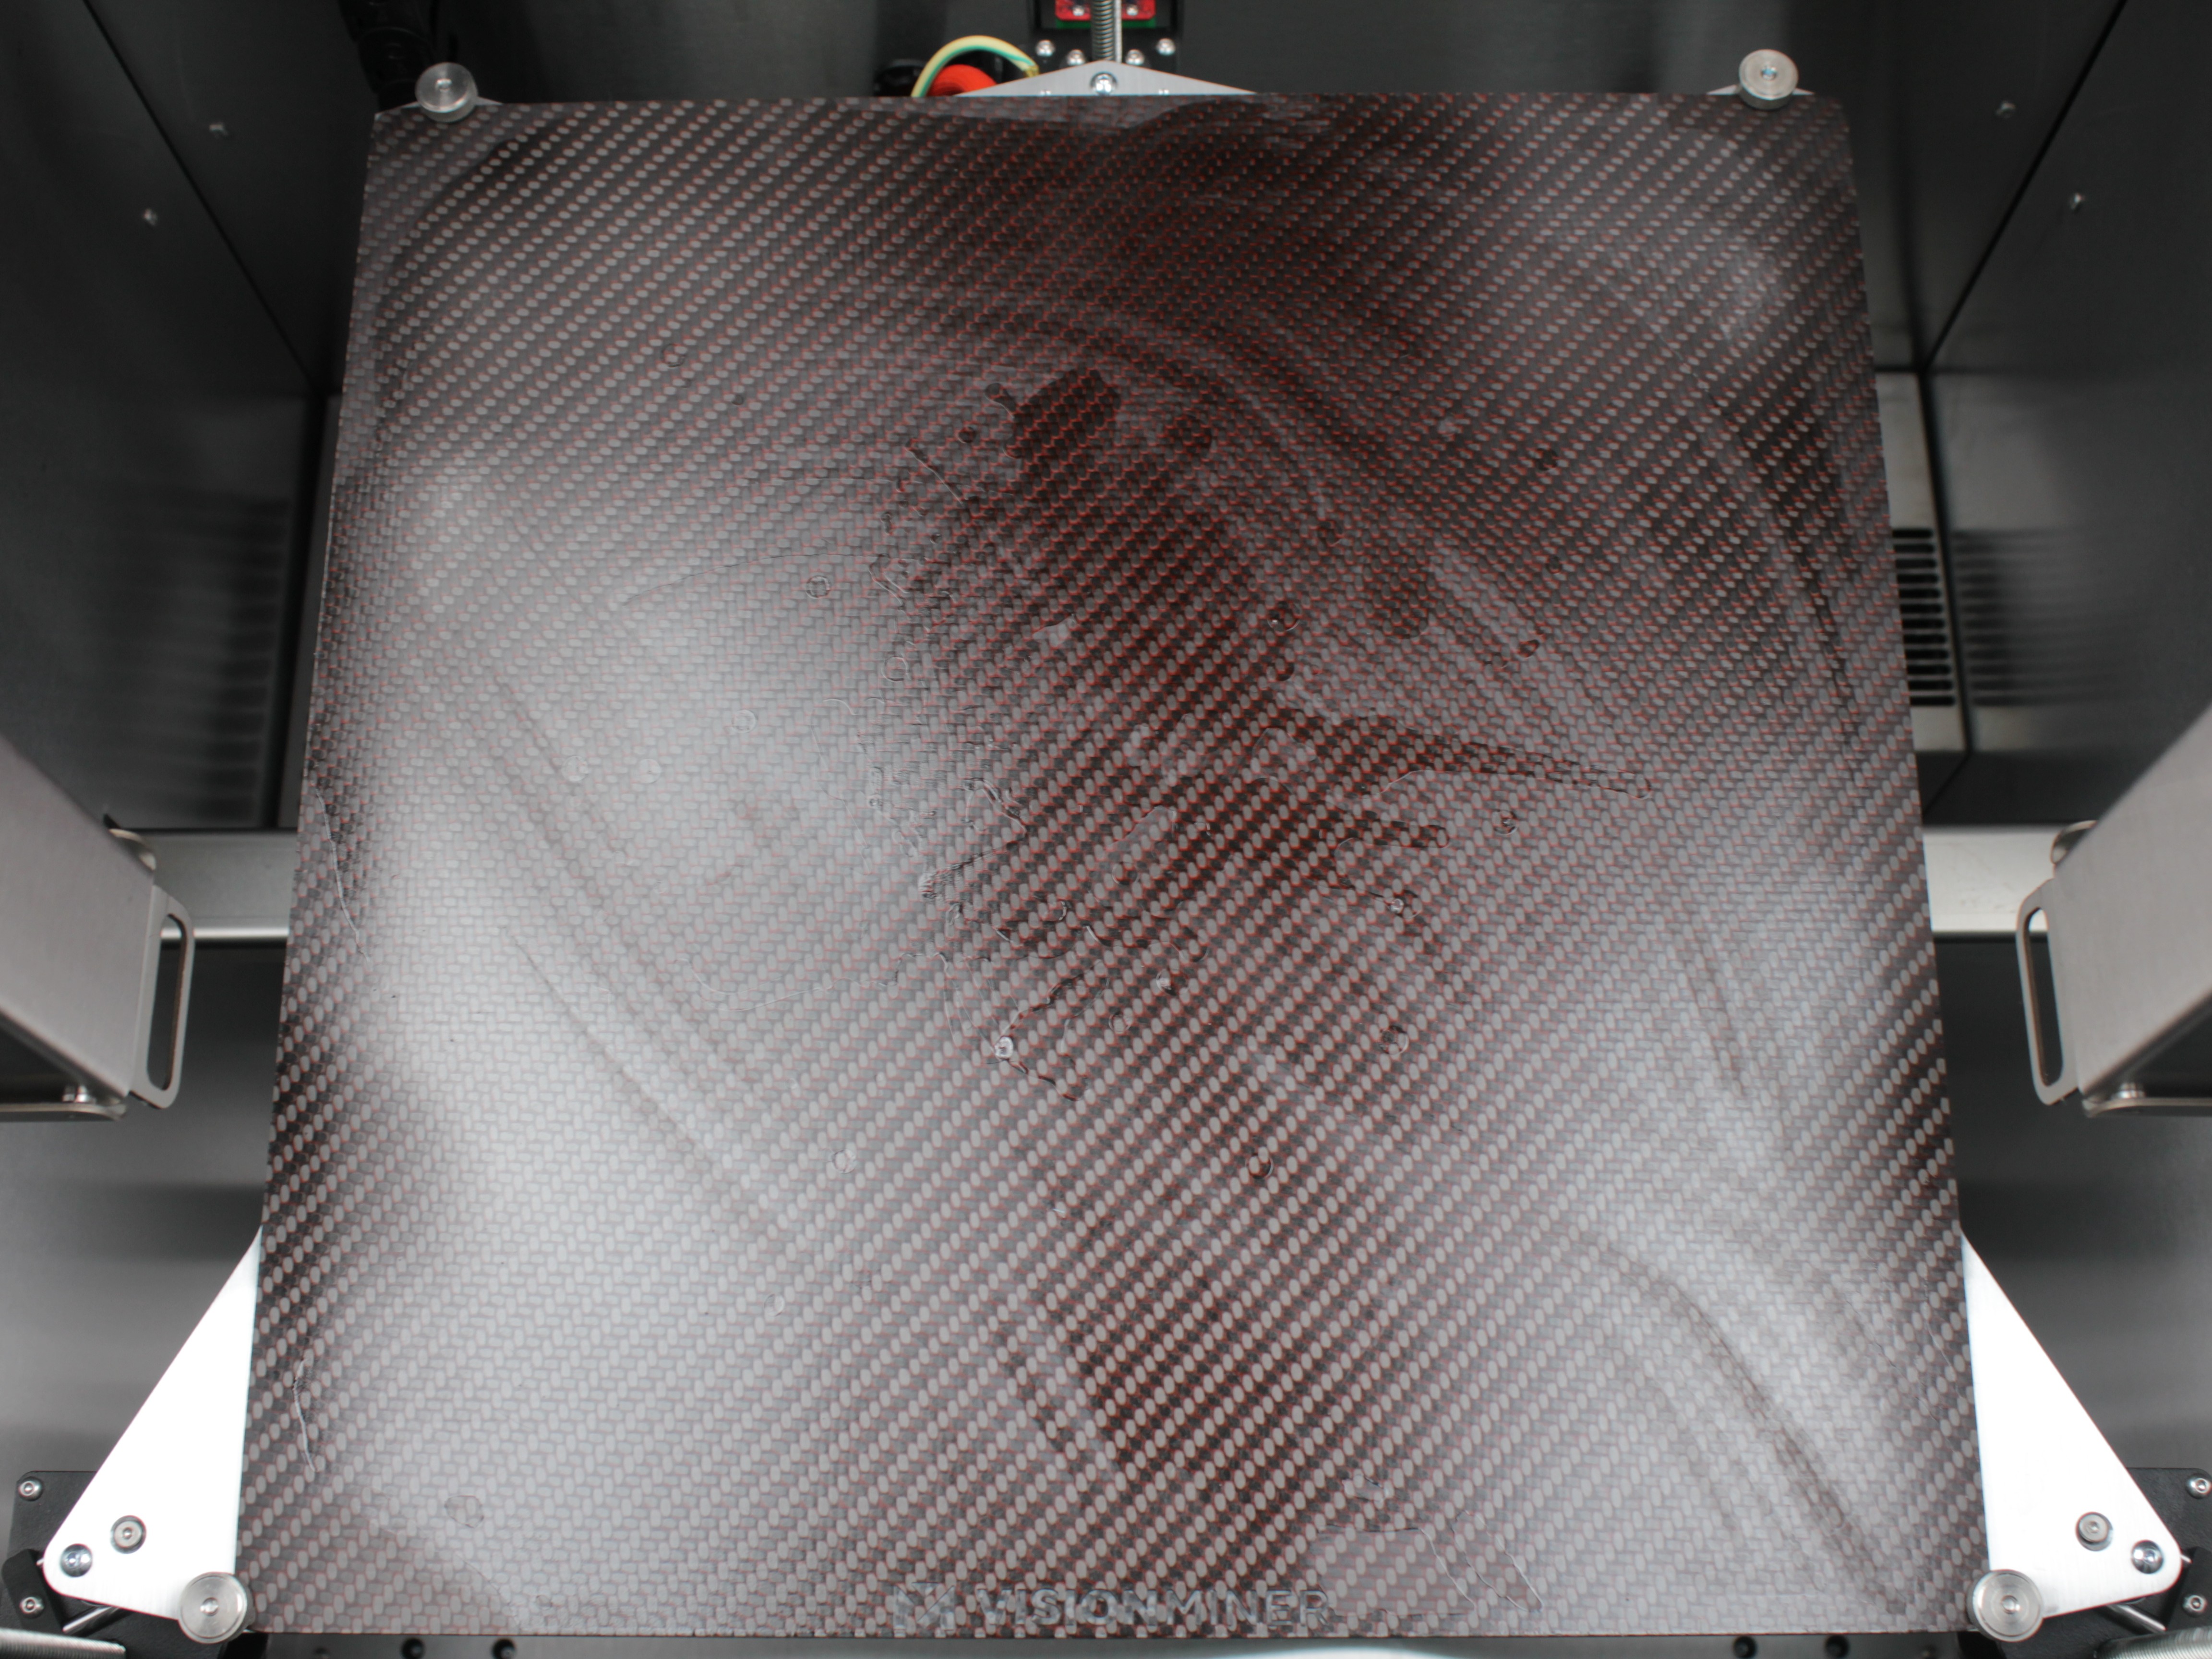
Apply adhesive where part will be located
The photo shows applying adhesive across the entire build plate surface - this is for large high-temperature parts. If you're printing small high-temperature part, apply adhesive only to the area where the part will be located. No need to cover the entire surface for small parts.
- After application, set bed temperature to value required by your filament profile and proceed with printing.
Temperature recommendations
For PEEK and other high-temperature materials, start at 120 °C for application, then raise to normal printing temperature. For extreme adhesion cases, you can apply at up to 180 °C (356 °F), but 120 °C is sufficient for most situations.
5. Post-Print Cleaning
Cleaning build plate with isopropyl alcohol (IPA) between prints extends life of NPA coating and keeps adhesion consistent. Two cleaning approaches depending on whether you want quick refresh or full clean before reapplication.
Quick Wipe Between Prints
Use this when NPA coating is still in good condition and you just want to remove surface residue before next print.
- After each print, let build plate cool down.
- Apply IPA to lint-free cloth or paper towel - do not pour IPA directly onto bed.
- Wipe the build plate surface to remove fingerprints, dust, and any residue left by printed part.
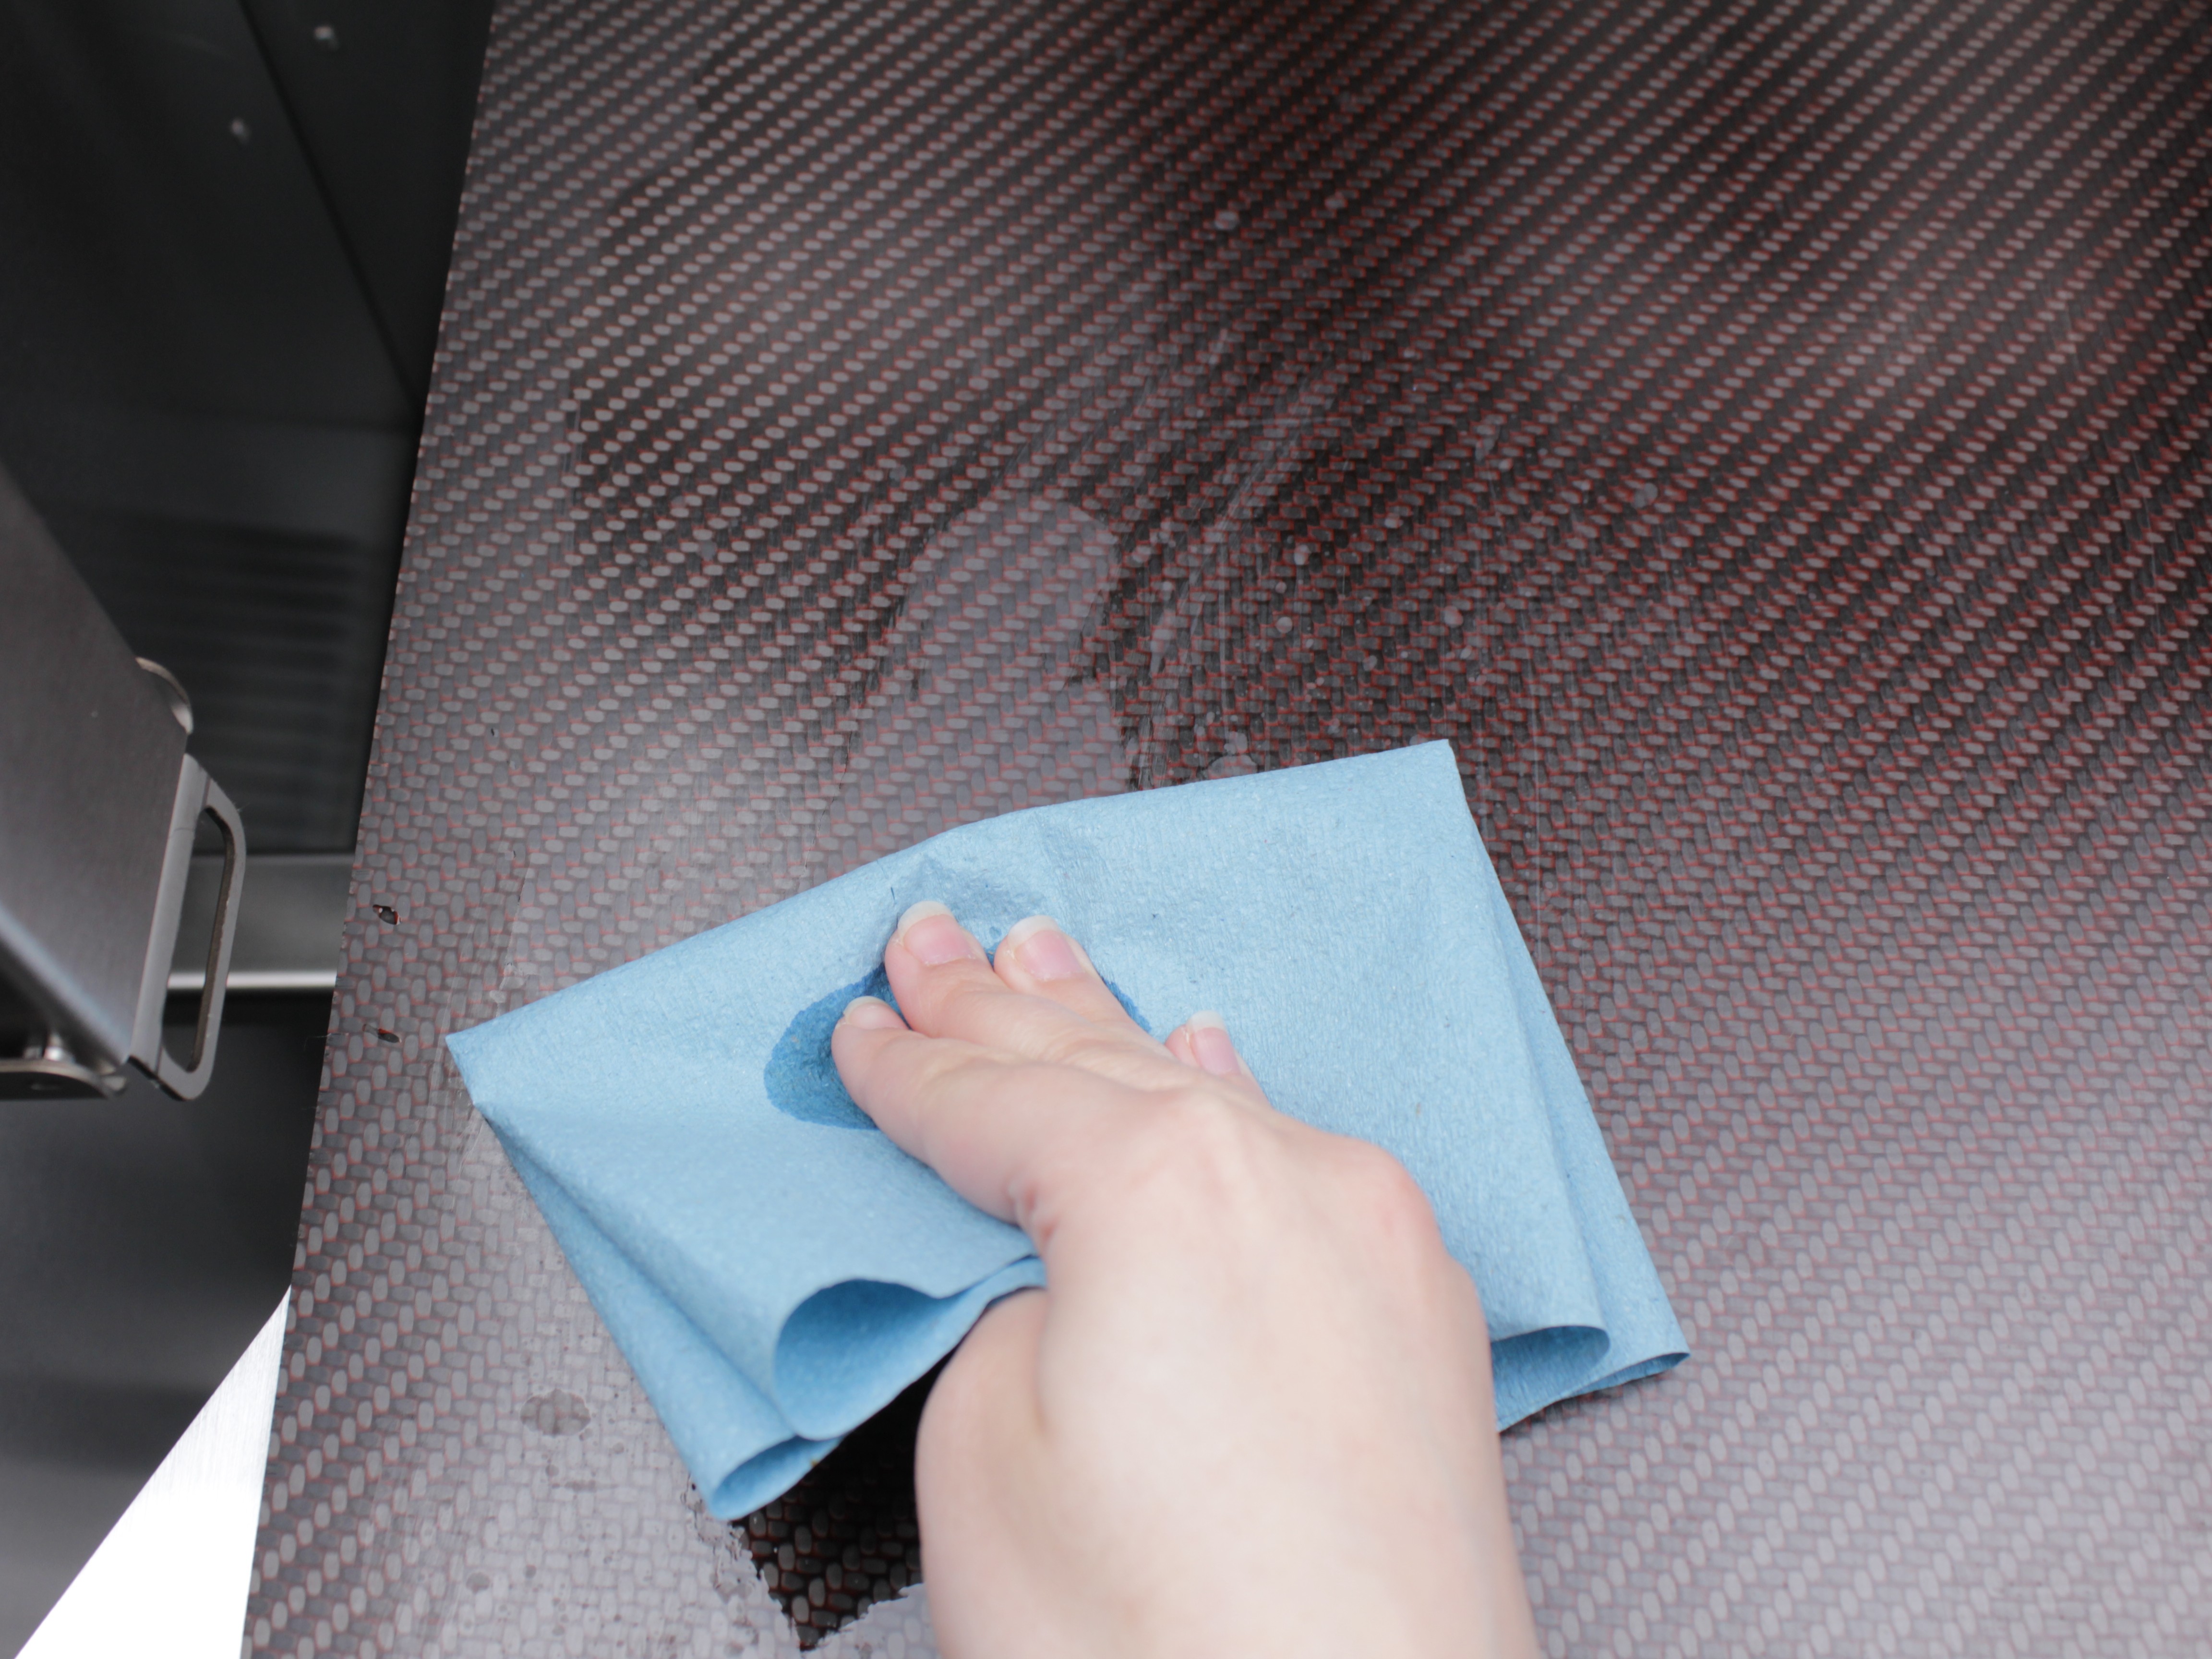
- Inspect surface. If NPA coating is still intact and even, you can print again without reapplication.
Full Clean Before Reapplication
Use this when NPA coating is worn, uneven, or patchy and you want to strip it and apply fresh layer.
- Verify build plate is cold (room temperature).
- Apply IPA directly onto the build plate surface. Let it soak for 1-2 minutes so alcohol softens old NPA coating.
- Wipe surface thoroughly with lint-free cloth. Repeat if necessary until plate is completely clean.
- Reapply NPA following Standard Application or Diluted NPA Method.
6. Complete NPA Removal (Deep Cleaning)
Over time, NPA layers build up and harden. Periodic deep cleaning removes this buildup and restores surface.
- Let build plate cool completely.
- Liberally apply IPA over the entire build plate to soften hardened adhesive. Let it soak for 1-2 minutes.
- Use scraper to carefully remove softened residue. For stubborn spots, gently run brand new razor blade along surface at shallow angle.

Work slowly with razor blade
Work slowly with razor blade. Pressing too hard or using used blade can scratch carbon fiber build plate permanently.
- Wipe plate one final time with clean lint-free cloth dampened in IPA. Confirm surface is completely clean.
FAQ
Troubleshooting
Support
If you could not find an answer here, reach out to our support team.