Belt Tensioning
This guide covers how to adjust belt tension on the Vision Miner 22IDEX V4 - both the Y-axis belts and the tool belts (XU-axis). Correct belt tension directly affects print quality: loose belts cause layer shifting and dimensional errors; overtensioned belts wear bearings and motors faster. The target tension for all belts is 65 Hz, measured with a guitar tuning app.
If your belts are damaged, frayed, or need full replacement, order a Belt - Full Set and follow the Belt Replacement Guide first, then return here to set the final tension.
This page covers:
- Y-axis belt tensioning - both front knobs, 65 Hz target, gantry motion check, dual endstop check
- Tool belt (XU) tensioning - each toolhead belt to 65 Hz, smooth travel along the X-axis rail
Before you begin - safety and risk
Read the Safety - Before You Begin article to understand the hazards involved in working on the Vision Miner 22IDEX V4 - including electrical, thermal, mechanical, and chemical risks. All procedures in this wiki are provided as recommendations only. By choosing to follow any procedure, you do so at your own risk.
Power off and discharge
Turn off the printer and unplug it from the power outlet. Wait at least 60 seconds for capacitors to discharge. Moving parts can pinch fingers - keep hands clear of the motion system while adjusting belt tension.
Tools and Materials
- Guitar tuning app on your phone (any free app that displays frequency in Hz - search for "guitar tuner" or "frequency analyzer" in your app store)
Serial Numbers Below 296 - Weaker Tensioner Springs
If your printer serial number is below 296, your machine has weaker belt tensioner springs. These springs do not maintain constant tension as effectively - the tensioner cannot absorb belt wear and motion system inertia as well, causing tension to drop faster over time.
Check and adjust belt tension twice as often as the schedule in the Maintenance Schedule article. For example, if the maintenance schedule recommends checking belt tension every 500 hours, check yours every 250 hours.
Spring upgrade: You can replace the weaker springs with the upgraded stronger springs. See the Spring Replacement Guide for the replacement kit and installation instructions. (Article coming soon - contact support for spring replacement kit availability in the meantime.)
Identifying your tensioner type:
You can identify your tensioner type by comparing the spring design:
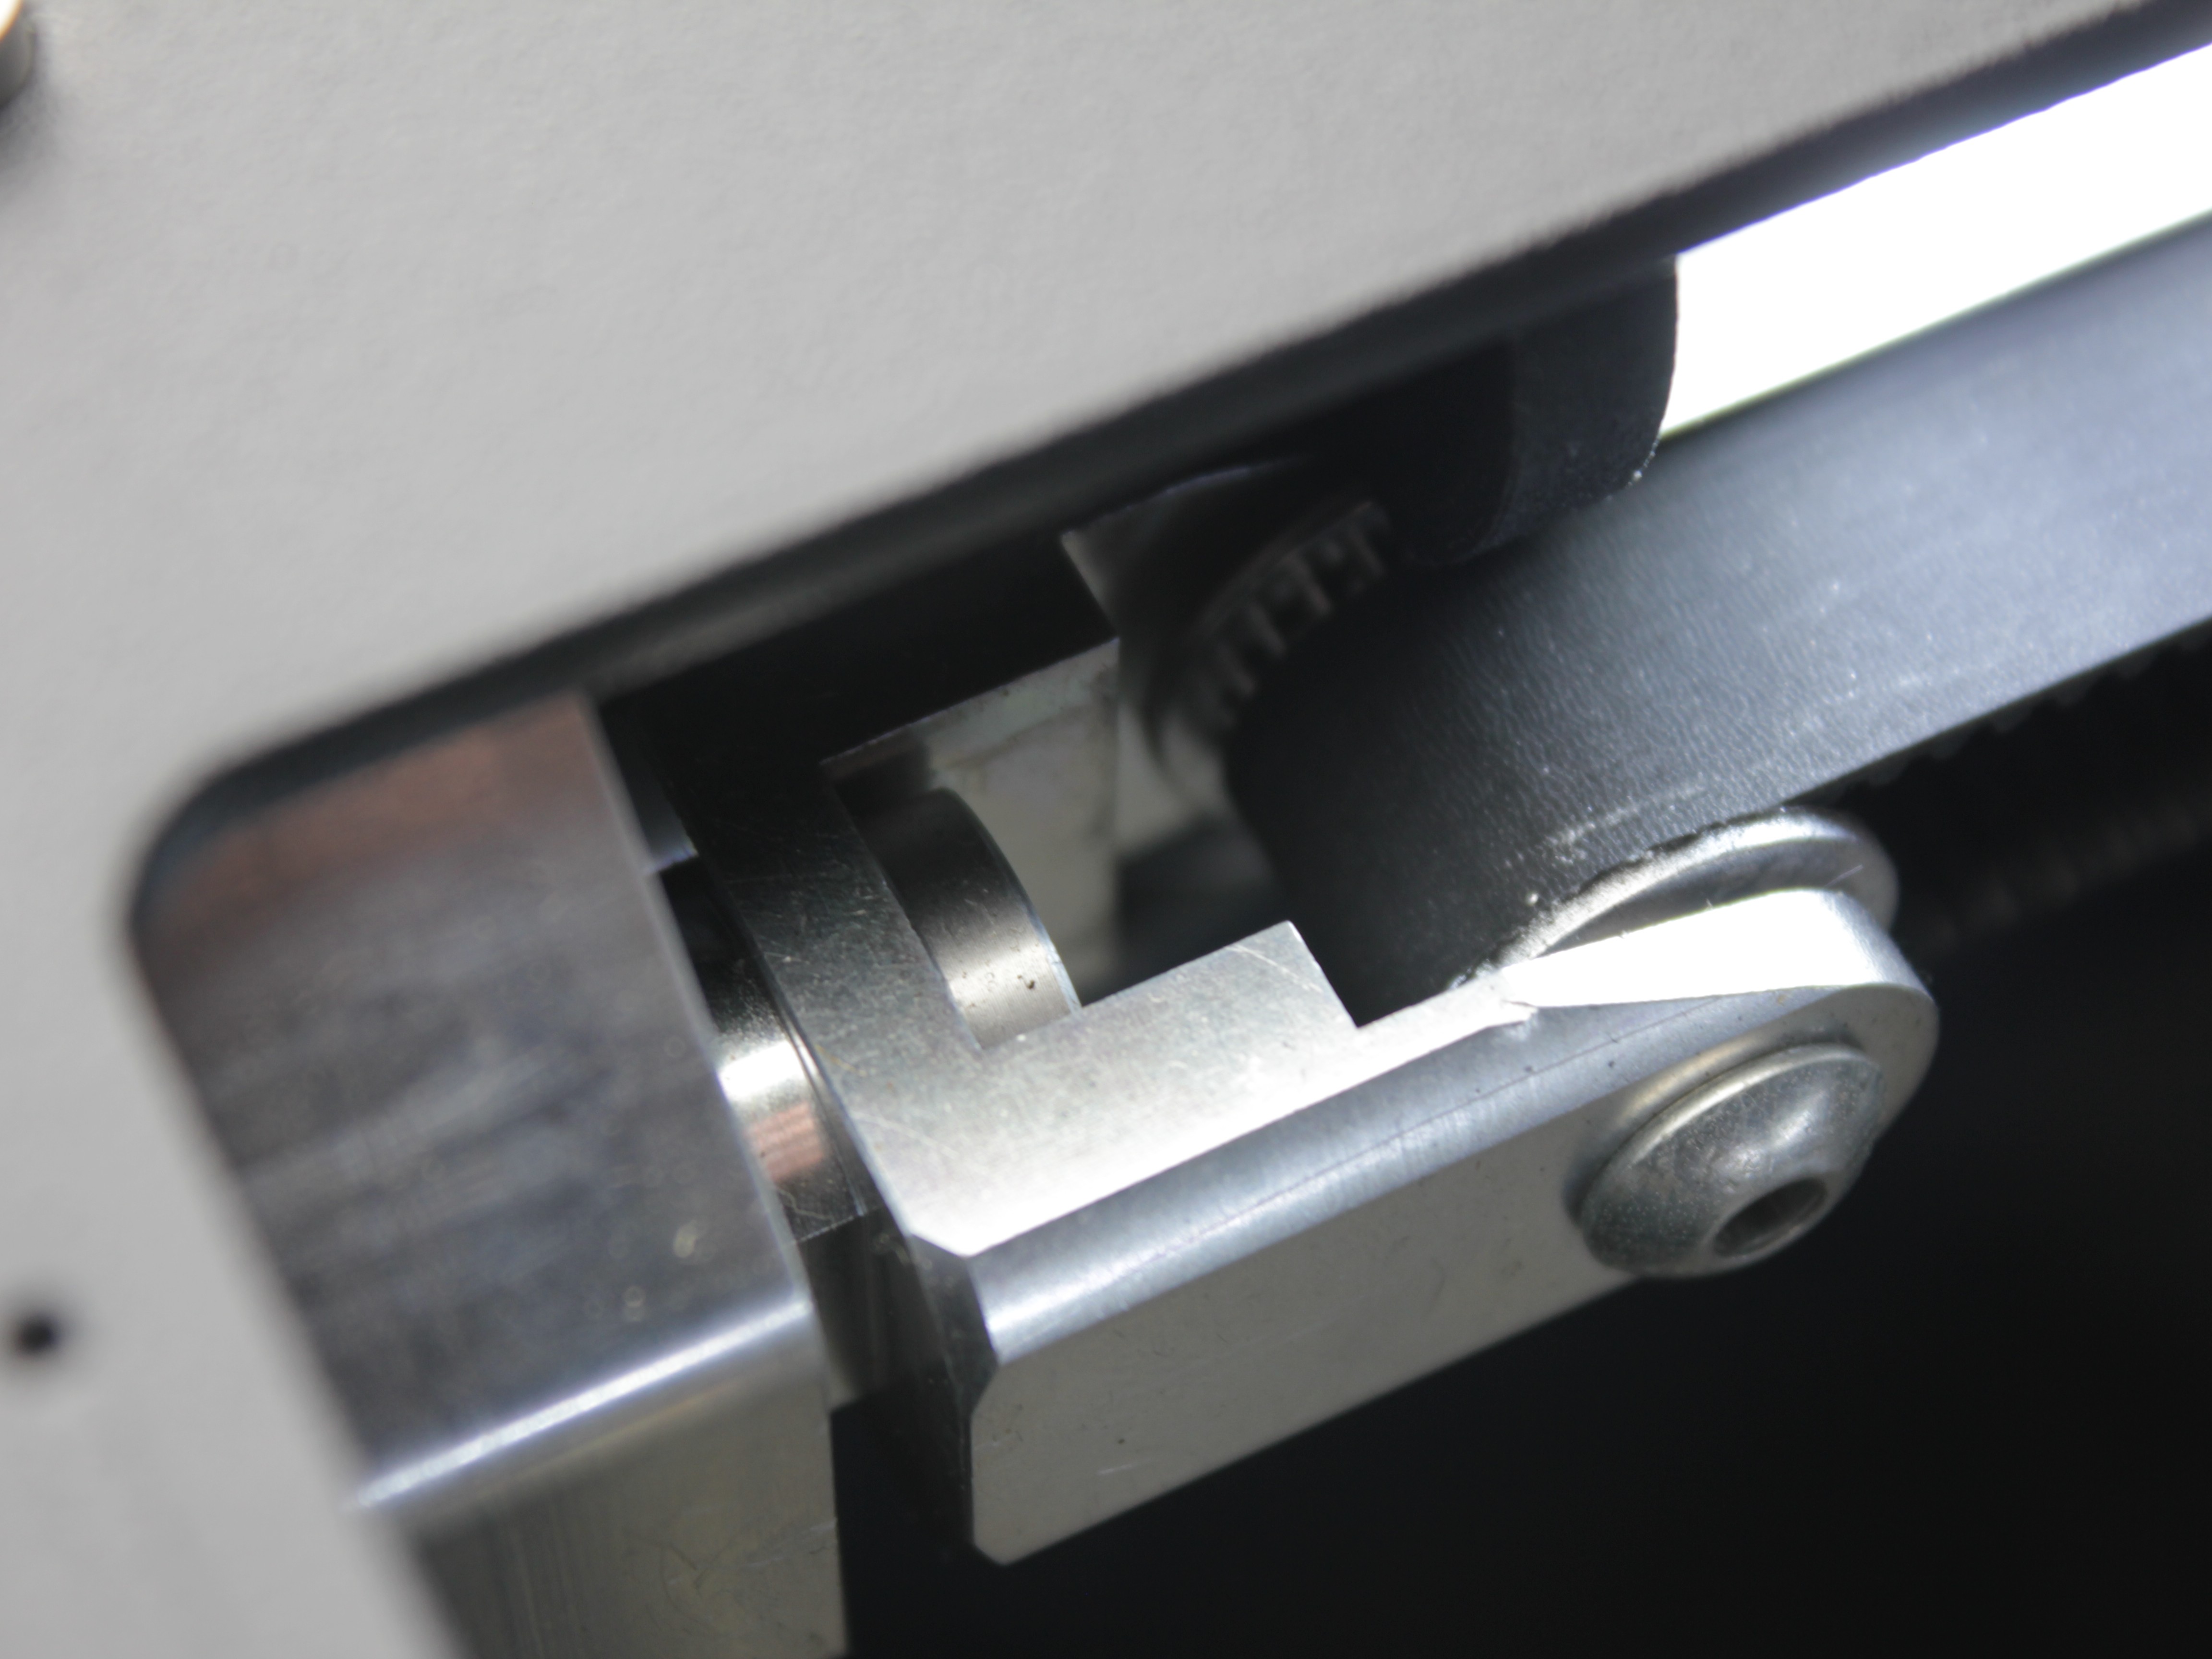
Weaker spring tensioner (serial < 296).
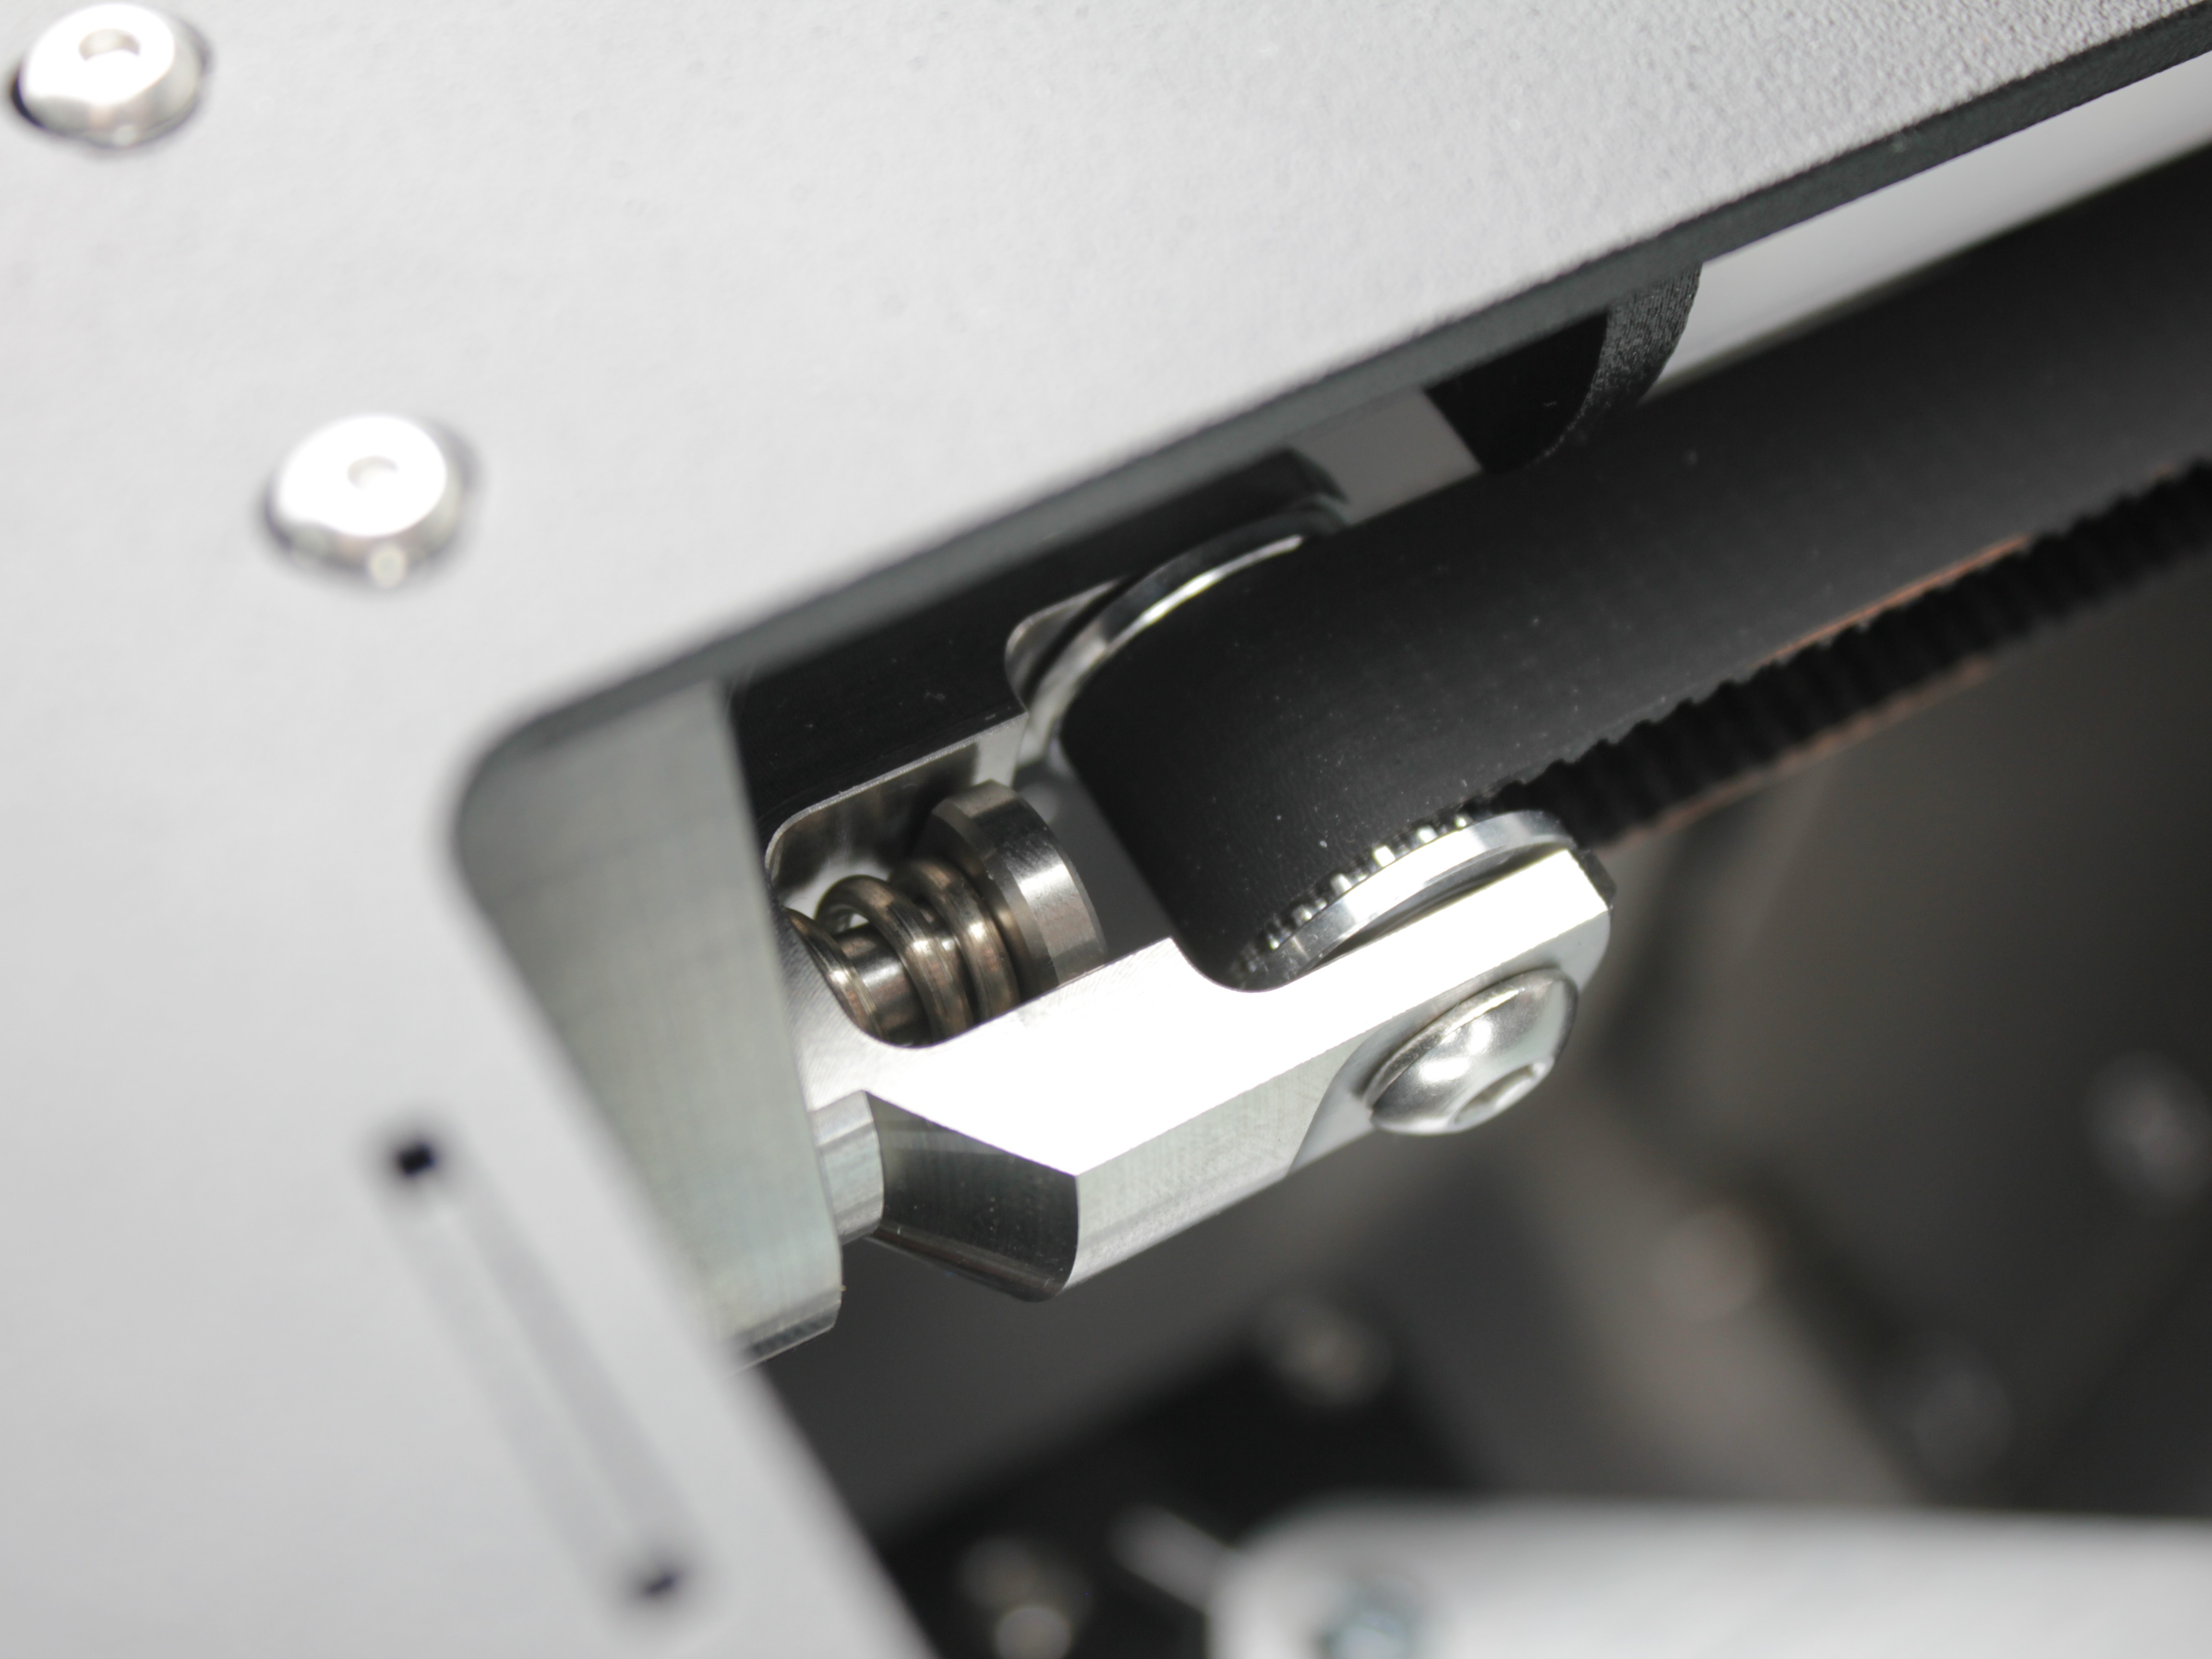
Stronger spring tensioner (serial ≥ 296).
1. Y-Axis Belt Tensioning
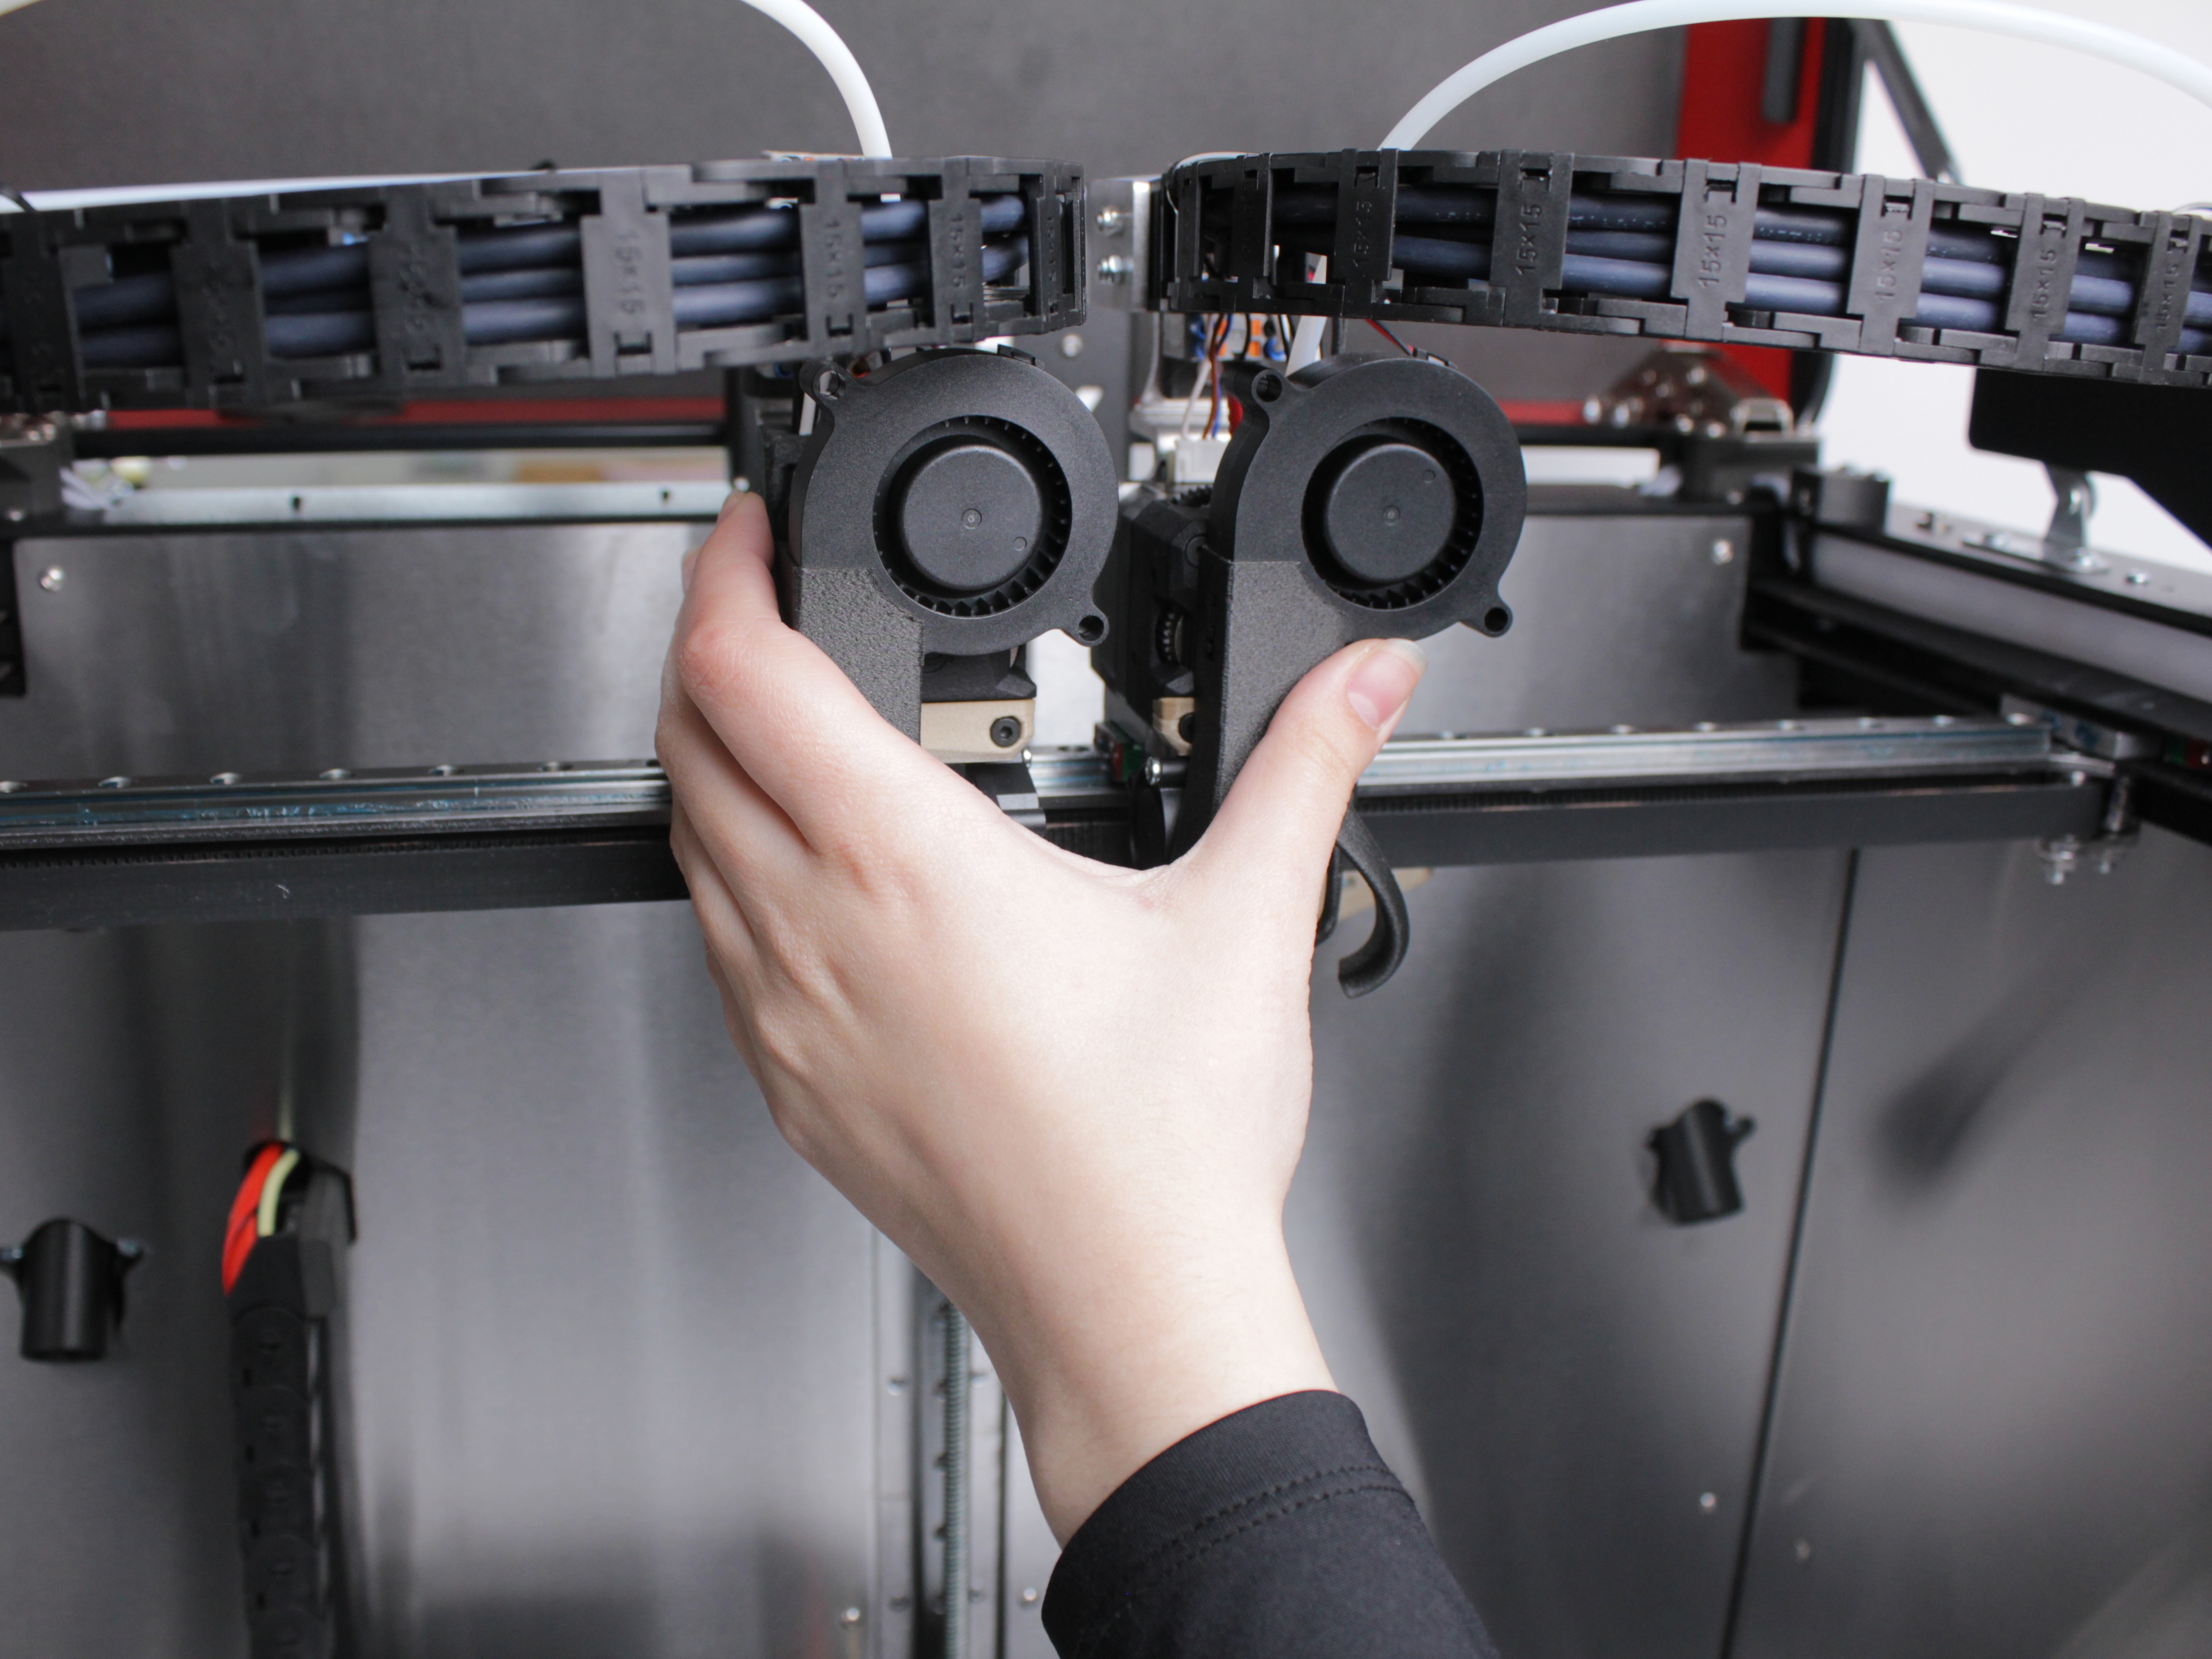
- Move both toolheads to the center of the X-axis rail by hand.
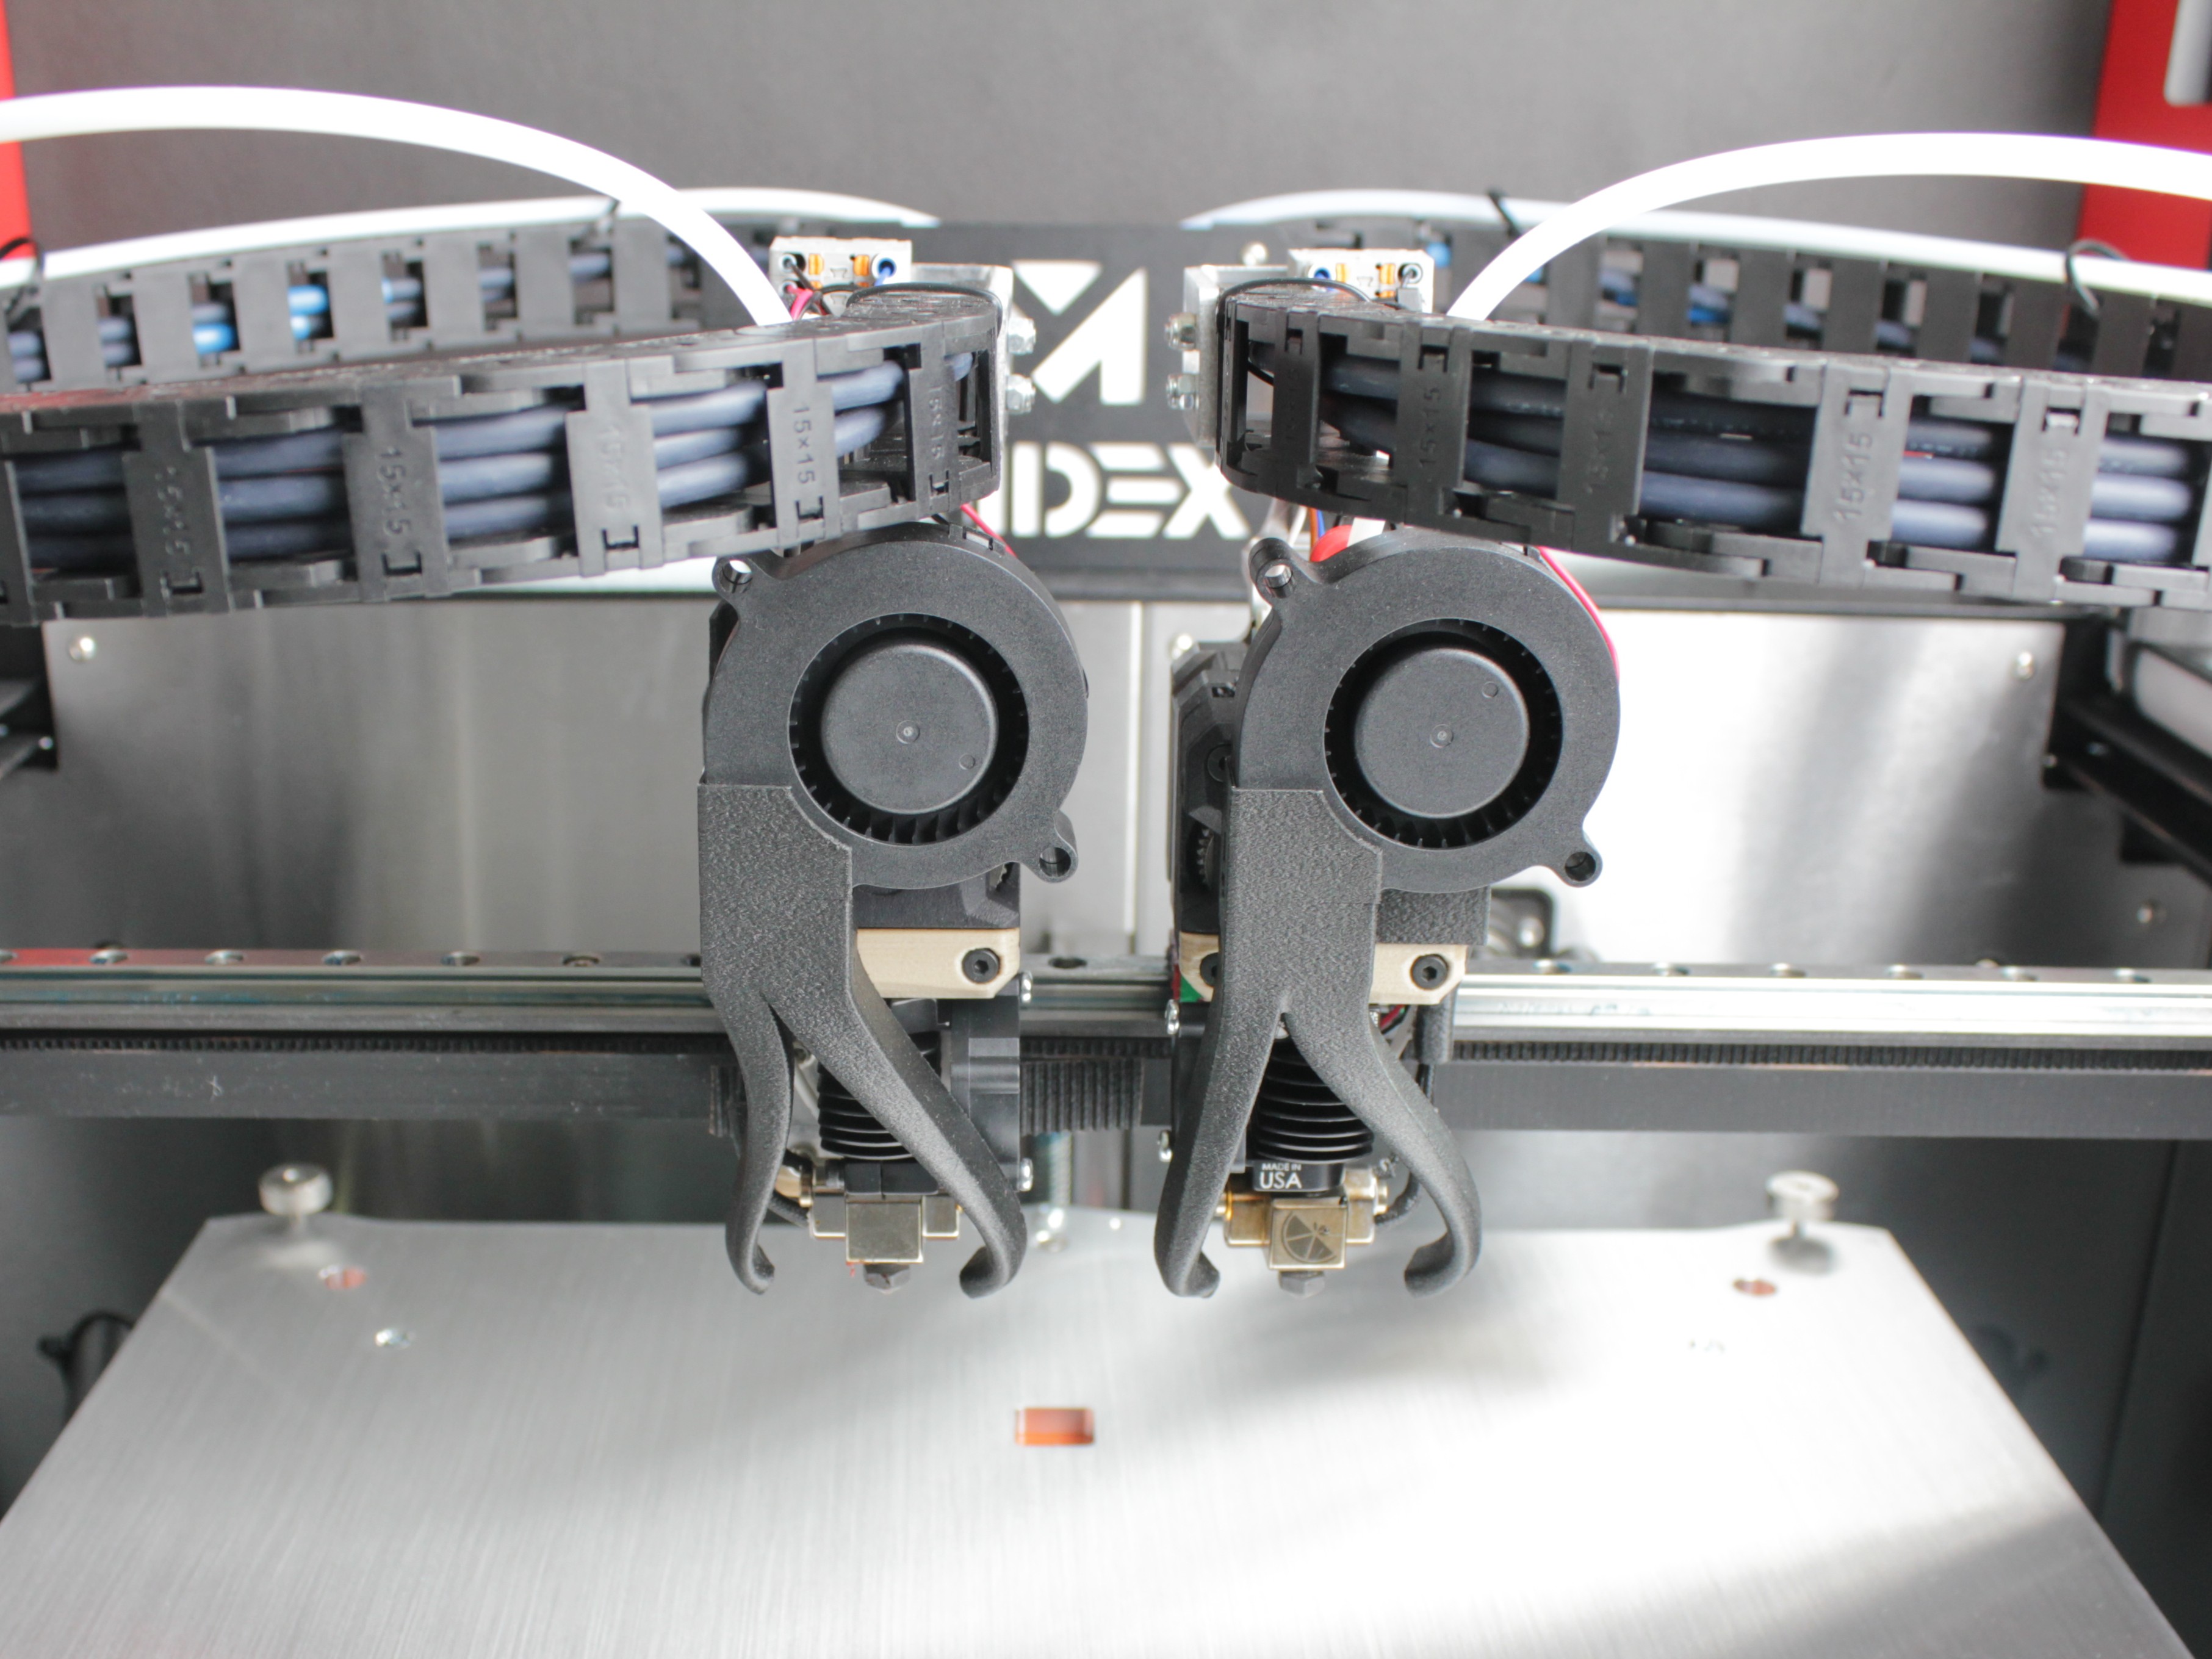
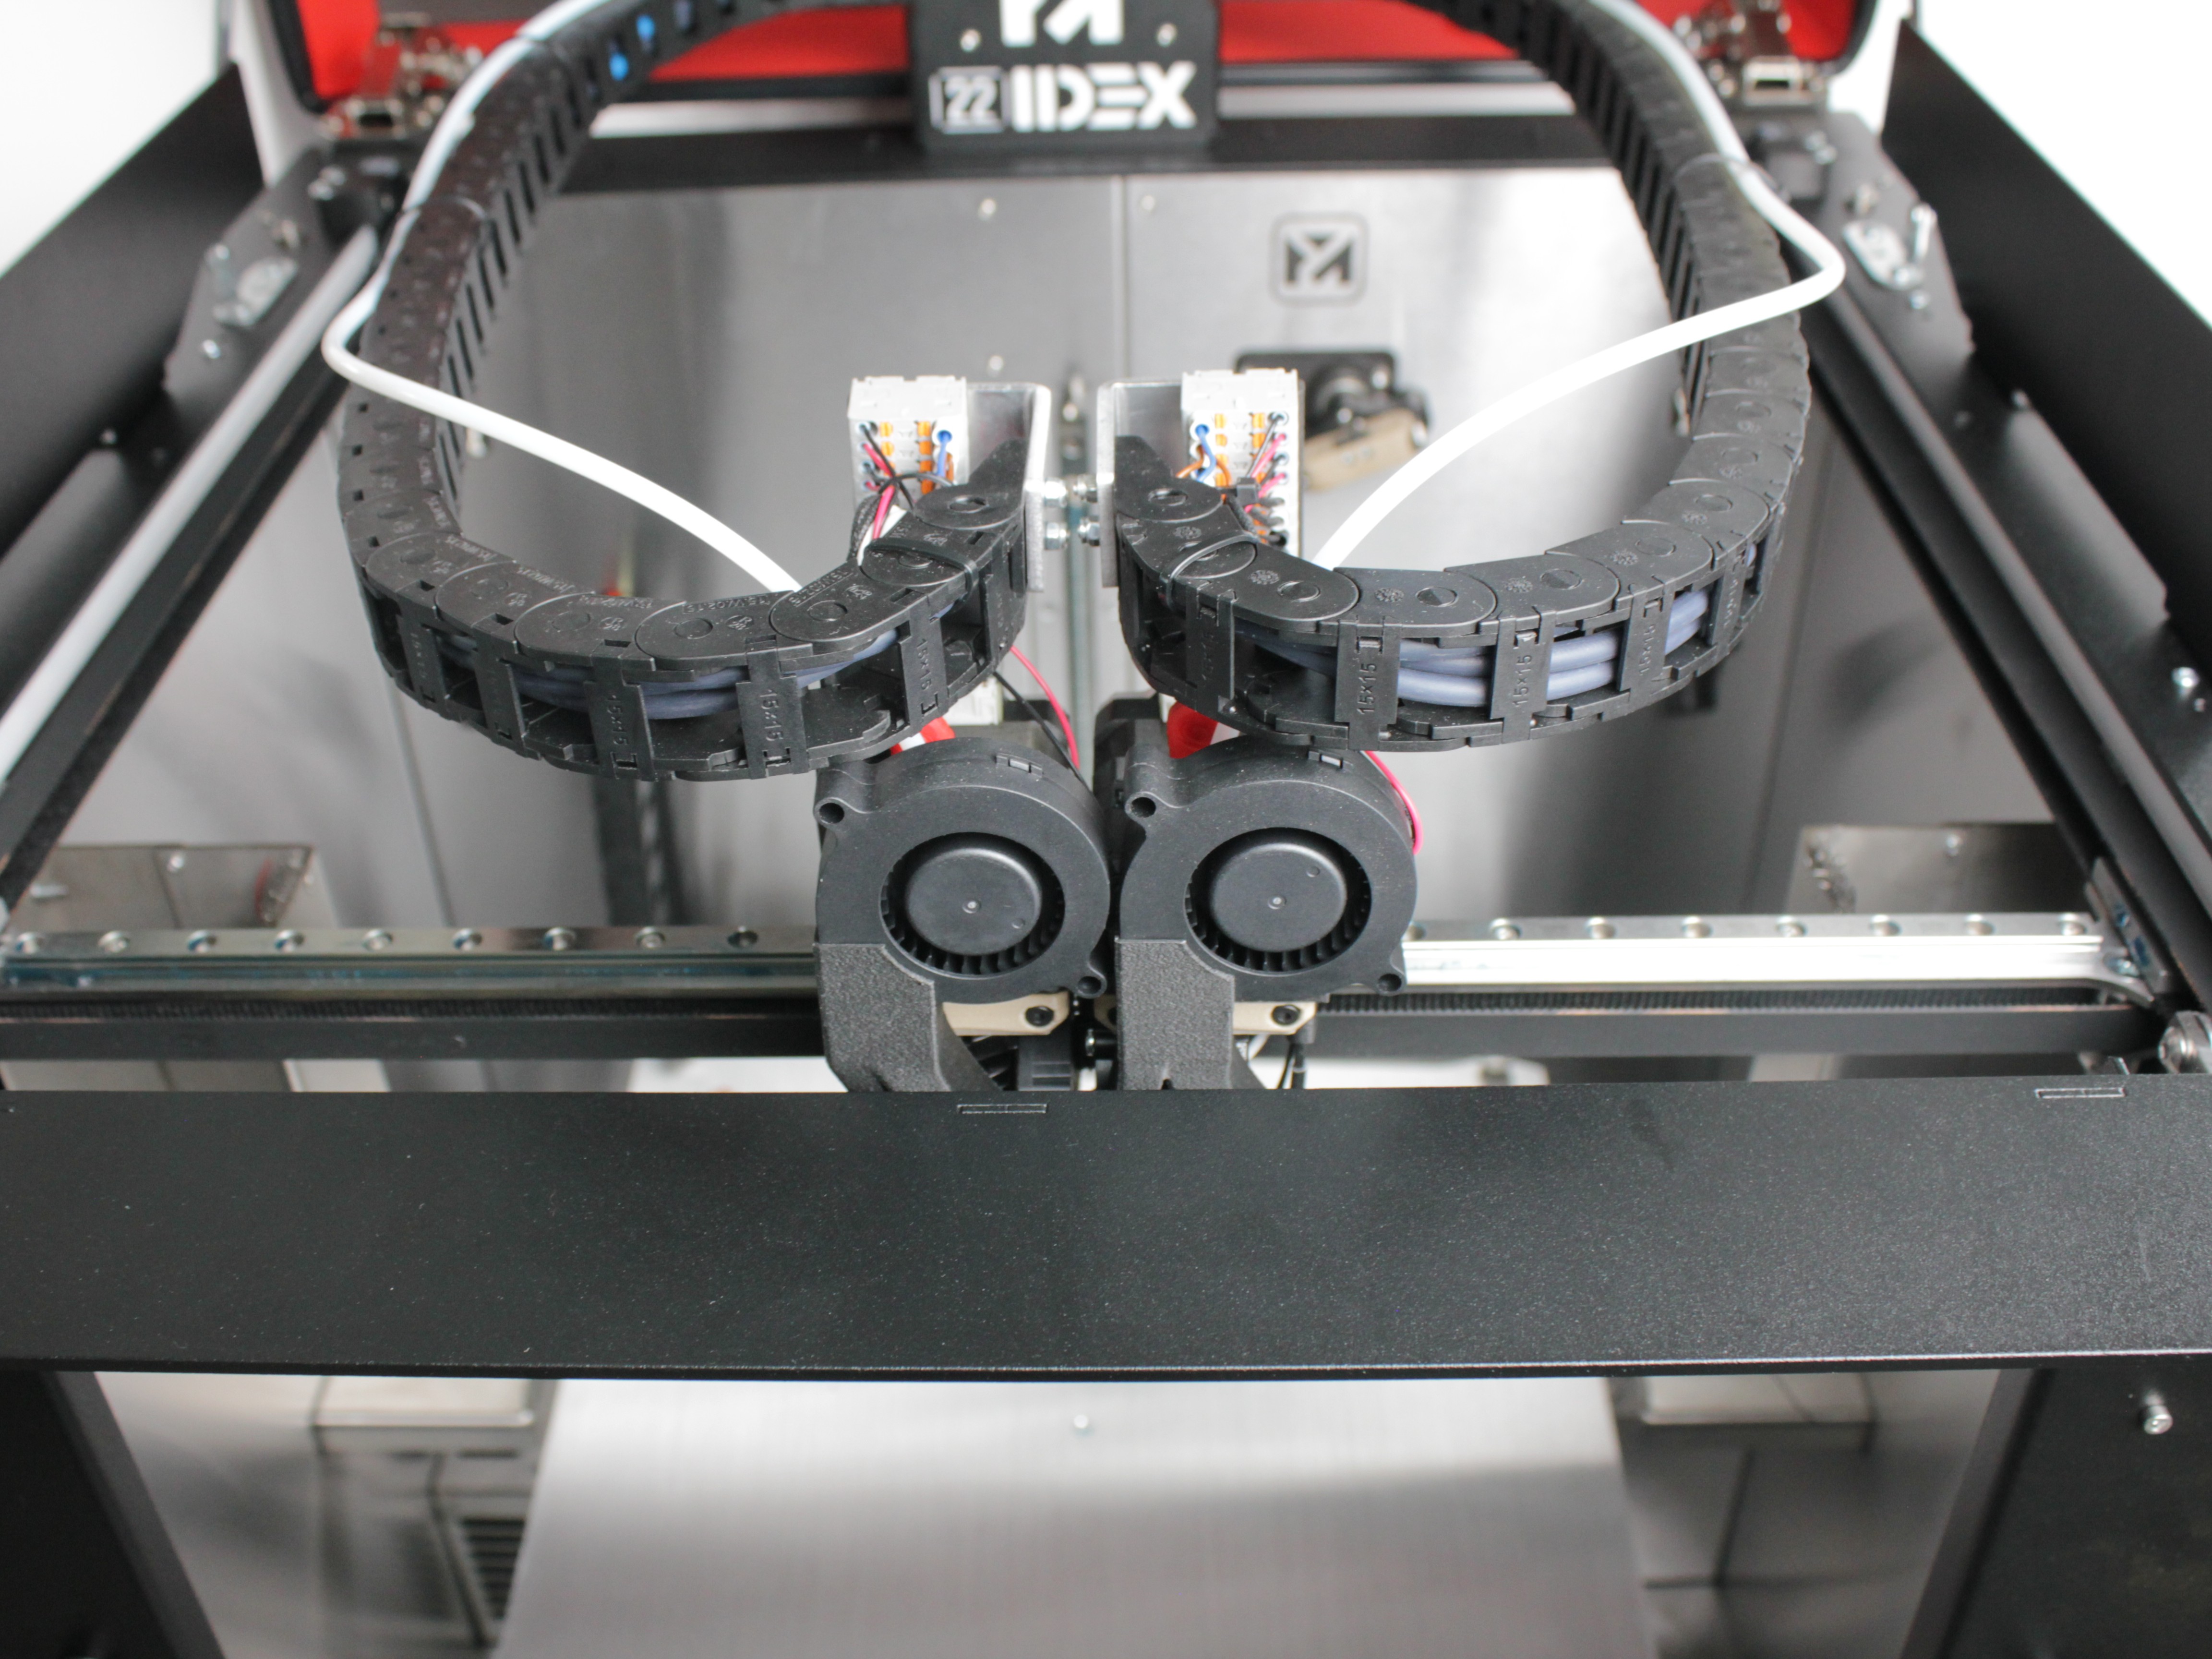
- Push the gantry all the way to the back of the machine, toward the 22 IDEX logo.
- Locate the two belt tensioning knobs on the front of the machine. Each knob controls one Y-axis belt.
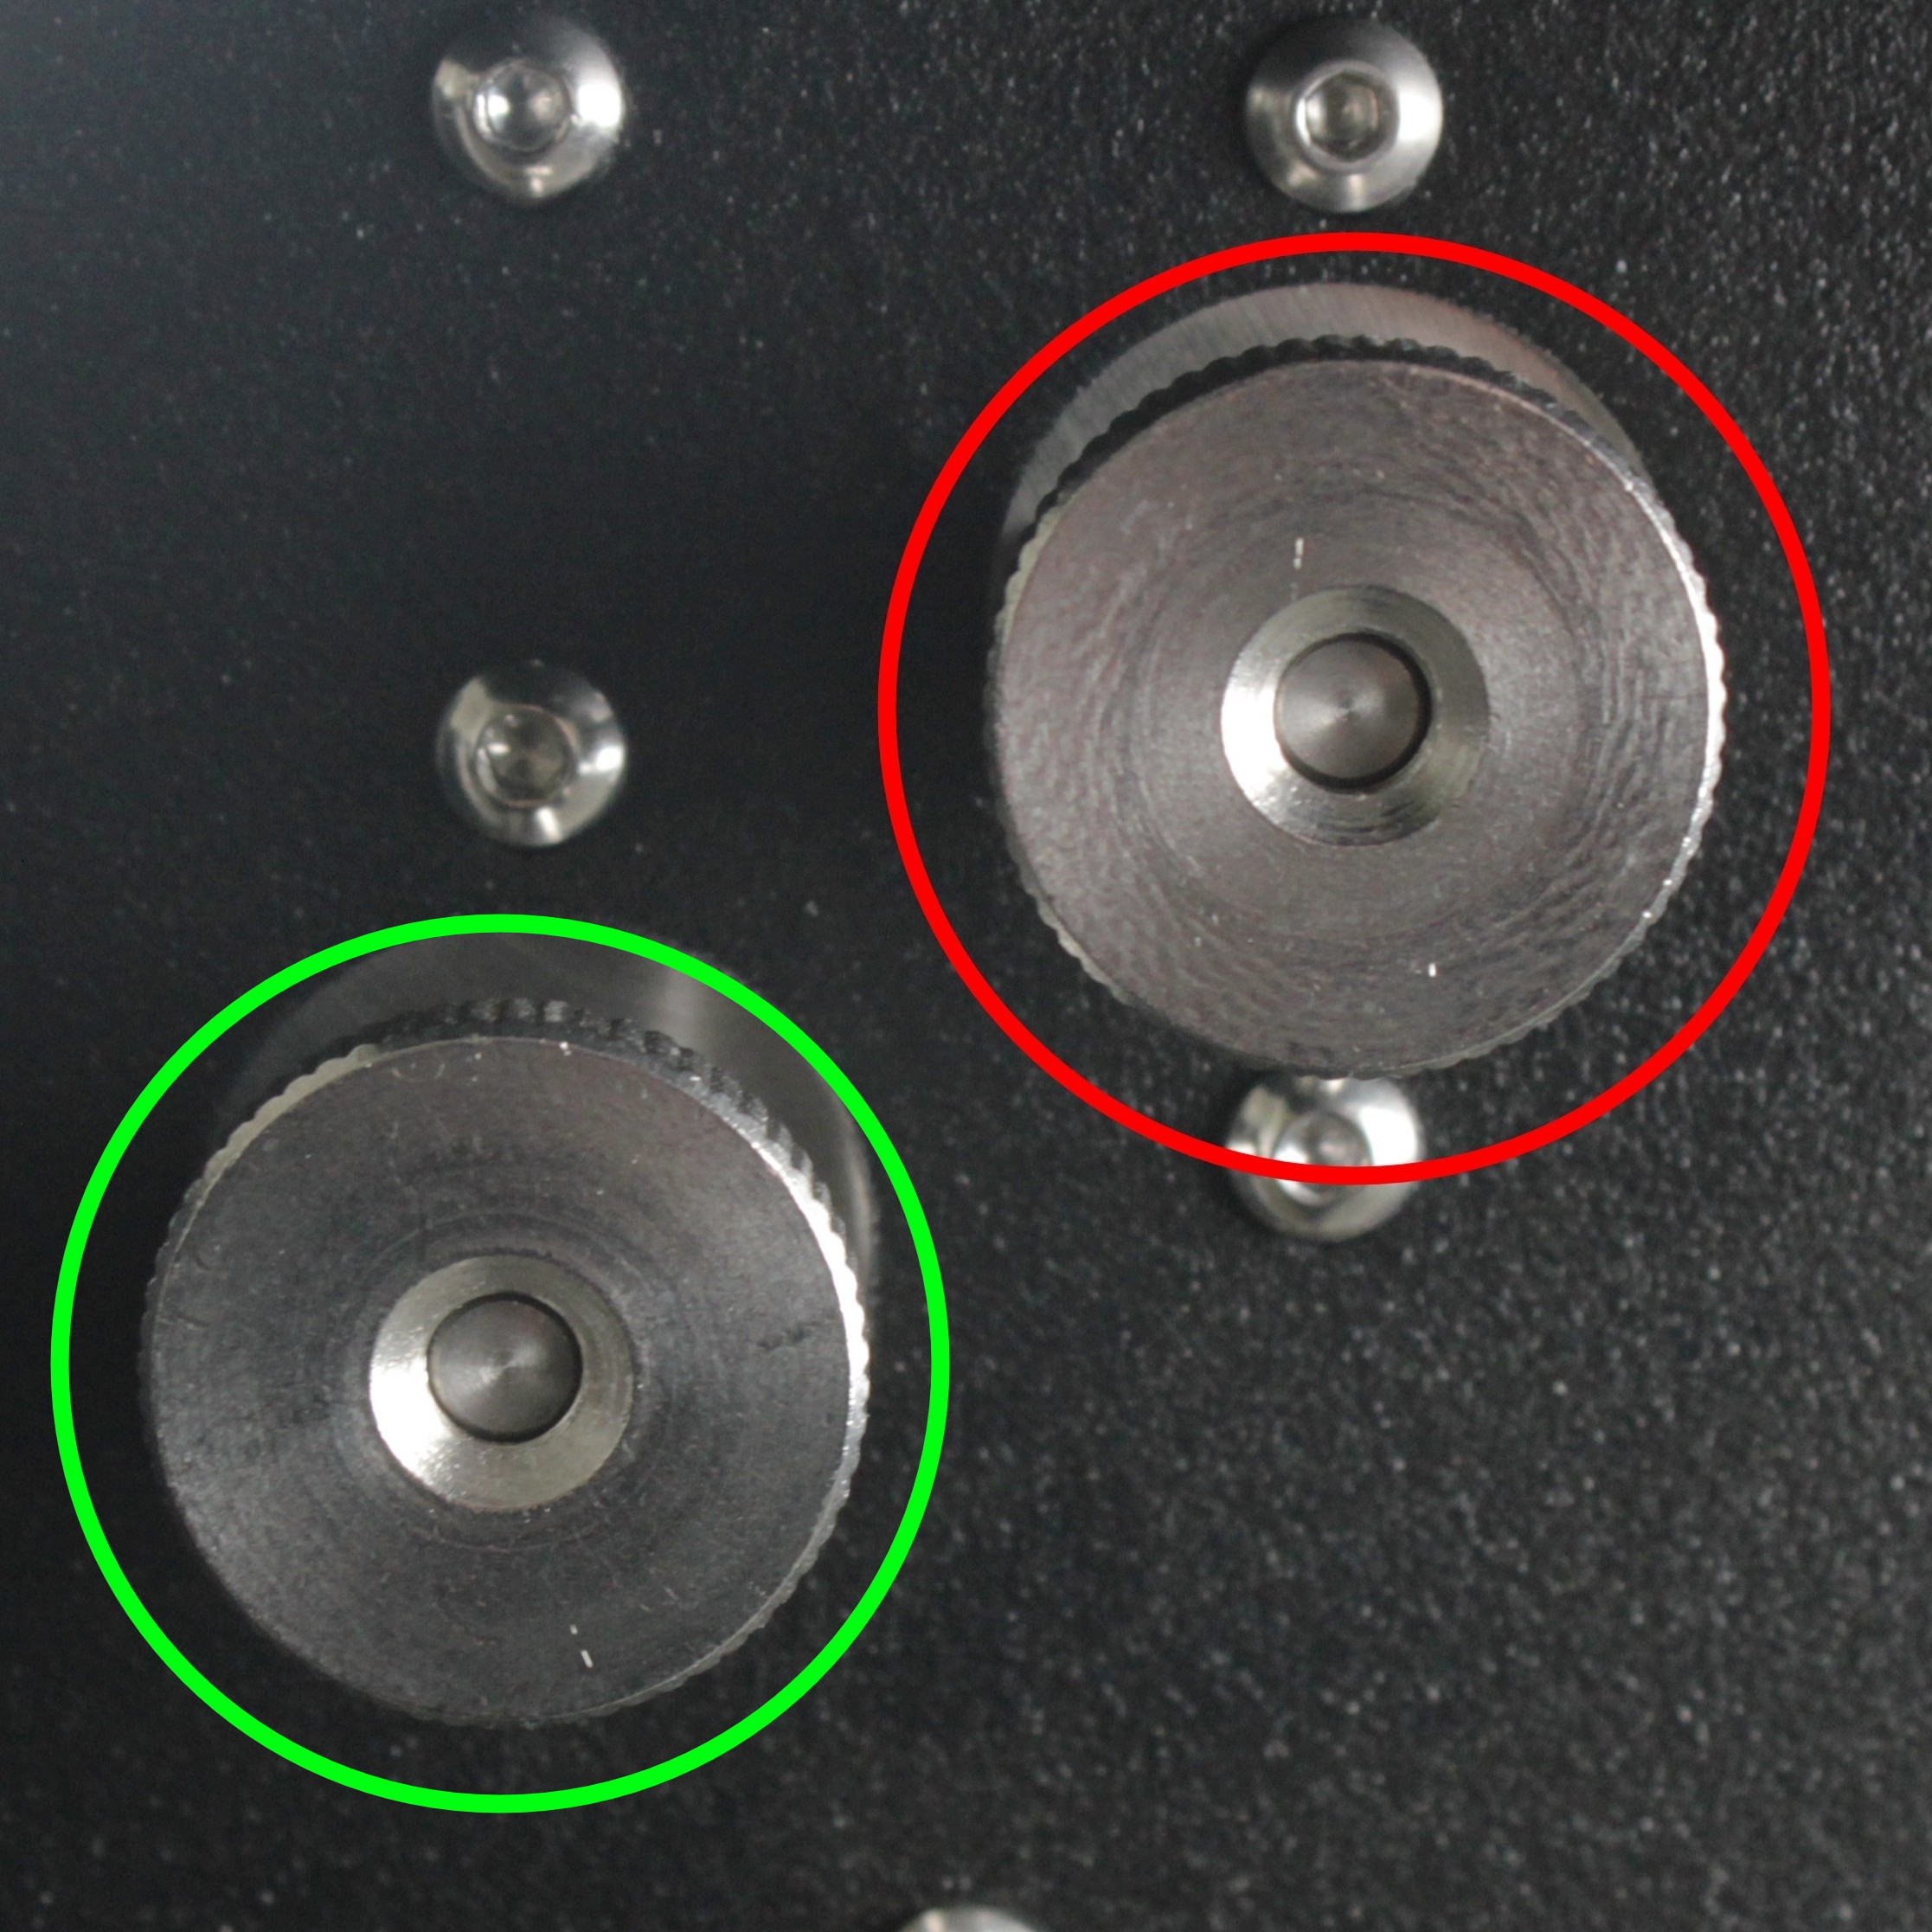
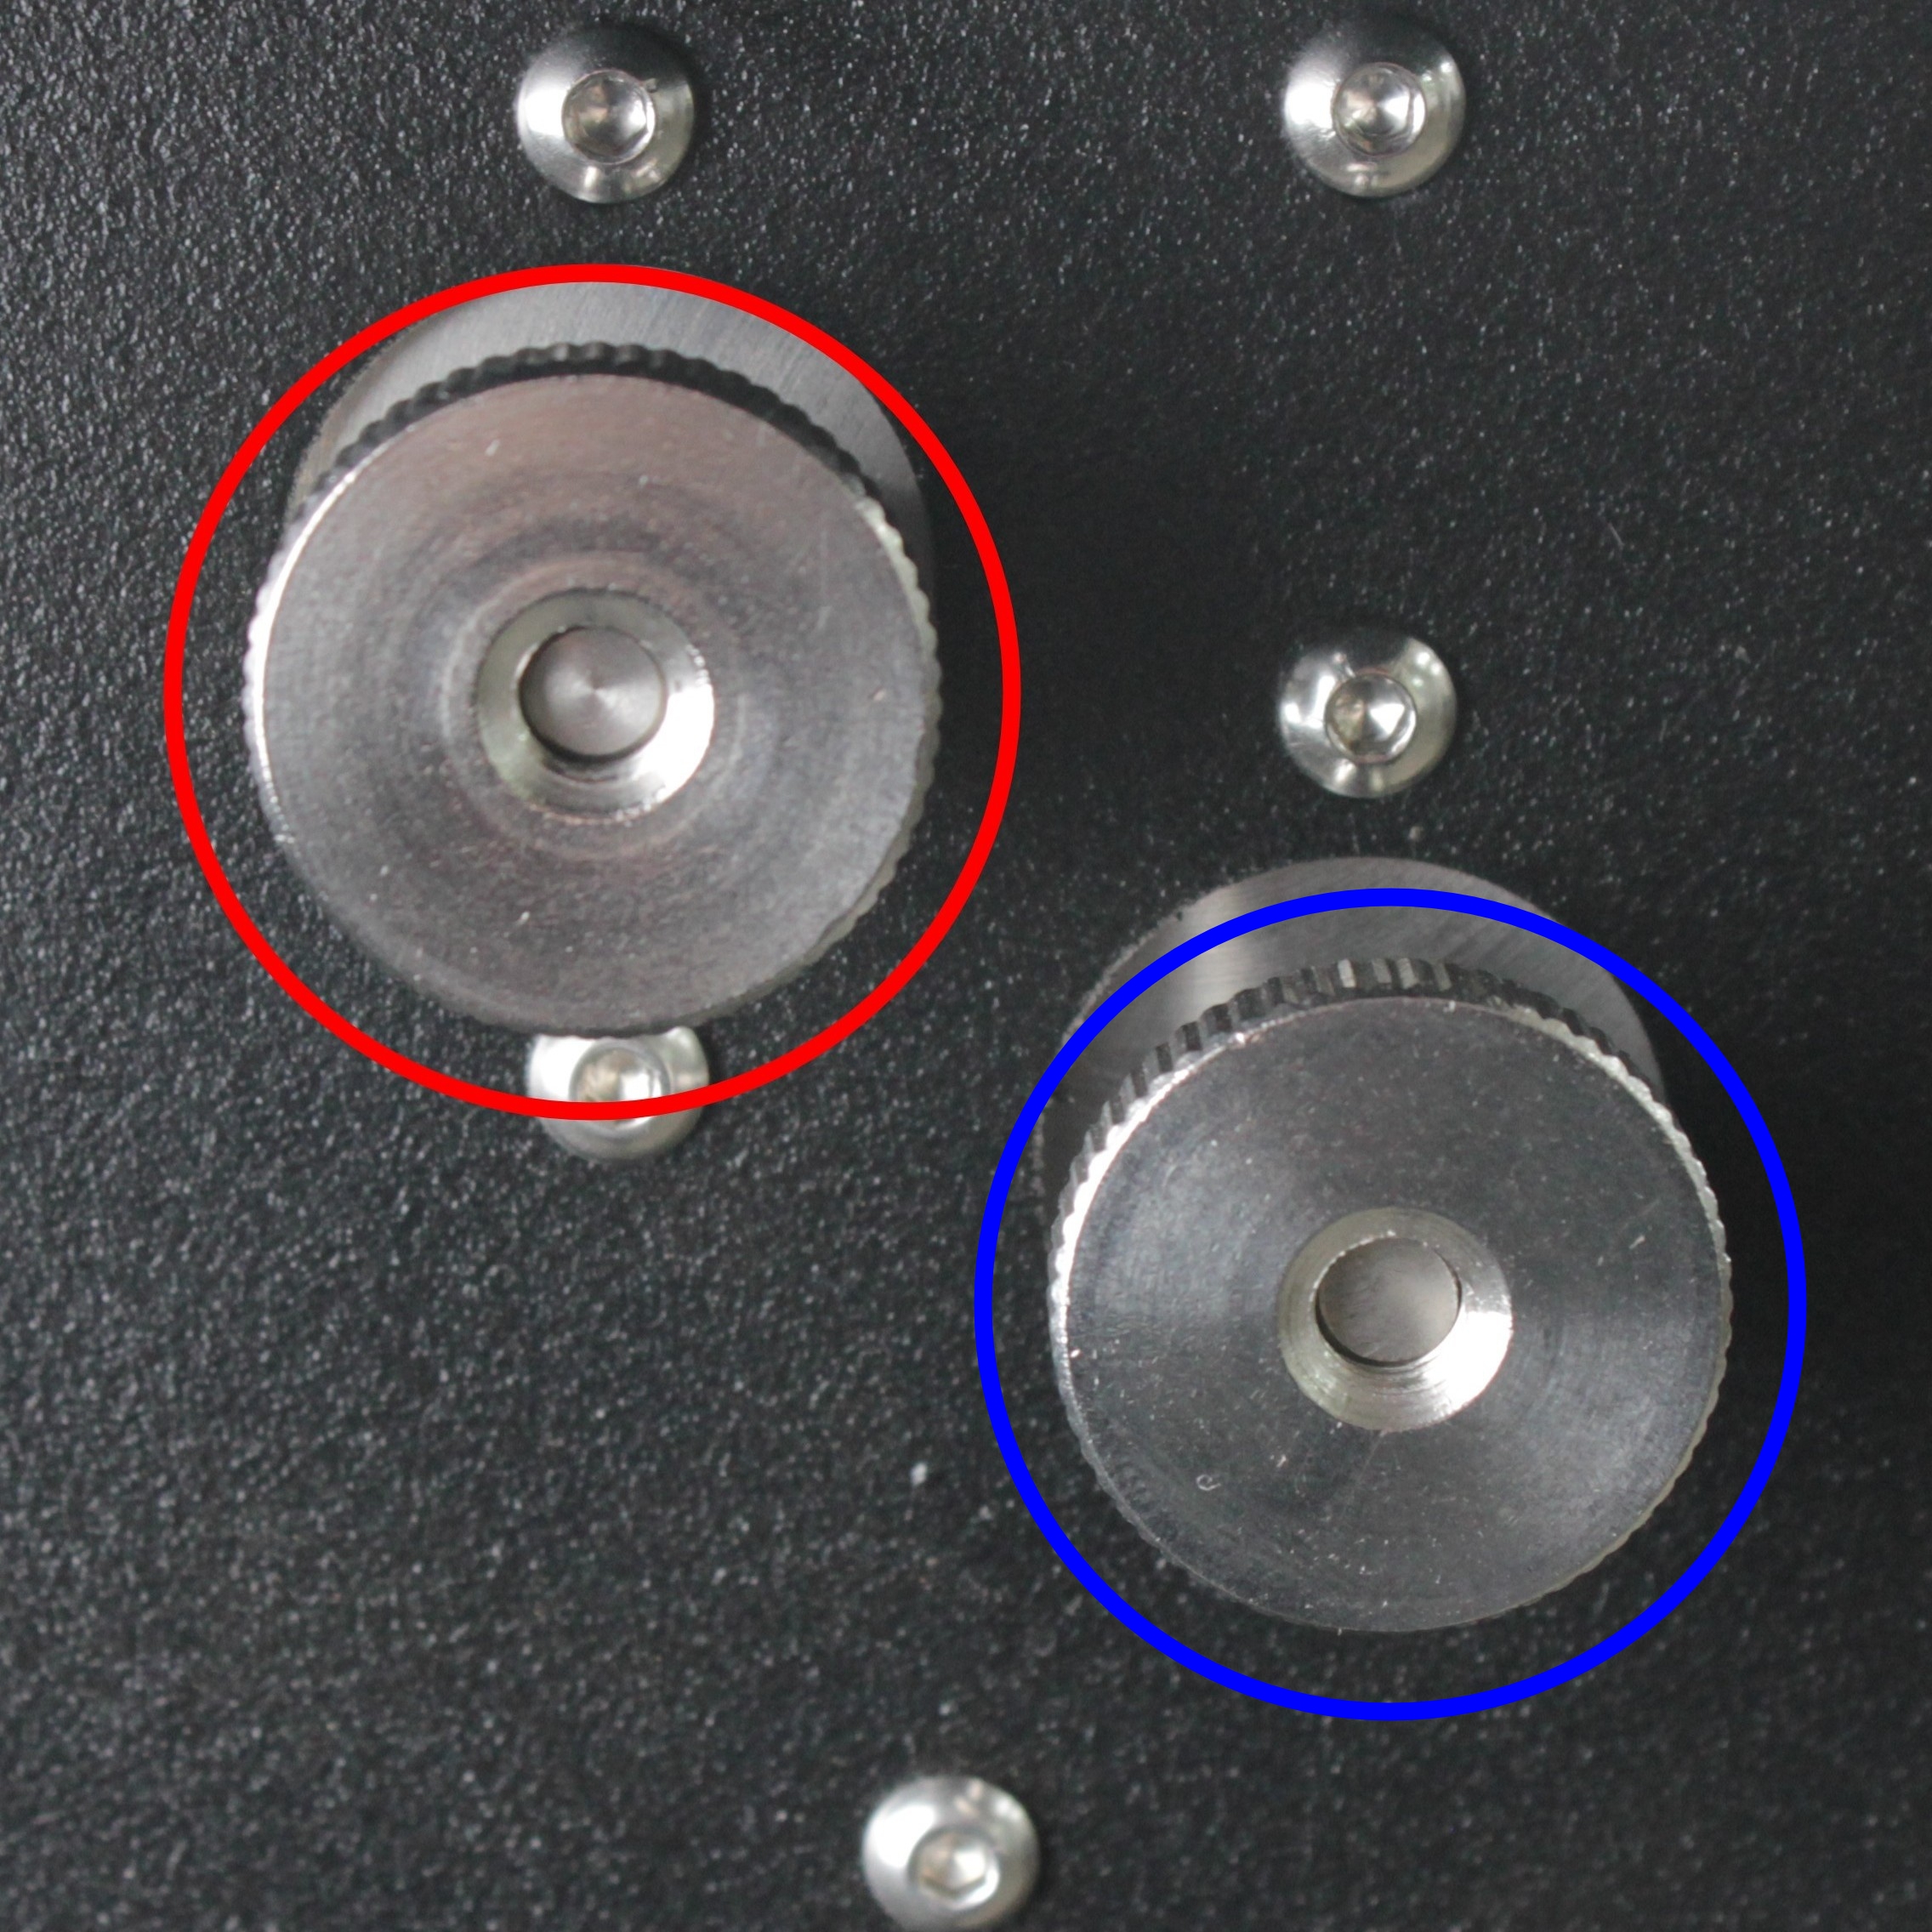
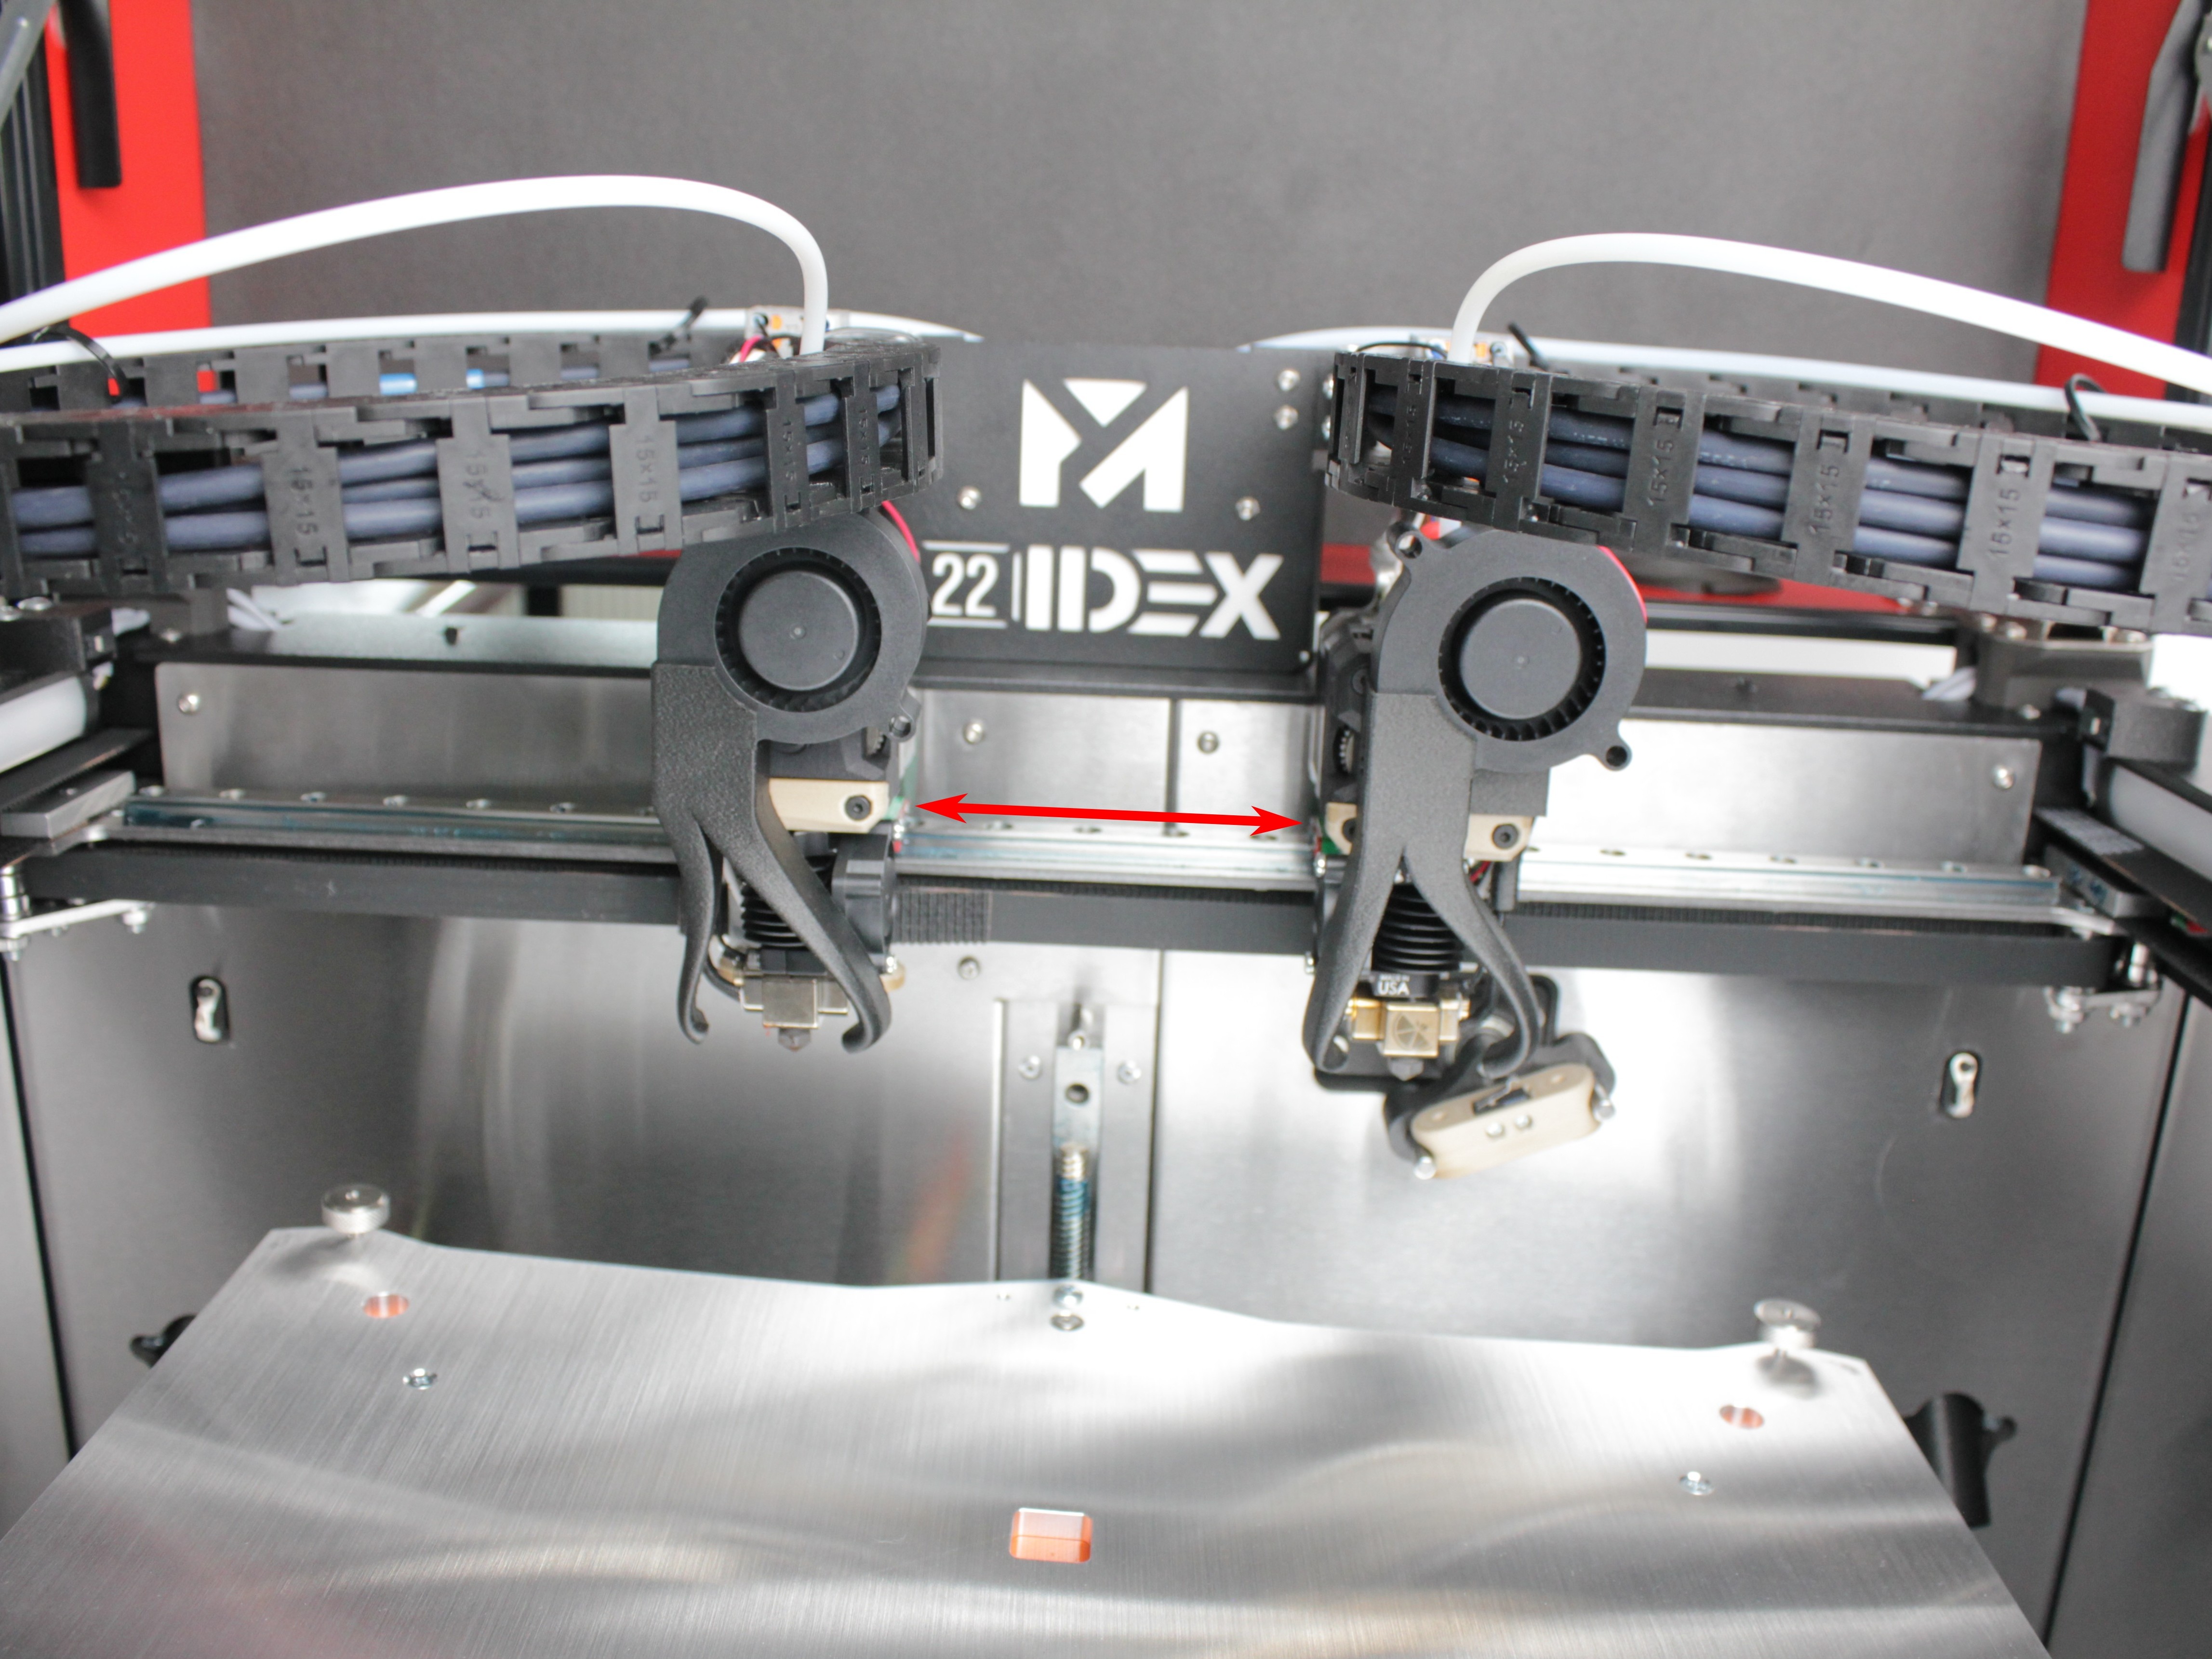
Color markings on the photos above:
| Circle Color | Belt Tensioner | Adjust in this section? |
|---|---|---|
| 🔴 Red | Y-axis belt tensioners | Yes – adjust both |
| 🟢 Green | Tool 0 (X-axis) belt tensioner | No – skip for now |
| 🔵 Blue | Tool 1 (U-axis) belt tensioner | No – skip for now |
-
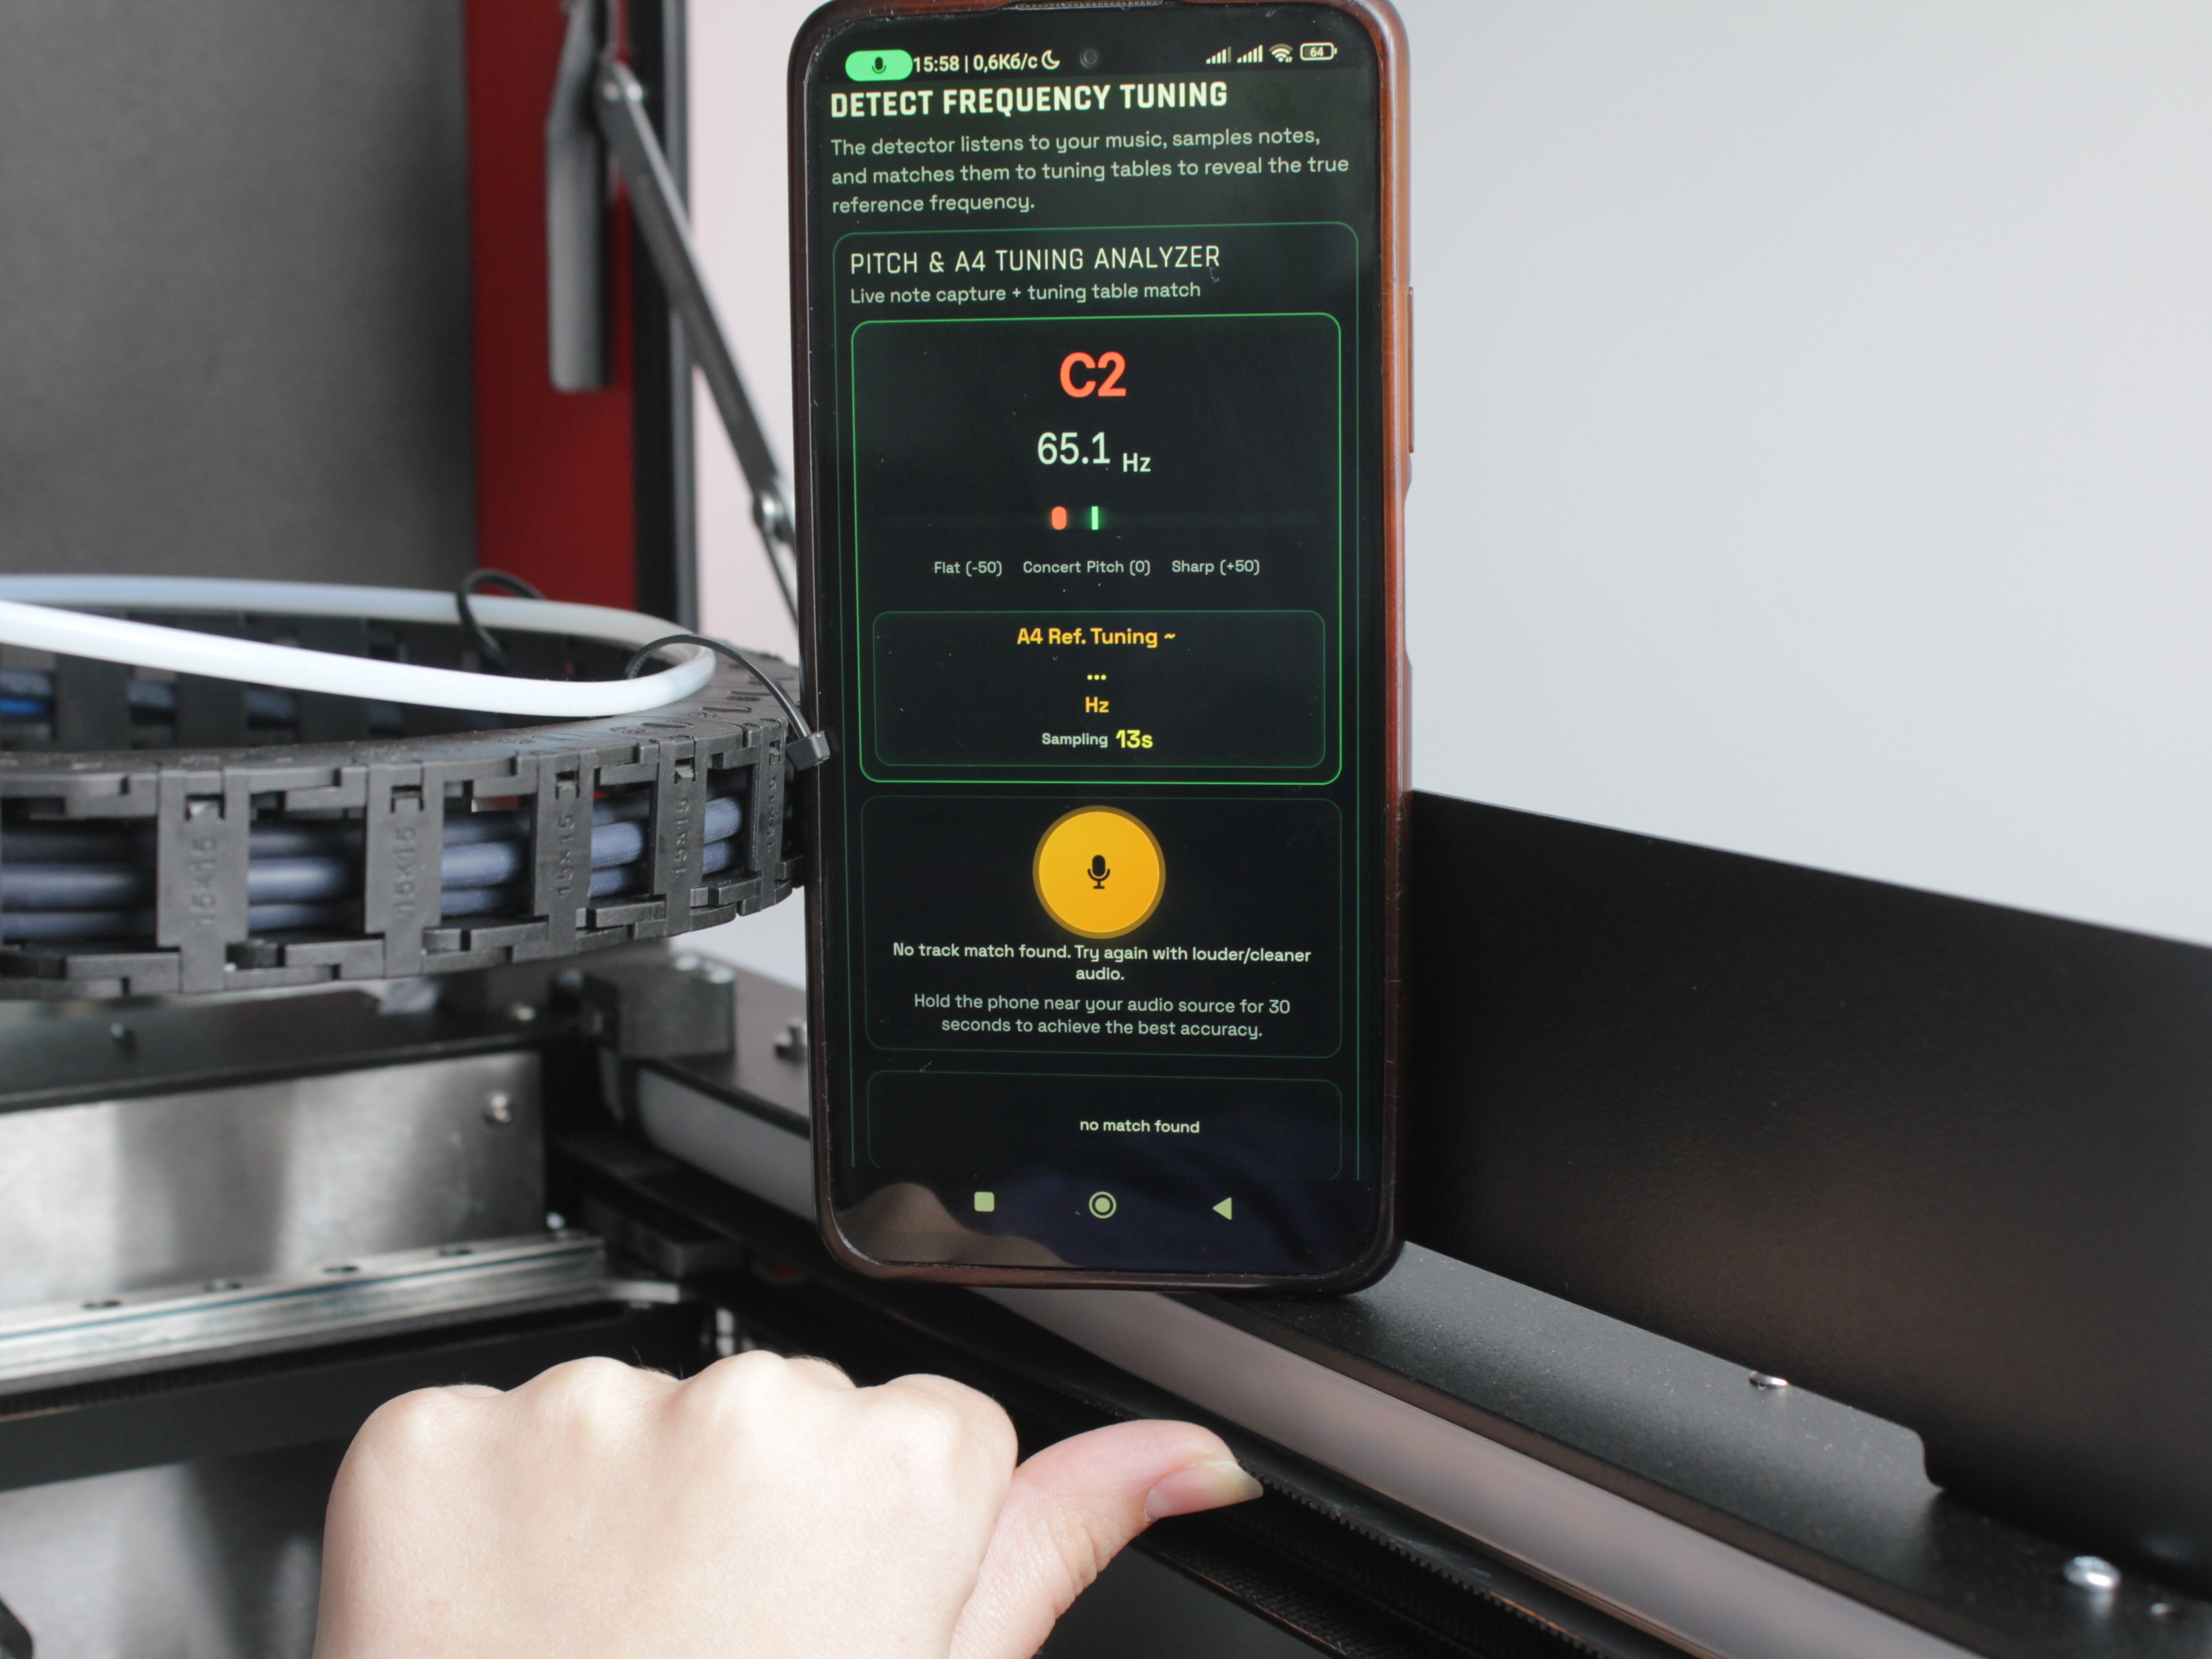
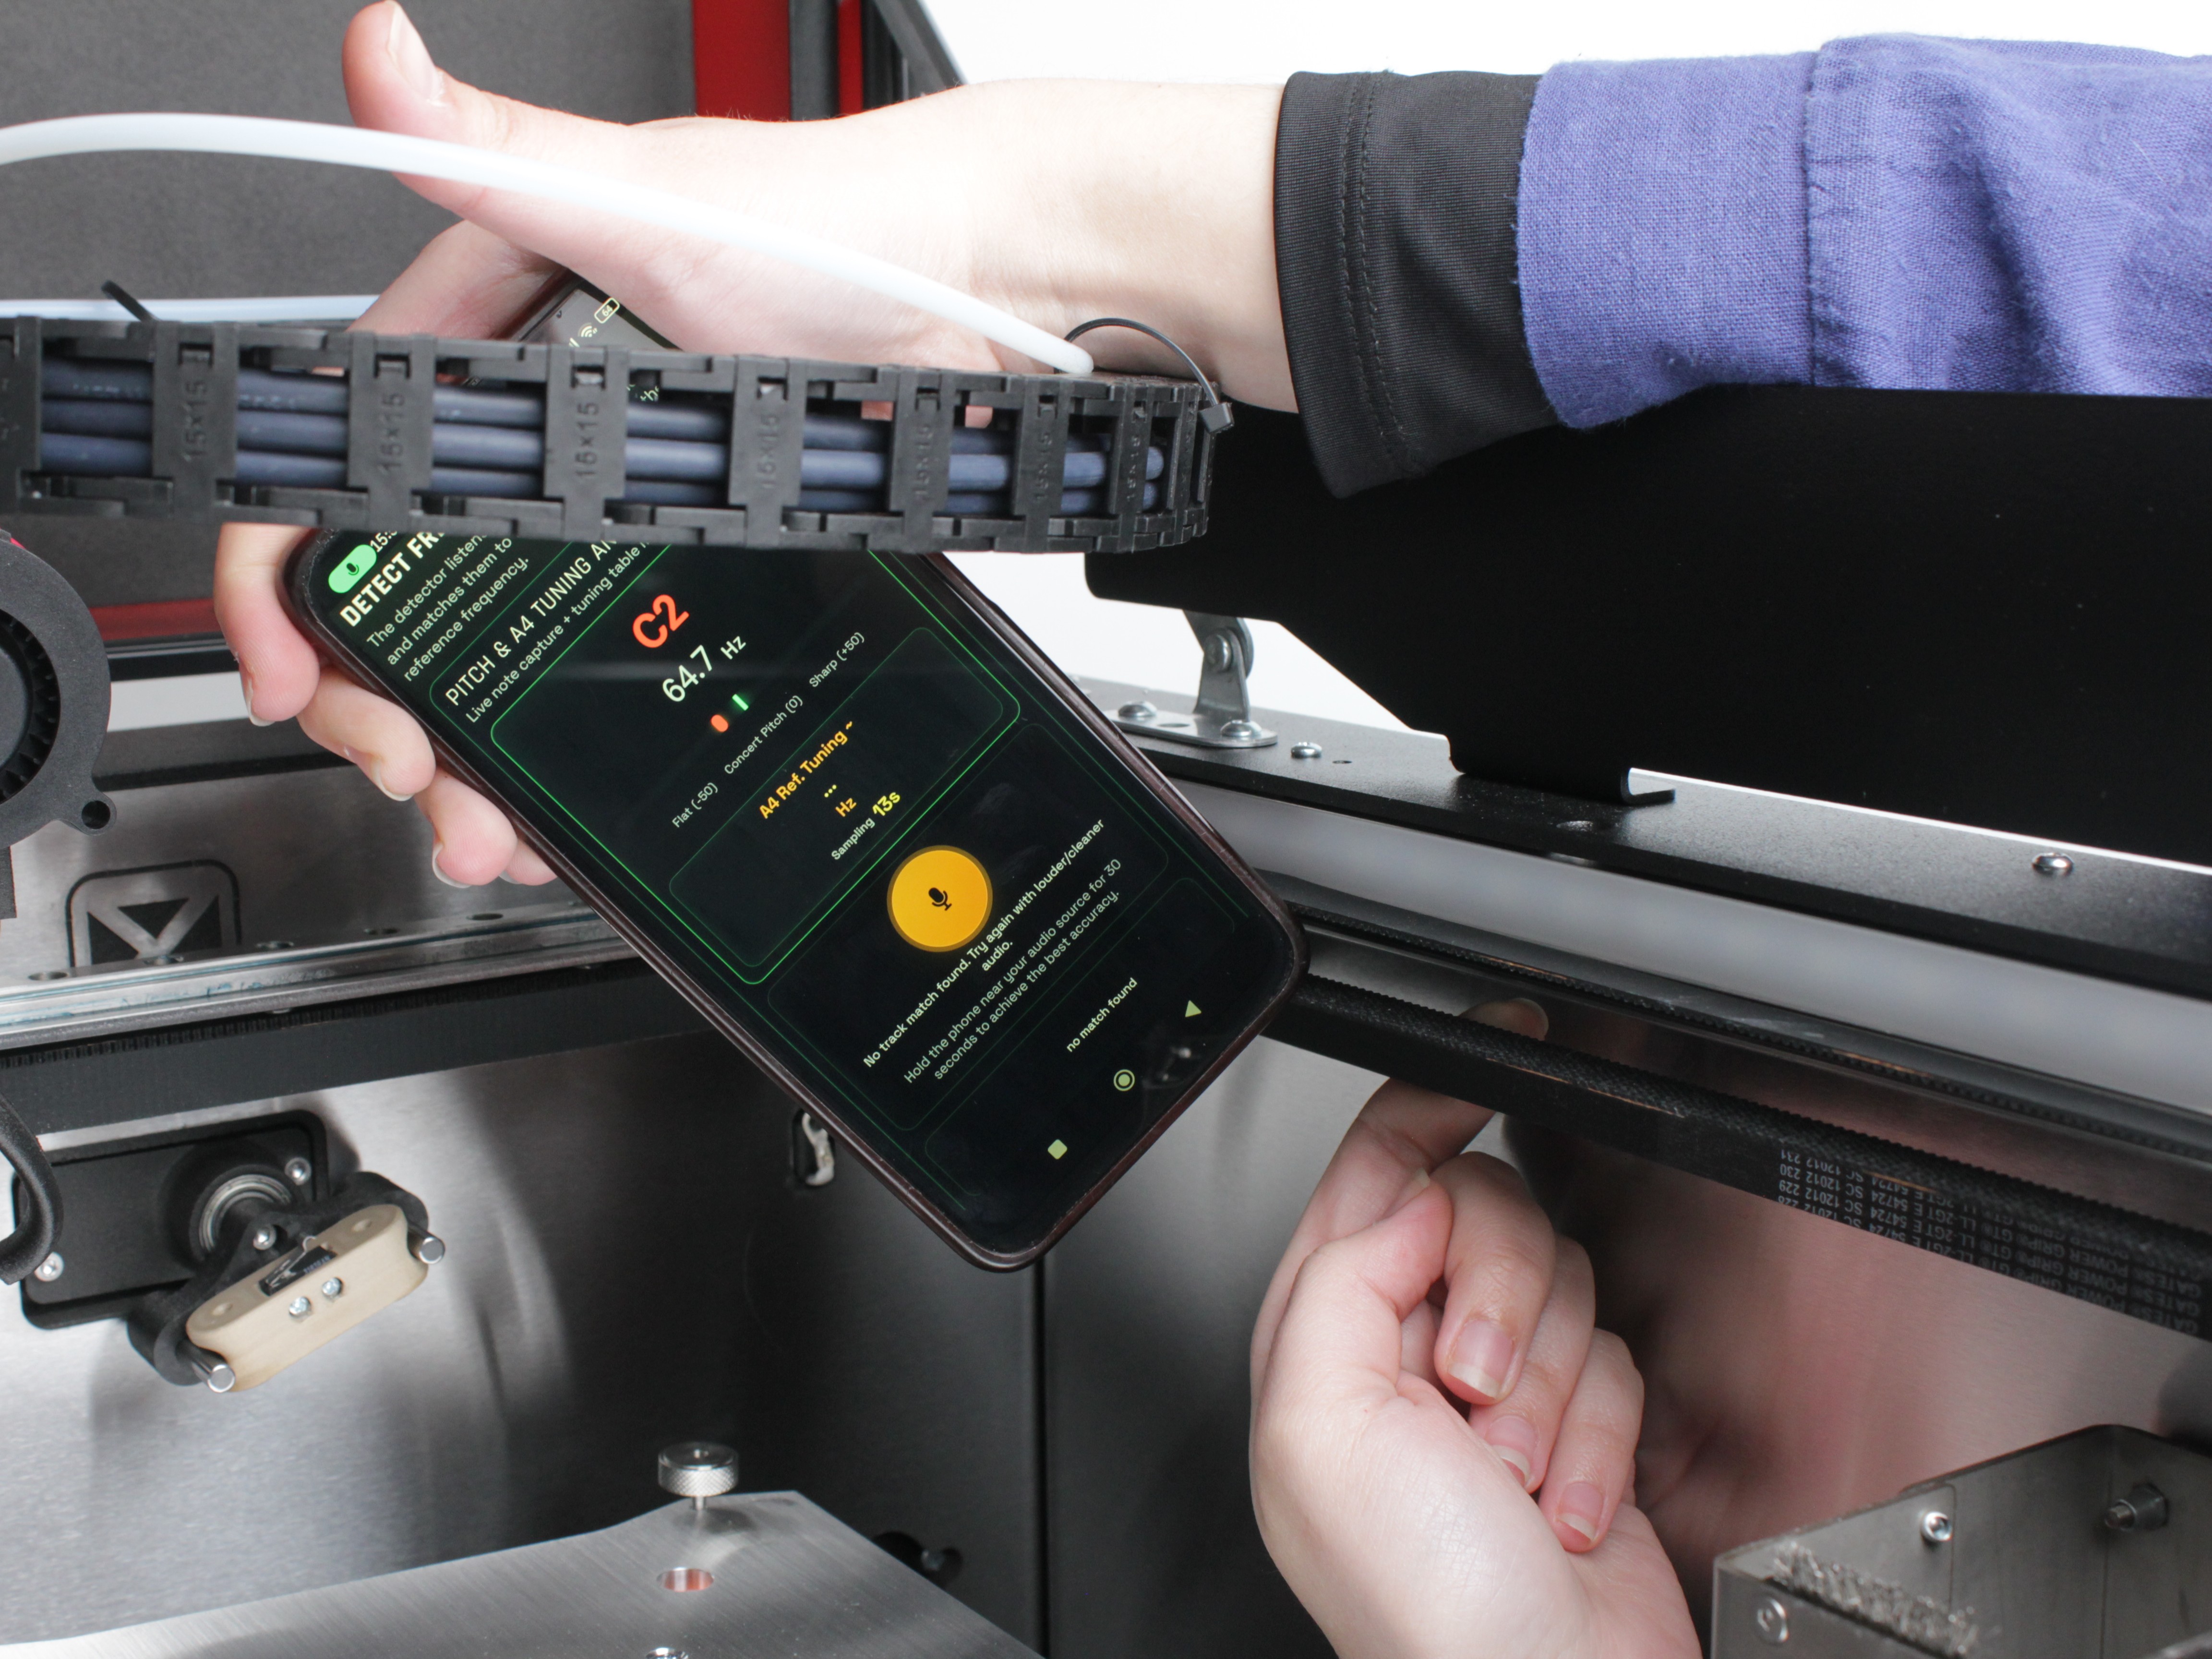
Open a guitar tuning app on your phone.
-
Pluck the belt like a guitar string and read the frequency on the app.
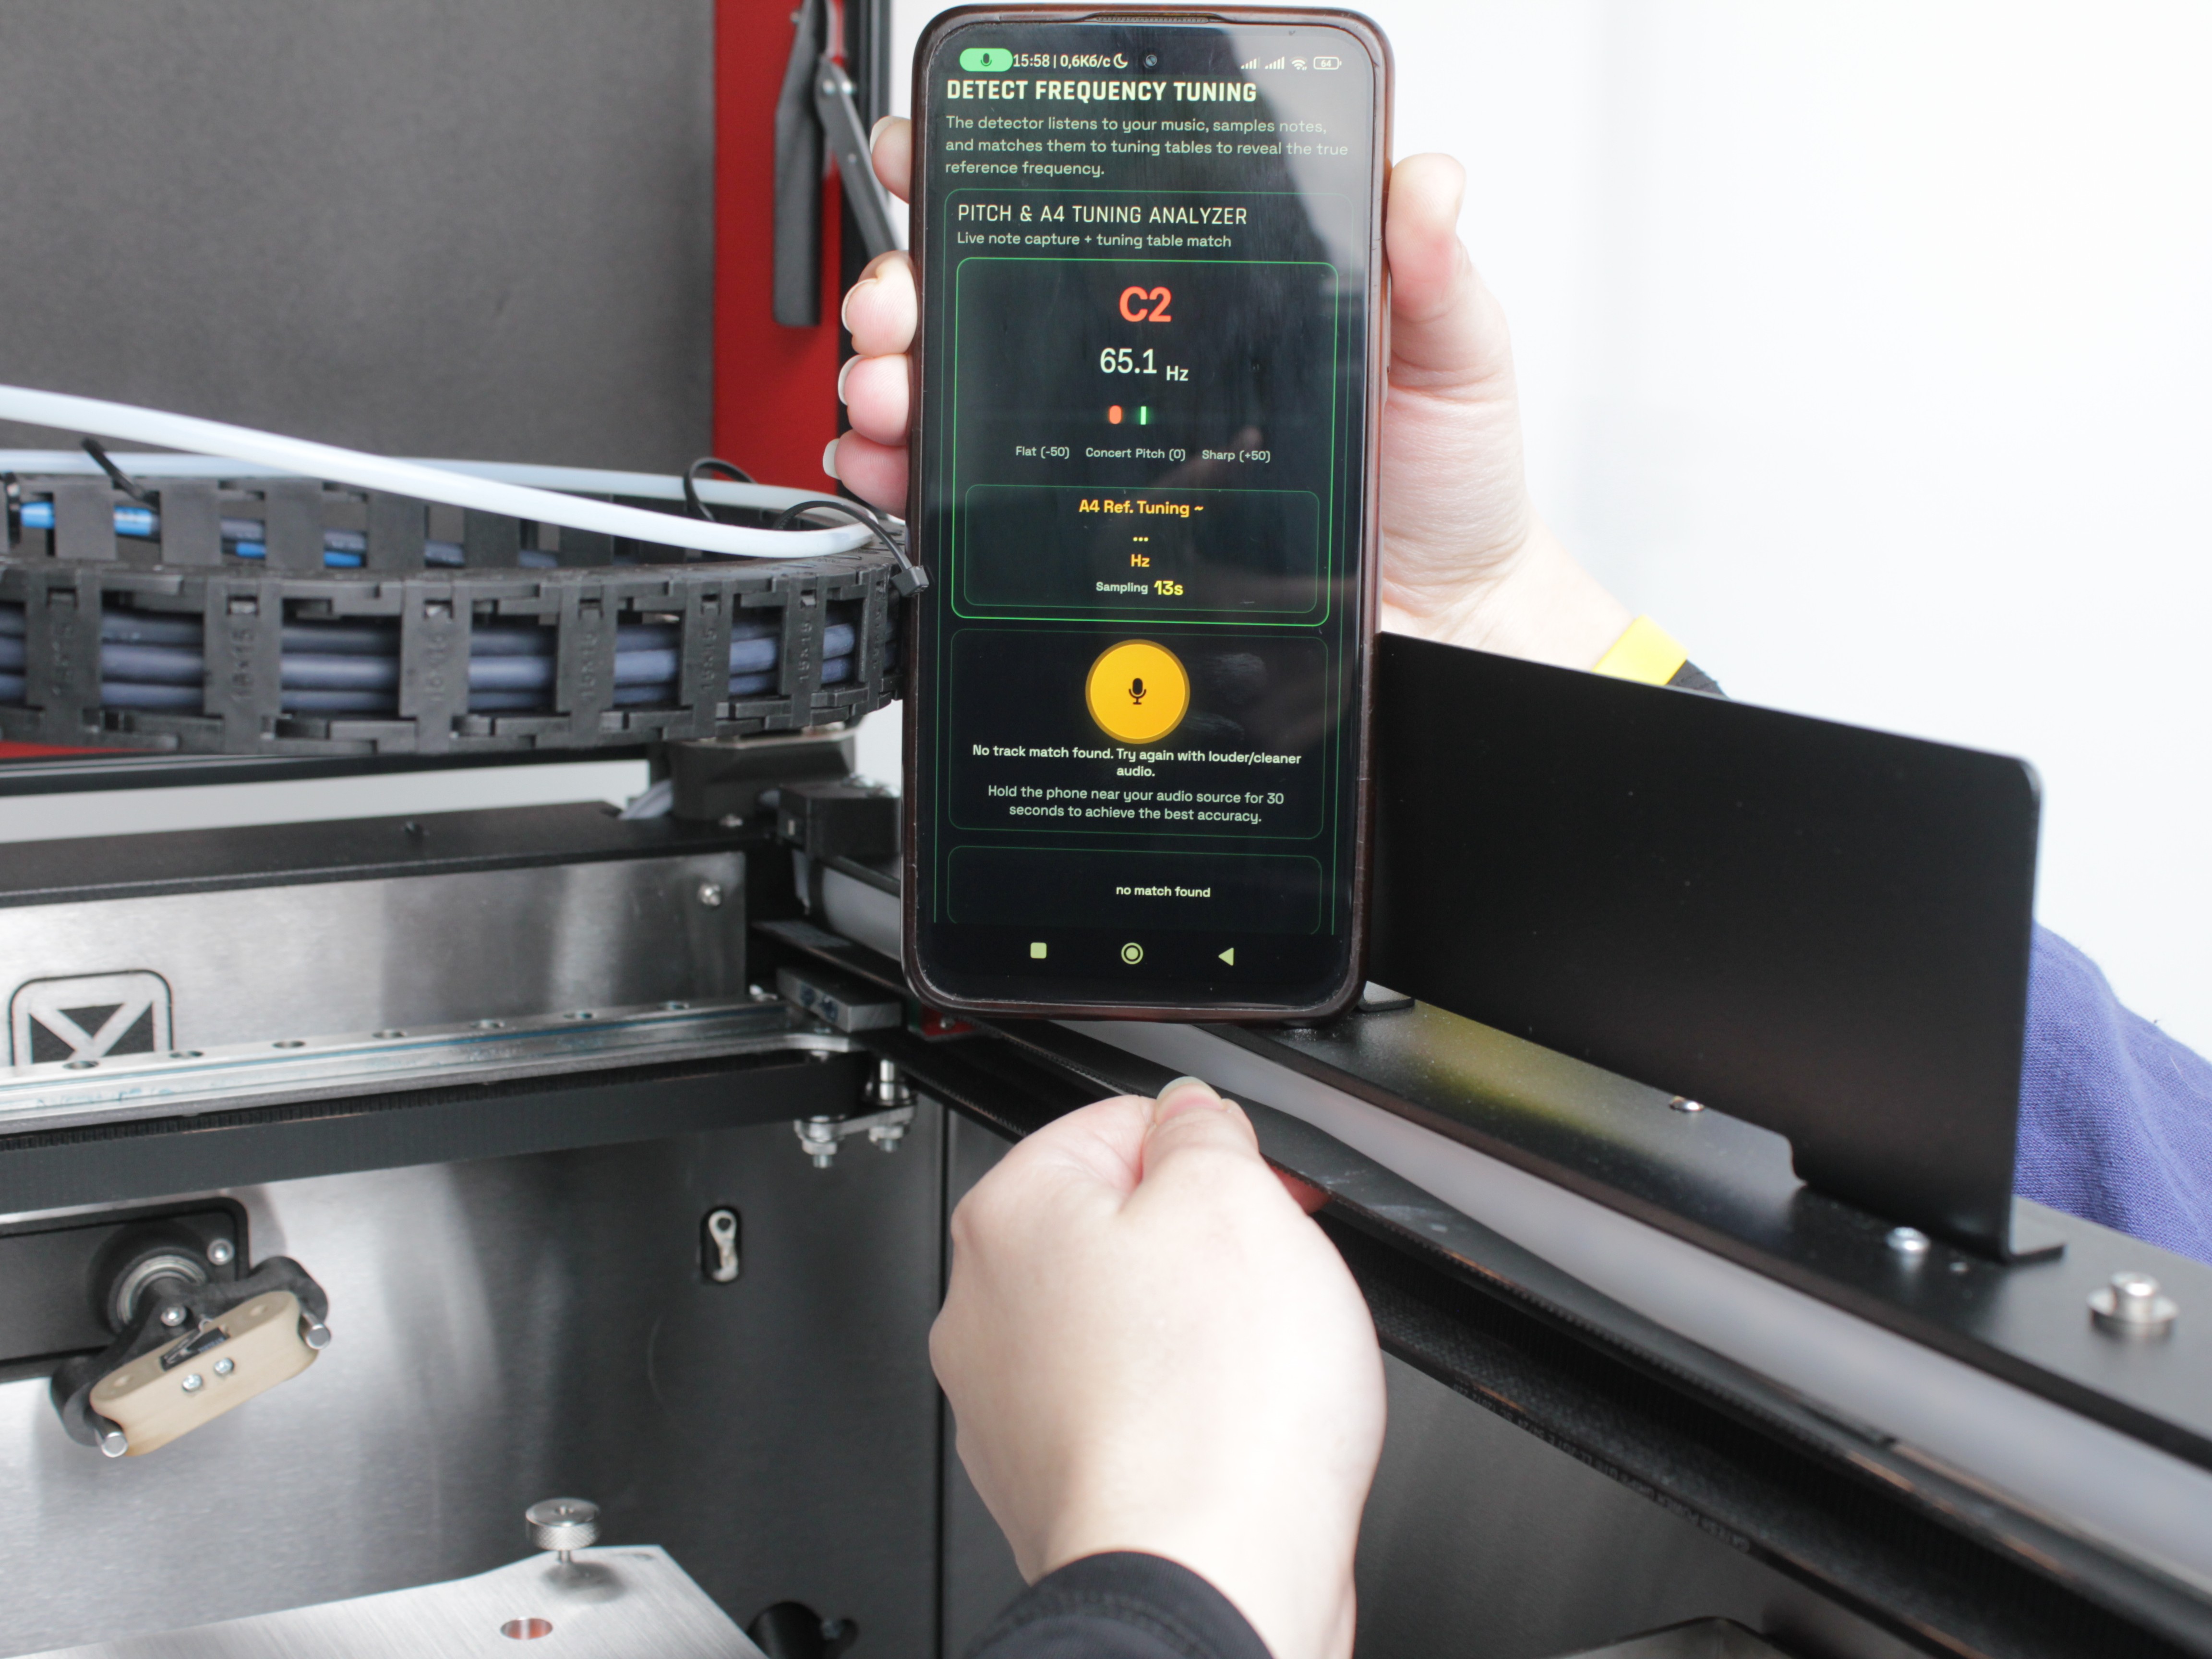
- Adjust the knob in small increments until the app reads 65 Hz.
-
Repeat steps 4-6 for the second Y-axis belt on the other side. Both belts must read 65 Hz - uneven tension causes alignment issues.
-
Slide the gantry front-to-back manually along the full range of travel. Movement should be smooth with no binding or unusual resistance.
- Confirm both endstops trigger at the same time when the gantry reaches the front of the machine.
If one Y belt cannot reach 65 Hz
If one belt will not reach 65 Hz no matter how much you tighten the knob, the belt was likely not seated all the way into the clamp before tensioning. Loosen the knob, re-seat the belt, and start over from step 5.
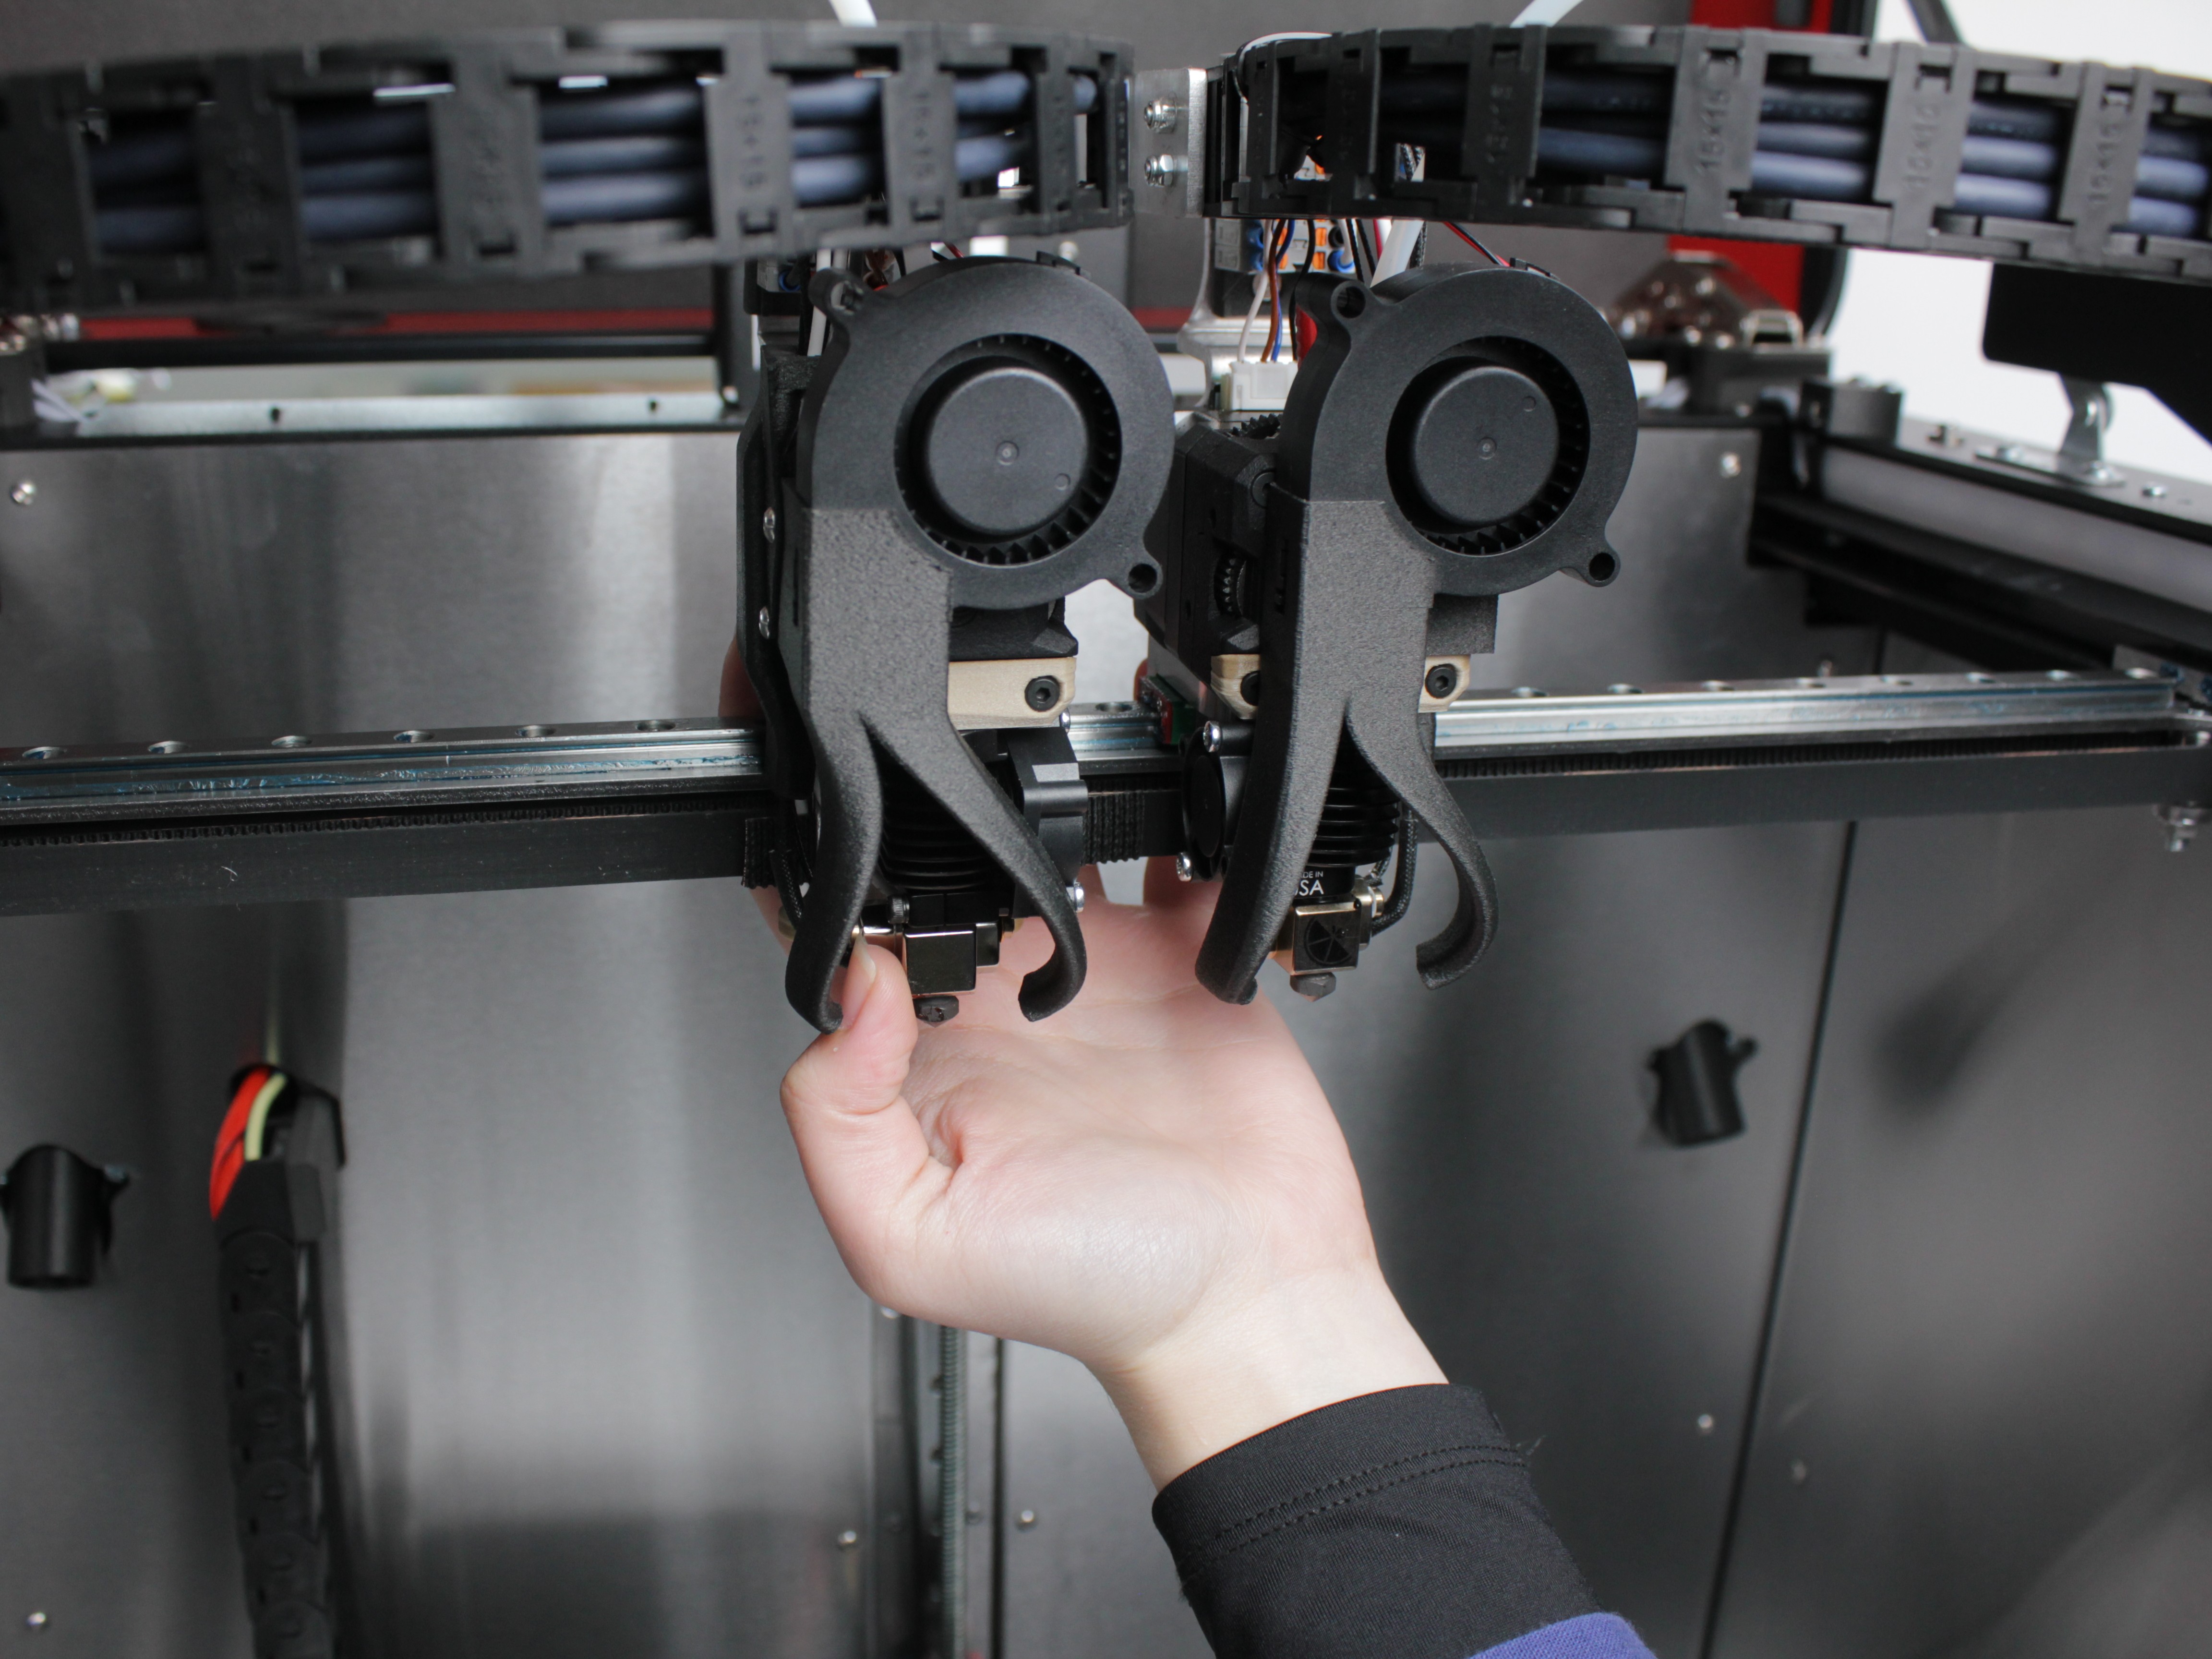
2. Tool Belt Tensioning (XU-Axis)
Each toolhead (Tool 0 and Tool 1) has its own belt that drives it along the X-axis rail. Tool belt tension is adjusted using tensioning knobs - the same method as the Y-axis belts.
- Move both toolheads to the center of the X-axis rail by hand.
- Push the gantry all the way to the back of the machine, toward the 22 IDEX logo.
- Locate the tensioning knob for the first tool belt.
Color markings on the photos above:
| Circle Color | Belt Tensioner | Adjust in this section? |
|---|---|---|
| 🔴 Red | Y-axis belt tensioners | No – already adjusted |
| 🟢 Green | Tool 0 (X-axis) belt tensioner | Yes – adjust this one |
| 🔵 Blue | Tool 1 (U-axis) belt tensioner | Yes – adjust this one |
- Pluck the belt like a guitar string and read the frequency on the guitar tuning app.
- Adjust the knob in small increments until the app reads 65 Hz.
-
Repeat steps 3-5 for the second tool belt.
-
Slide each toolhead manually along the full length of the X-axis rail. Movement should be smooth with no binding or resistance.
If a tool belt cannot reach 65 Hz
If the belt will not reach 65 Hz no matter how much you tighten the knob, the belt was likely not seated all the way into the clamp before tensioning. Loosen the knob, re-seat the belt, and start over from step 4.
FAQ
Troubleshooting
Support
If you could not find an answer here, reach out to our support team.